1. Introduction to Vim
Vim is an editor that evolved from vi; its first version was released by Bram Moolenaar in 1991. The original name was Vi IMitation, and as features accumulated it was officially renamed Vi IMproved.
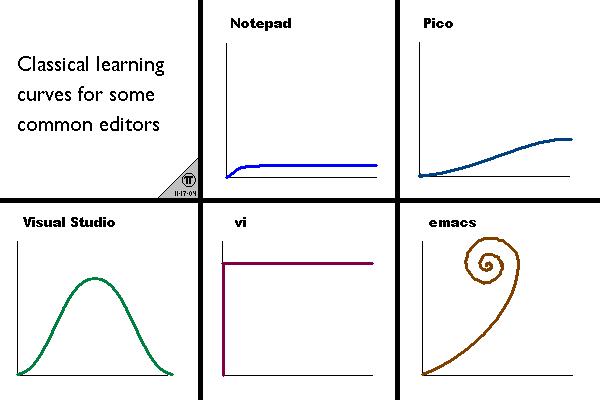
The image above shows the learning curves of common editors. For most users, Vim has a fairly steep learning curve. That is, at the beginning you feel it is hard going, and you may even give up. But once you have mastered a few basic operations, it can greatly improve your editing efficiency. That is also the main reason I learned Vim.
Here is the Vim download page. Since the production PCs come with Windows OS preinstalled, I chose gvim.
2. The vimrc Configuration File
Vim’s strength is that it can be configured to meet all kinds of development needs.
On Windows, Vim’s configuration file is named _vimrc and lives in Vim’s installation directory. On Linux systems, the configuration file is named .vimrc. This is because filenames starting with a dot are not legal on Windows.
3. Installing the Plugin Manager Vundle
There are many Vim plugin managers, for example Pathogen, Vundle, NeoBundle, and VAM. But Vundle has the most users managing plugins with it.
Managing plugins with Vundle is like maintaining a requirements.txt or a package.json. The difference is that here you are maintaining the vimrc file.
3.1 Installing git and curl
Vundle depends on the git and curl commands. Here they are installed through chocolatey. chocolatey is a package manager tool for Windows, similar to apt-get or yum.
Run the following command with administrator privileges to install chocolatey:
| |
Then run the following commands to install git and curl:
| |
3.2 Installing Vundle
In Vim’s installation directory, find vimfiles and create a bundle folder inside it.
In the Vim/vimfiles/bundle directory, run:
| |
4. Installing Plugins with Vundle
4.1 Installing Plugins
With Vundle, there are two ways to install a plugin through the vimrc configuration file:
- Between vundle#begin() and vundle#end(), add the line
Plugin '插件名' - Add a single line
Bundle '插件名'directly
It is worth mentioning how to obtain a plugin name.
First go to github and find the plugin you need, say a plugin for formatting frontend code. The plugin’s github address is: https://github.com/maksimr/vim-jsbeautify . Here maksimr/vim-jsbeautify is the plugin name Vundle needs. Of course, Vundle does not only support network installation from github; for other sources you need to give the full git address.
When installing, add the following to the vimrc file:
| |
On Windows, find the Gvim icon and click it to open it. Then run :PluginInstall, and the plugin is installed. As shown below:
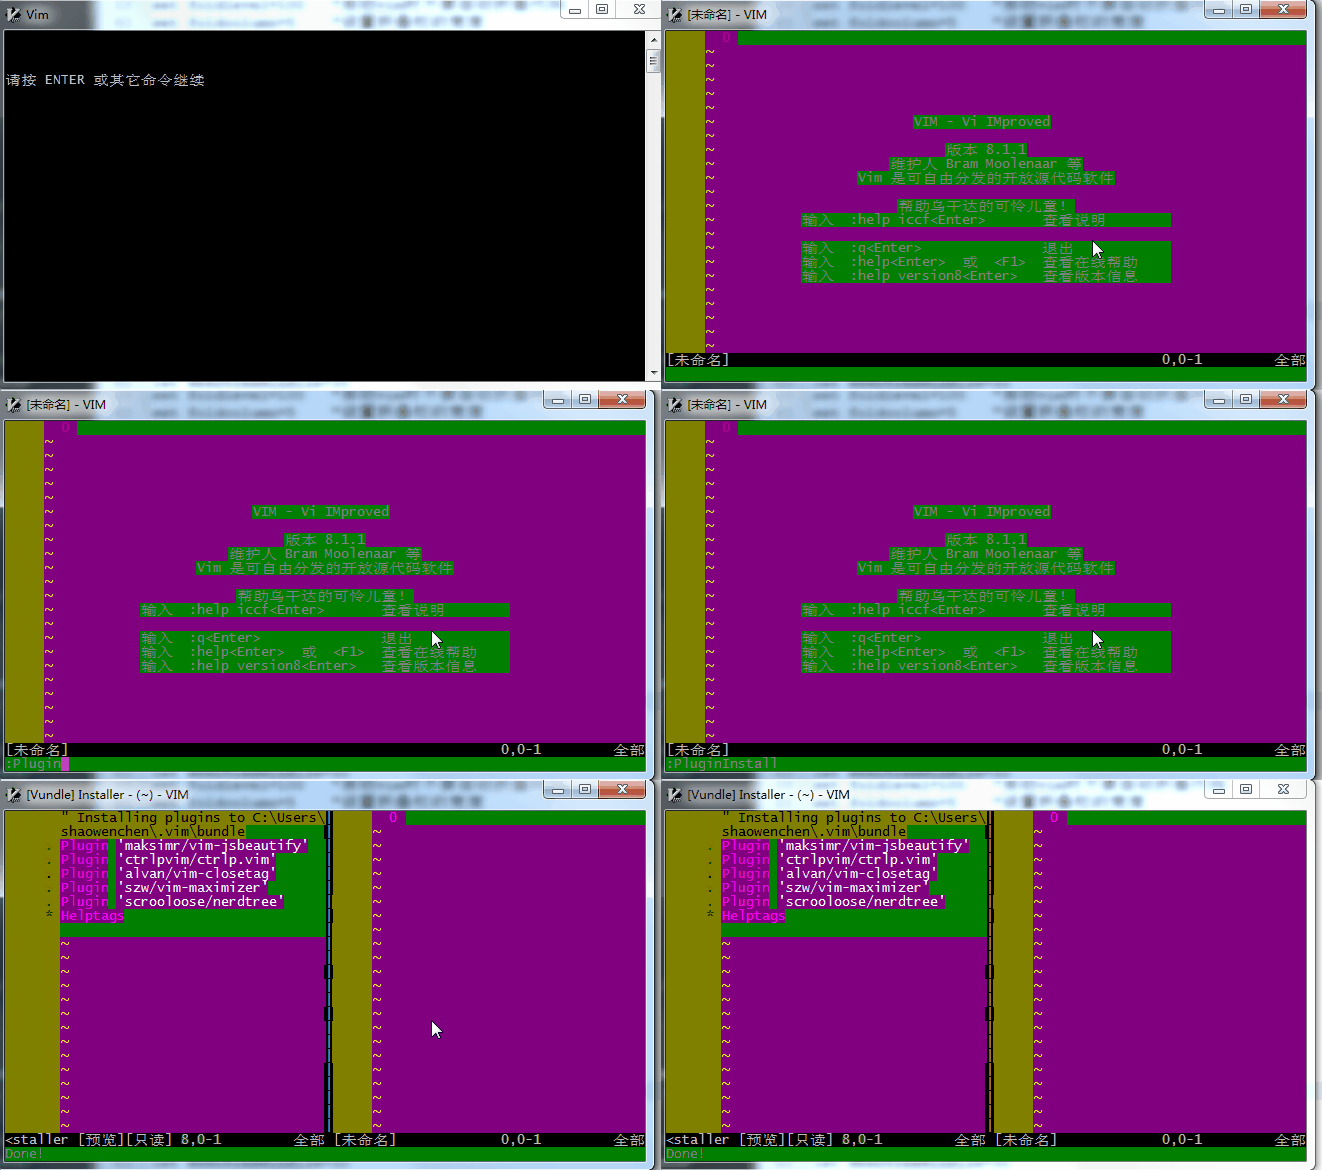
Besides installing from Vim’s normal mode, you can also run the command directly
| |
4.2 Common Vundle Commands
In normal mode, run the commands:
| |
5. Using the Vim in git bash
However, under Windows the Gvim window is the same size as a Dos window. So it is recommended to install Git for Windows and use Vim in Git Bash, download page.
The large-screen effect:
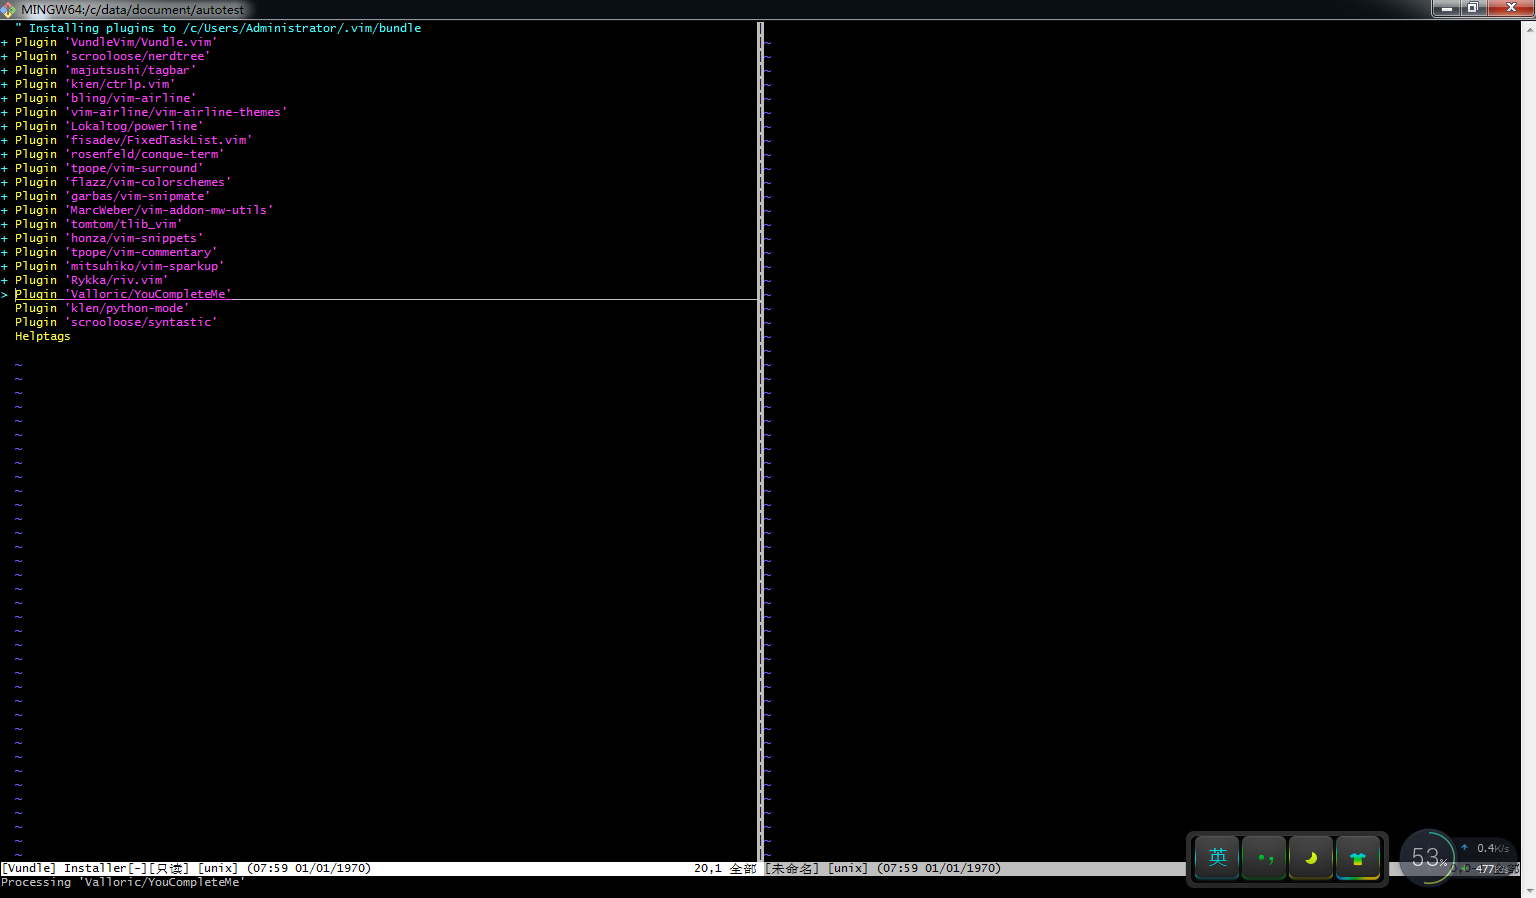
- Install Vundle
| |
- Edit the vimrc configuration file
| |
Here the configuration file name and path are the same as on Linux.
Paste Vundle’s official example configuration
| |
