1. What Problem S2I Solves
It is foreseeable that a large number of applications will be deployed as containers in the future.
Container platforms care about images and containers, while application development cares about business code, and ultimately the code needs to be deployed as an image. From code to image — that is Source To Image, or S2I.
In an earlier article, buildpack for PaaS deployment, I described how an application needs some essential configuration before it can run. That configuration includes runtime dependencies, environment variables, service addresses, and so on.
S2I provides functionality similar to buildpack, but the approach S2I offers is more generalized and more containerized.
2. Characteristics of S2I
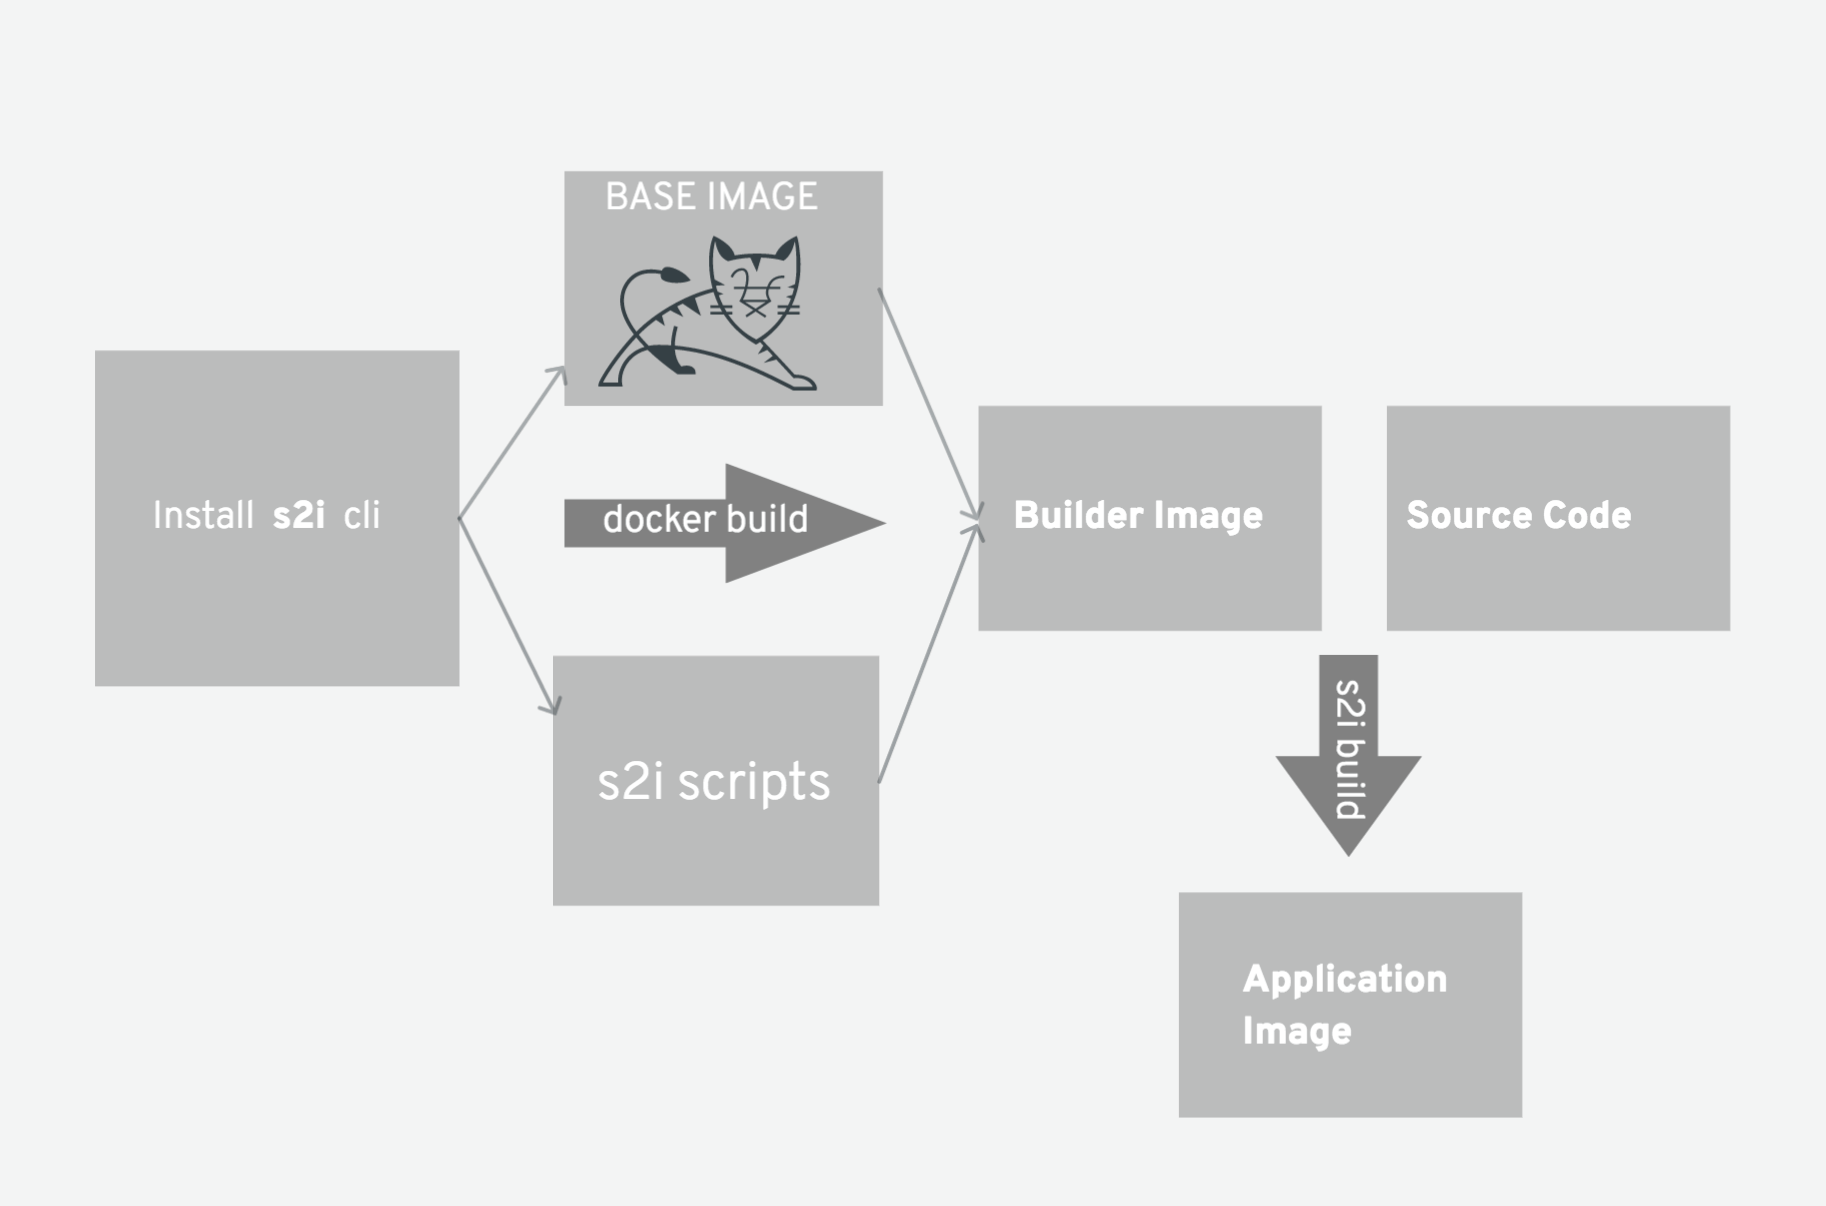
The figure above is the S2I workflow; the S2I CLI depends on a Docker environment.
It mainly divides into two steps:
- Build the application’s base image from the BASE IMAGE and S2I Scripts
- Move the source code into the application’s base image, adding only one layer of files, to obtain the final image file
The BASE IMAGE is a general-purpose image, for example Python, CentOS, Nodejs, and so on. S2I Scripts are usually a fixed set of procedural scripts, such as migrating the database, copying static files, and so on.
Characteristics of S2I:
- Speed: S2I can carry out quite complex operation logic without creating a new image layer, so it runs very fast.
- Patching: if the images you depend on need a security patch, S2I lets you rebuild all images in one pass.
- Efficiency: during the build process, S2I does not allow arbitrary
yum installcommands, to prevent slowing down development iteration. - Ecosystem: S2I encourages a shared image ecosystem. That way your application can achieve best practices.
S2I can detect the language from files in the directory; if there is a Dockerfile, it degrades to the non-S2I approach of building with the Dockerfile.
| Detected Language | Detected File |
|---|---|
| java | pom.xml |
| nodejs | app.json, package.json |
| perl | cpanfile、index.pl |
| php | composer.json、index.php |
| python | requirements.txt、setup.py |
| ruby | Gemfile, Rakefile、config.ru |
| scala | build.sbt |
| golang | Godeps, main.go |
3. Differences Between S2I and buildpack
buildpack is a tool provided by CloudFoundry for packaging applications. buildpack builds, packages, and updates an application and its dependencies, letting developers focus more on implementing business logic.
buildpack ultimately produces a droplet. A droplet is a runnable instance of an application, running on a dea (droplet execution agent).
S2I is a container-based application image build tool introduced by OpenShift. S2I is container-oriented and tries to solve a more general problem.
S2I ultimately produces an image that can be deployed on any container platform.
4. Trying Out S2I
Before you begin, make sure you have a working Docker environment locally.
- Create a Django project
| |
The reason for adding requirements.txt is to let the script recognize the application.
- Install S2I, using OS X as an example:
| |
- Build the application image
- The build command format
| |
- source, the build source code. It can be a local repository or a remote repository
- image, the base image
- tag, the generated image
- flags, build parameters, such as adding certificates, setting the network, and so on
- Start building the application
centos/python-35-centos7 is an S2I base image for Python 3.5 applications, click to view.
| |
- View the image
| |
- Run the application
| |
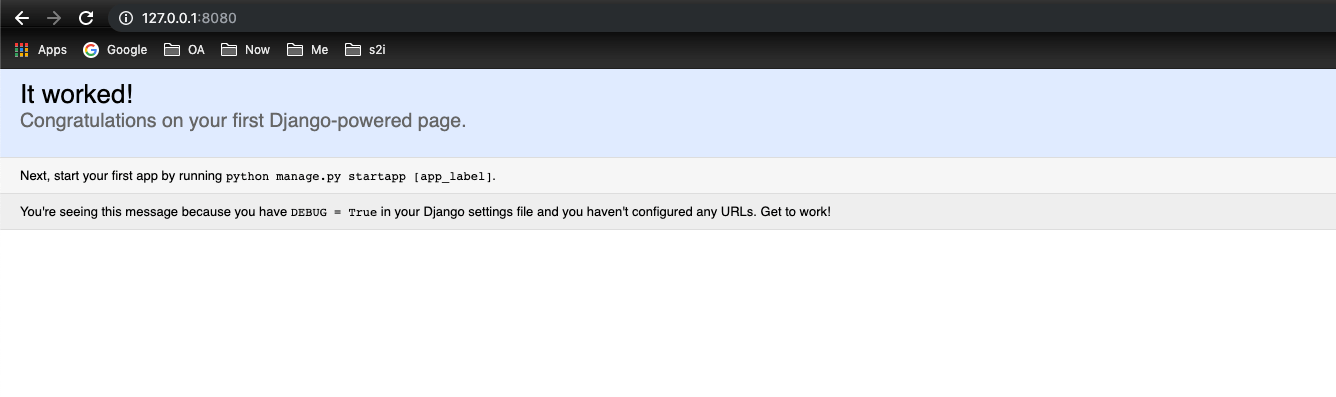
- View the application