In an earlier post, Installing Harbor with Helm, I described in detail how to install Ingress and Harbor and finally push an image successfully. There the domain was publicly reachable and the certificate was issued by a certificate authority. In an intranet environment, however, we need to use an internal domain name for access. This post focuses on the problem of accessing Harbor over HTTPS with a self-signed certificate.
1. Generating a Self-Signed Certificate
This example uses the domain *.harbor.dev.chenshaowen.com.
1.1 Creating the CA Certificate
- Generate the CA certificate private key
1
| openssl genrsa -out ca.key 4096
|
- Generate the CA certificate
1
2
3
4
| openssl req -x509 -new -nodes -sha512 -days 3650 \
-subj "/C=CN/ST=Beijing/L=Beijing/O=example/OU=Personal/CN=dev.chenshaowen.com" \
-key ca.key \
-out ca.crt
|
1.2 Creating the Domain Certificate
1
| openssl genrsa -out harbor.dev.chenshaowen.com.key 4096
|
- Generate the certificate signing request (CSR)
1
2
3
4
| openssl req -sha512 -new \
-subj "/C=CN/ST=Beijing/L=Beijing/O=example/OU=Personal/CN=*.harbor.dev.chenshaowen.com" \
-key harbor.dev.chenshaowen.com.key \
-out harbor.dev.chenshaowen.com.csr
|
- Generate the x509 v3 extensions
 1
 2
 3
 4
 5
 6
 7
 8
 9
10
11
12
| cat > v3.ext <<-EOF
authorityKeyIdentifier=keyid,issuer
basicConstraints=CA:FALSE
keyUsage = digitalSignature, nonRepudiation, keyEncipherment, dataEncipherment
extendedKeyUsage = serverAuth
subjectAltName = @alt_names
[alt_names]
DNS.1=harbor.dev.chenshaowen.com
DNS.2=*.harbor.dev.chenshaowen.com
DNS.3=hostname
EOF
|
- Create the Harbor access certificate
1
2
3
4
5
| openssl x509 -req -sha512 -days 3650 \
-extfile v3.ext \
-CA ca.crt -CAkey ca.key -CAcreateserial \
-in harbor.dev.chenshaowen.com.csr \
-out harbor.dev.chenshaowen.com.crt
|
- Convert the crt to cert for Docker to use
1
| openssl x509 -inform PEM -in harbor.dev.chenshaowen.com.crt -out harbor.dev.chenshaowen.com.cert
|
You end up with the following files in the directory:
1
2
3
| ls
ca.crt ca.key ca.srl harbor.dev.chenshaowen.com.cert harbor.dev.chenshaowen.com.crt harbor.dev.chenshaowen.com.csr harbor.dev.chenshaowen.com.key v3.ext
|
2. Deploying Harbor
- Install the Ingress Controller
1
| helm install --name nginx-ingress --set "rbac.create=true,controller.service.externalIPs[0]=192.168.13.20" stable/nginx-ingress
|
1
| kubectl create ns harbor
|
- Create the certificate secret
1
| kubectl create secret tls harbor.dev.chenshaowen.com --key harbor.dev.chenshaowen.com.key --cert harbor.dev.chenshaowen.com.crt -n harbor
|
1
2
| helm repo add harbor https://helm.goharbor.io
helm repo update
|
1
2
3
4
5
6
7
| helm install --name harbor --namespace harbor harbor/harbor \
--set expose.ingress.hosts.core=core.harbor.dev.chenshaowen.com \
--set expose.ingress.hosts.notary=notary.harbor.dev.chenshaowen.com \
--set expose.tls.secretName=harbor.dev.chenshaowen.com \
--set persistence.enabled=true \
--set externalURL=https://core.harbor.dev.chenshaowen.com \
--set harborAdminPassword=Harbor12345
|
If there is no default storageClass, you can set persistence.enabled to false and skip persistent storage.
If you need persistent storage, see Using StorageClass to provide dynamic PV storage.
3. Configuration and Usage
3.1 Web Access
After configuring hosts, visit https://core.harbor.dev.chenshaowen.com:
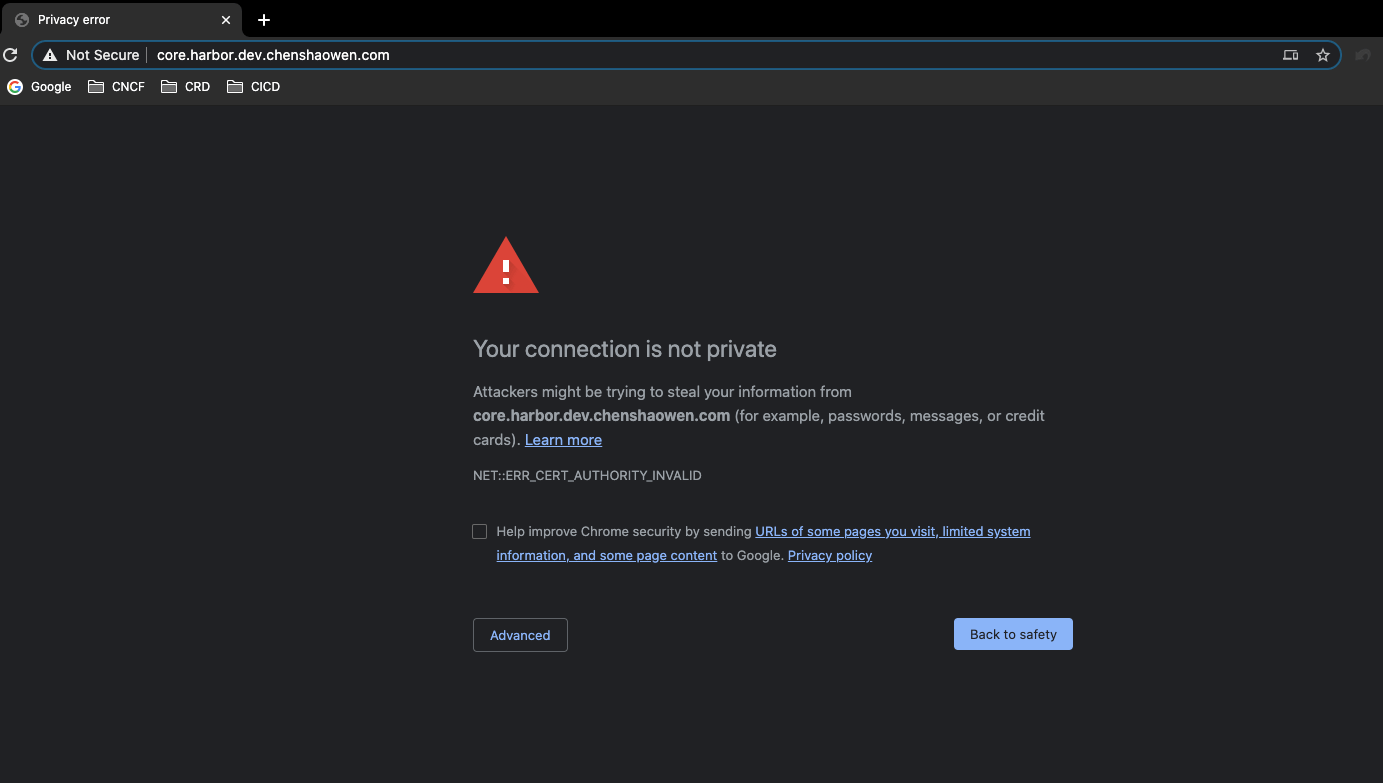
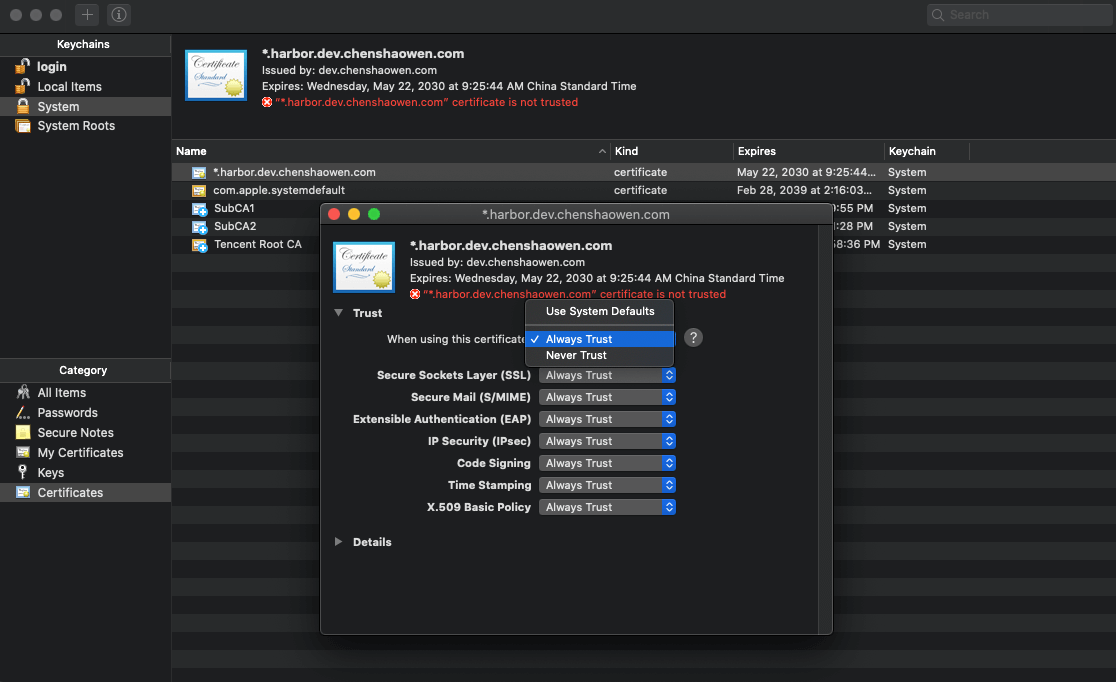
This is because the self-signed certificate is not trusted. We need to import the harbor.dev.chenshaowen.com.crt certificate into the system; below we use OS X as an example:
Save a copy of the certificate locally, drag it into Keychain, then double-click the certificate and set it to Always Trust. As shown below:
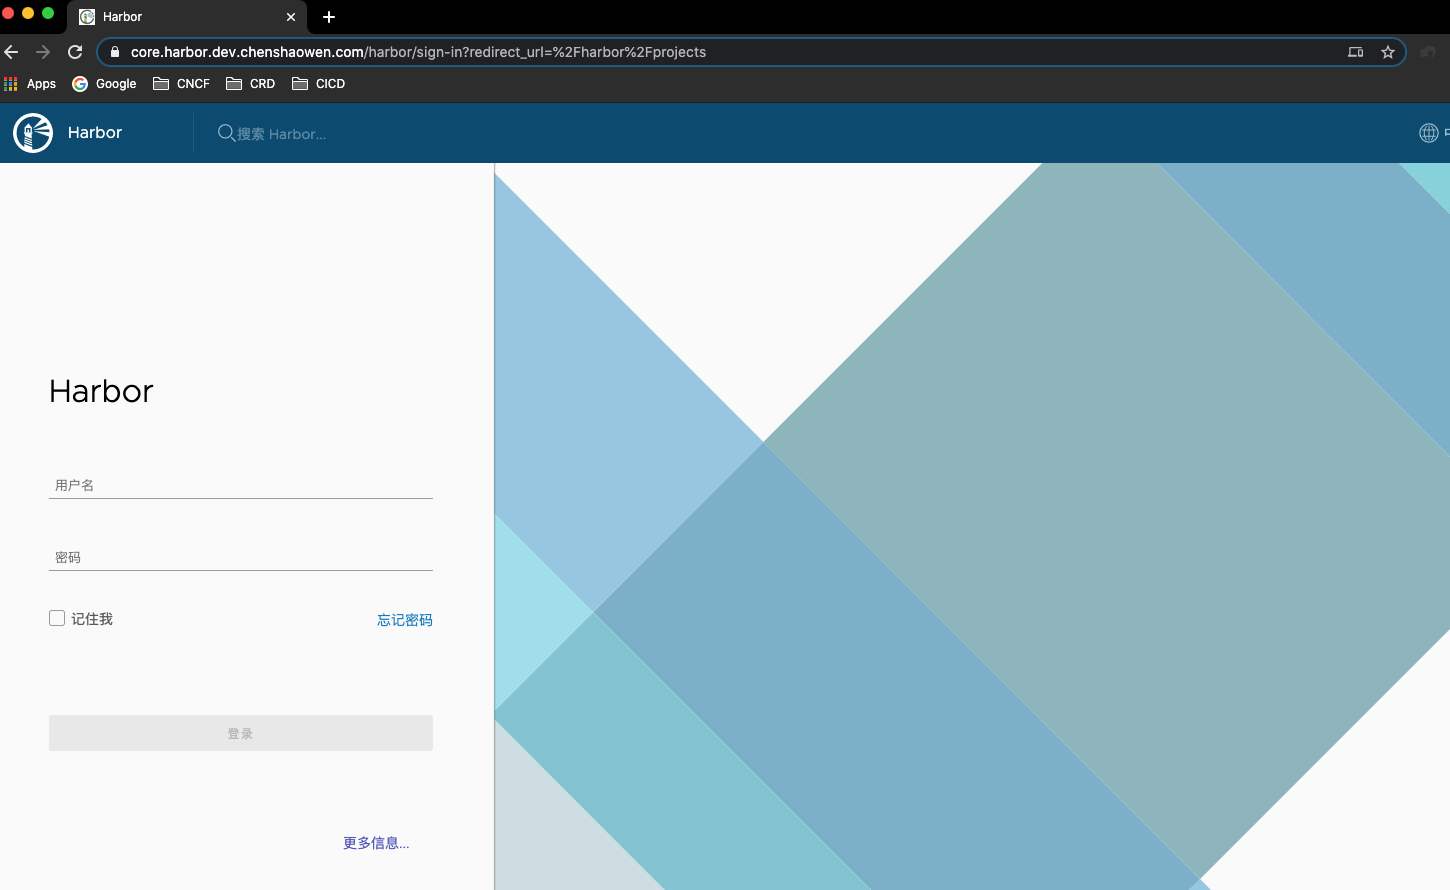
On the next visit, the page opens and you can log in normally.
3.2 Docker Access
- Copy the certificate to Docker’s certificate configuration directory
1
2
3
4
| mkdir -p /etc/docker/certs.d/core.harbor.dev.chenshaowen.com/
cp harbor.dev.chenshaowen.com.cert /etc/docker/certs.d/core.harbor.dev.chenshaowen.com/
cp harbor.dev.chenshaowen.com.key /etc/docker/certs.d/core.harbor.dev.chenshaowen.com/
cp ca.crt /etc/docker/certs.d/core.harbor.dev.chenshaowen.com/
|
The core.harbor.dev.chenshaowen.com directory here must match the service exactly; if there is a port, it should be appended with : as well.
- Log in to core.harbor.dev.chenshaowen.com
1
2
3
4
5
6
7
8
| docker login core.harbor.dev.chenshaowen.com -u admin
Password:
WARNING! Your password will be stored unencrypted in /root/.docker/config.json.
Configure a credential helper to remove this warning. See
https://docs.docker.com/engine/reference/commandline/login/#credentials-store
Login Succeeded
|
1
| docker tag nginx core.harbor.dev.chenshaowen.com/library/nginx
|
1
2
3
4
5
6
7
| docker push core.harbor.dev.chenshaowen.com/library/nginx
The push refers to repository [core.harbor.dev.chenshaowen.com/library/nginx]
be91fceb796e: Pushed
919b6770519b: Pushed
b60e5c3bcef2: Pushed
latest: digest: sha256:6b3b6c113f98e901a8b1473dee4c268cf37e93d72bc0a01e57c65b4ab99e58ee size: 948
|
- View the pushed image in the web UI
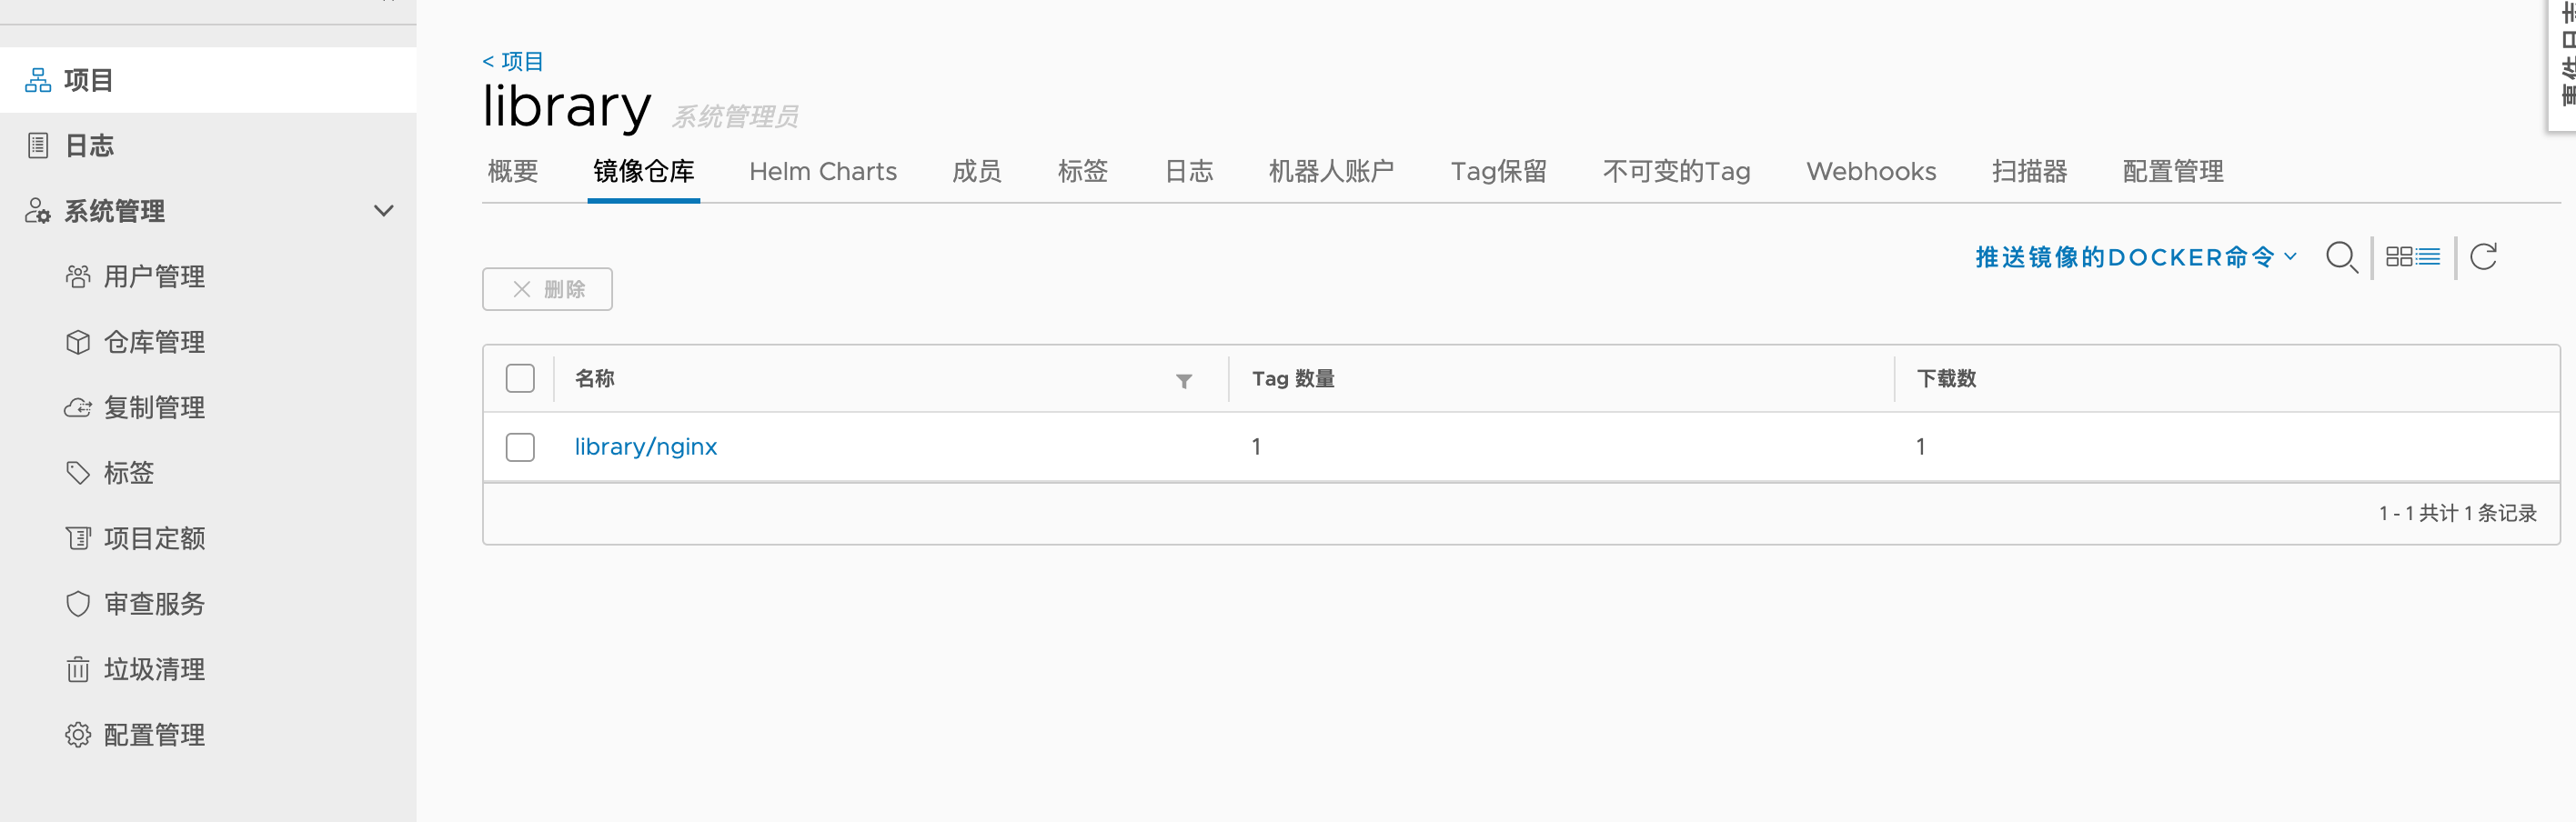
Because I deleted the local image after pushing and pulled it again, the download count here is 1.
