1. Installing a Headless Browser
1.1 Installing PhantomJS on CentOS
- Download and extract
Visit Phantomjs, find the download link for Download phantomjs-2.1.1-linux-x86_64.tar.bz2, and copy it.
Run the following commands on CentOS:
| |
- Add it to the environment variables
| |
Append the following at the end of the file:
| |
Make the environment variables take effect immediately:
| |
Check the PhantomJS version:
| |
After installing it, I found this notice on the Phantomjs official site: Important: PhantomJS development is suspended until further notice. It means PhantomJS development has been suspended — heartbreaking. When using PhantomJS in Robot Framework, the Console prints a similar notice as well.
That does not matter, though: PhantomJS is only one kind of headless browser, and starting with version 59 Chrome added a new mode — headless mode. In other words, Chrome headless can replace PhantomJS.
1.2 Installing Chrome on CentOS
- Configure the installation source
| |
Add the following content:
| |
- Start the installation:
| |
- Check the Chrome version
| |
- Install chromedriver
The chromedriver version must match the Chrome version. On the chromedriver page, find the download link for the matching driver.
| |
tips: If you do not place the chromedriver file in the /usr/bin/ directory, running the test case fails with WebDriverException: Message: 'chromedriver' executable needs to be in PATH. Please see https://sites.google.com/a/chromium.org/chromedriver/home.
2. Jenkins Configuration
2.1 Installing Jenkins
- First you need a JDK environment installed, then you install Jenkins.
| |
- Create the runner group and runner user
| |
- Modify the configuration file
/etc/sysconfig/jenkins
| |
- Start Jenkins
Visit the http://127.0.0.1:8080/ page:
| |
Following the page prompt, run cat /home/runner/secrets/initialAdminPassword to find the password. Then it is recommended to install the plugins Jenkins recommends — click Install suggested plugins.
2.1 Installing the robotframework Plugin
On the Manage Jenkins > Plugin Manager page, select the Avaliable tab. Search for robot and install the Robot Framework plugin plugin.
Finally, do not forget to restart Jenkins so the plugin takes effect.
3. Pipeline Configuration
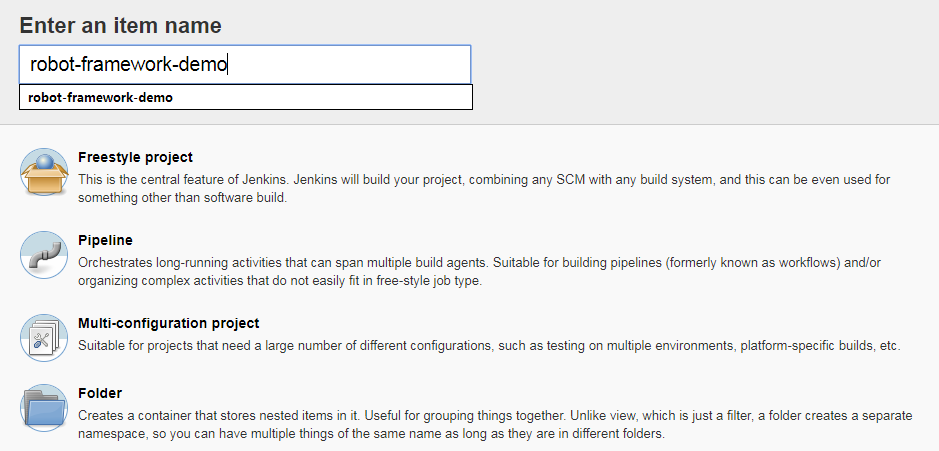
- In Jenkins, create a Freestyle project named robot-framework-demo
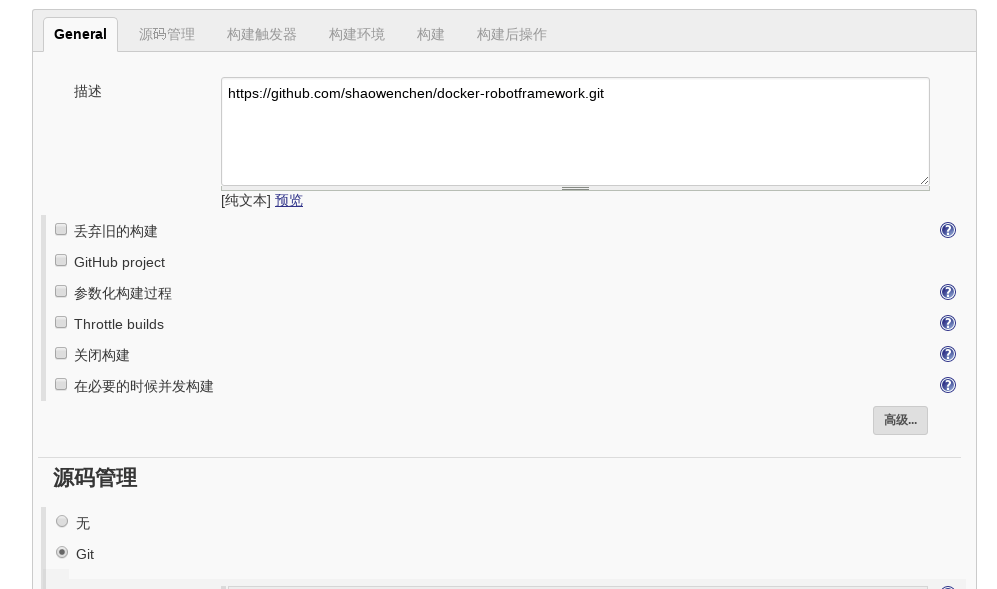
- Under Source Code Management, select the Git type and enter:
https://github.com/shaowenchen/docker-robotframework.git. The repository contains a simple Robot Framework test case that takes a screenshot of a website’s homepage.
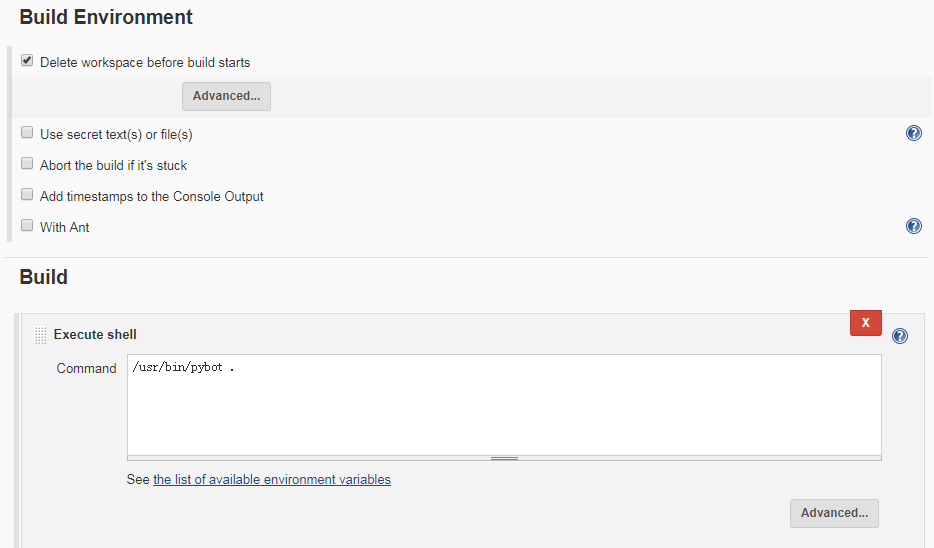
- Under Build, choose Execute Shell in Add build step and enter:
/usr/bin/pybot ..
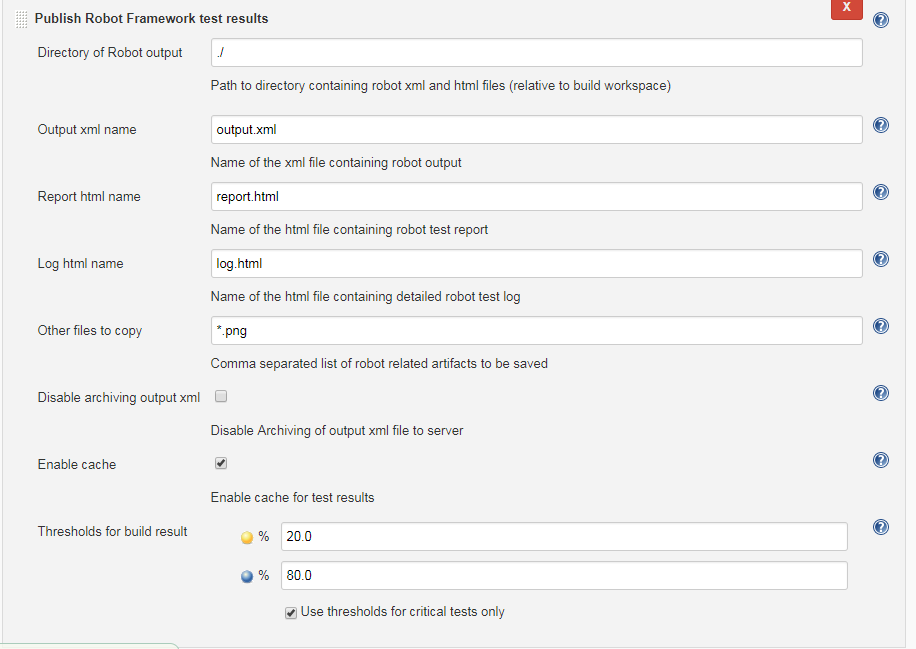
- Under Post-build Actions, choose Publish Robot Framework test results in Add post buld step. Click Advanced to expand more options, and enter
*.pngin Others files to copy. This is so that the screenshots can be seen in report.html or log.html. Otherwise the test case screenshots are not archived to the specified location.
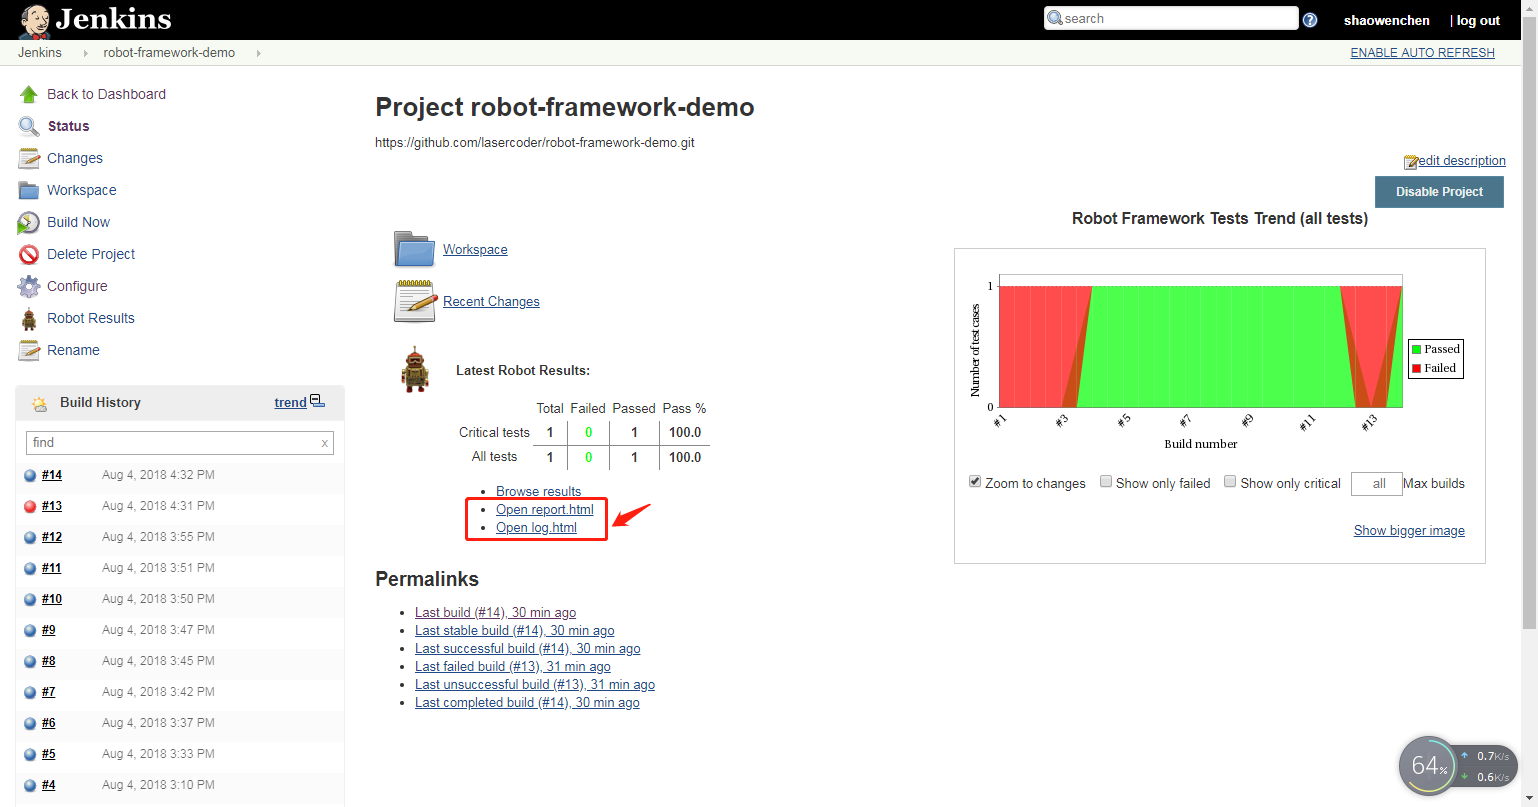
- After installing the robot framework plugin, you can see the test results directly in the details of each build.
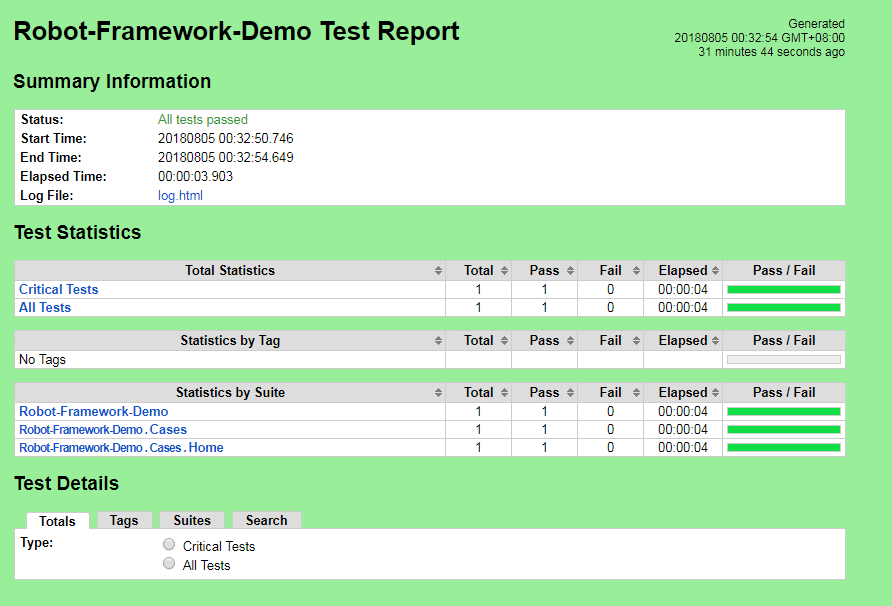
- View the test report
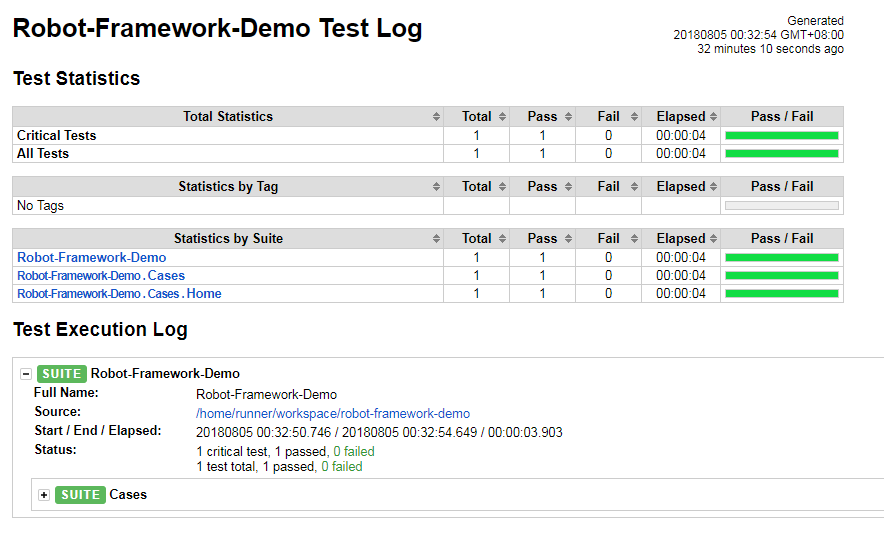
- View the test log
4. Problems and Solutions
- Opening Robot Framework report/log failed
Enter the following in Manage Jenkins > Script Console:
| |
Click Run.
You need to run the build once more, and then you can view report.html and log.html.
- WebDriverException: Message: unknown error: DevToolsActivePort file doesn’t exist
Add --no-sandbox --headless --disable-gpu to the Chrome arguments. If you are not using Robot Framework, in code:
| |
- Selenium2Library . Capture Page Screenshot produces garbled screenshots
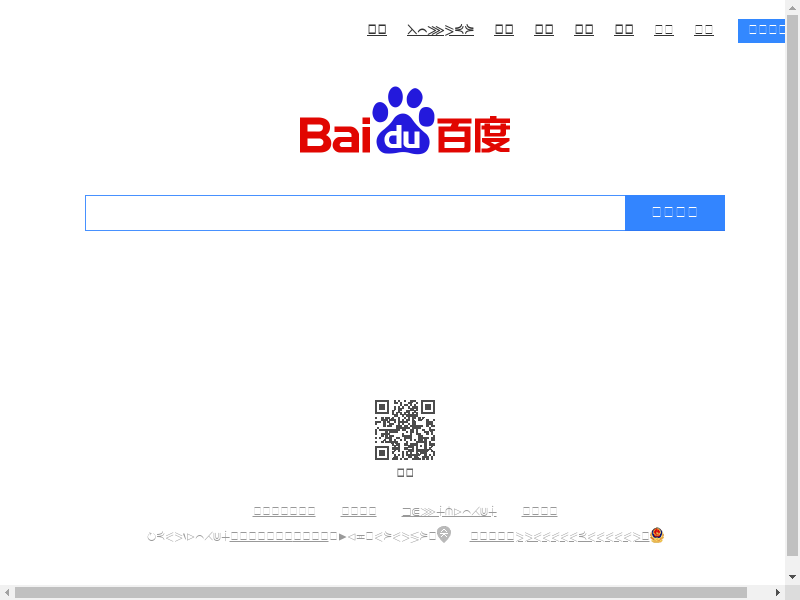
Install Chinese fonts on CentOS
| |
