Earlier we mentioned that Jupyter Notebook is an interactive notebook that supports running more than 40 programming languages and is very well suited to teaching. Recently, while learning the Go language, I thought of Jupyter. This article mainly describes how to install the Python3 and Go kernels inside Jupyter.
1. Installing Jupyter
On CentOS 7, Python 2.7 is installed by default, so there is a ready-made Python environment to work with.
- Install Jupyter
| |
- Generate a password
In IPython, use the passwd function to generate a password sha1 value.
ipython
In [1]: from IPython.lib import passwd

In [2]: passwd()
Enter password:
Verify password:
Out[2]: 'sha1:************************************************'
- Generate the config file
Run the command jupyter notebook --generate-config to generate the ~/.jupyter/jupyter_notebook_config.py config file.
Edit the jupyter_notebook_config file and add the following content:
| |
Here, passwd is the sha1 value of the password generated just now, and root_dir is the root directory where Jupyter Notebook data is stored.
- Start Jupyter
At this point the installation and configuration of Jupyter are essentially complete, and you can start Jupyter.
| |
- Error when started as a non-root user
If you start it without root privileges, an error is reported: OSError: [Errno 13] Permission denied: ‘/run/user/0/jupyter’. This is caused by a lack of permissions. You only need to use virtualenv in a directory you have permission for to create a Python environment at /home/jupyter/py2.
Run the command to modify the XDG_RUNTIME_DIR value:
| |
Check the runtime path:
| |
2. Managing Jupyter with supervisor
When running Jupyter on a server, in order to bring it back up automatically when the process dumps, you need to hand Jupyter over to supervisor.
- Install supervisor
| |
- Create the config file directory
| |
- Create the supervisor config file
| |
- Edit the supervisor config file
Edit the /etc/supervisor/supervisord.conf file and add the following content:
| |
Every config file under the /etc/supervisor/conf.d/ directory will then be imported. This is for ease of management: you can write a separate config file for each process, or for a few related processes.
- Add the Jupyter config jupyter.ini
Add the file /etc/supervisor/conf.d/jupyter.ini with the following content:
| |
- Create the log directory
| |
- Start supervisor
You can simply run this to start supervisor:
| |
Or you can start it with a specified config file
| |
- Check status with supervisorctl
supervisorctl is a program used to interact with supervisord. Through supervisorctl, we can manage the processes being supervised. Here are some basic commands:
| |
3. Configuring the Go Kernel in Jupyter
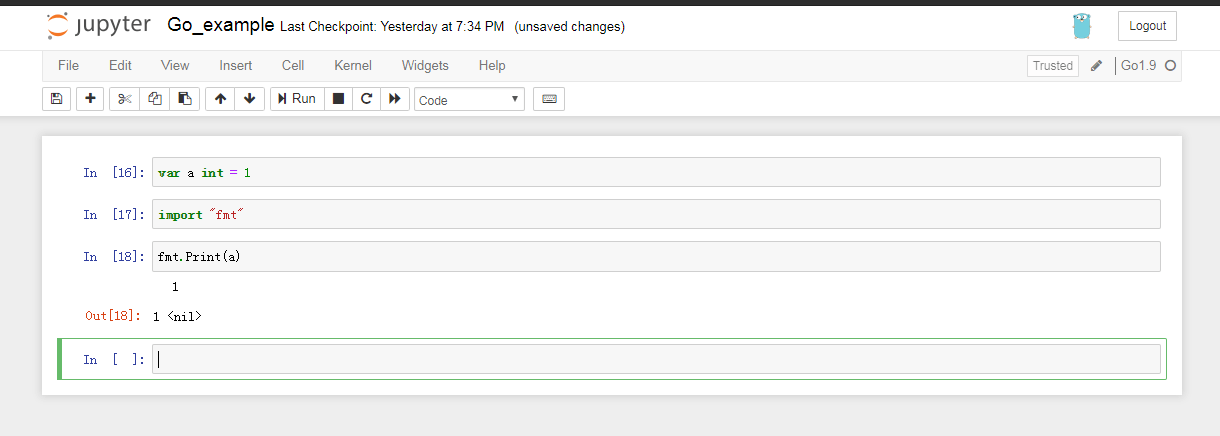
gophernotes is the Go kernel for Jupyter. The figure below shows an example of running Go in Jupyter after the kernel is configured:
- Install the dependencies
gophernotes has four dependencies:
- Go 1.9+
- Jupyter Notebook or nteract
- ZeroMQ 4.X.X
- pkg-config
On CentOS 7 you only need to install ZeroMQ and Go to satisfy the dependencies.
| |
- Install gopherdata
| |
- gophernotes not found because it is not on the PATH
Error message: OSError: [Errno 2] No such file or directory
| |
You can create the symlink as suggested on GitHub, or simply copy gophernotes into the /usr/bin/ directory.
4. Configuring the Python3 Kernel in Jupyter
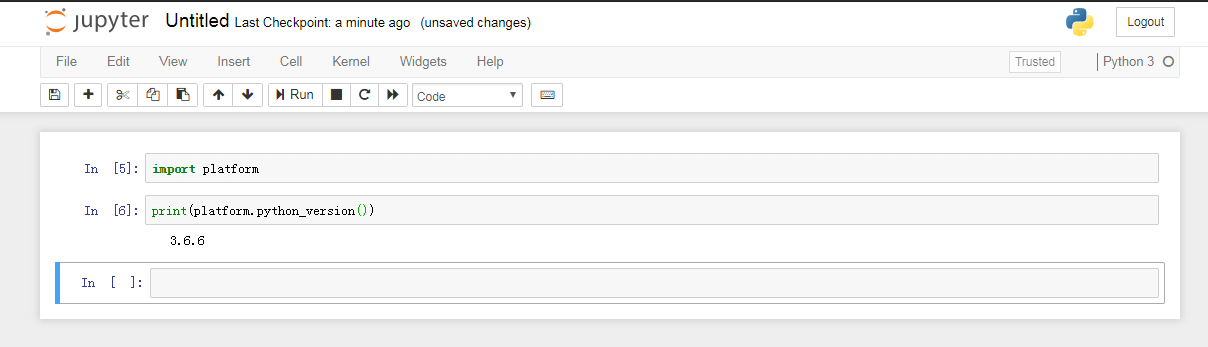
After configuring Go, I went ahead and configured Python3 as well. The figure below shows an example of running Python3 in Jupyter after the kernel is configured:
- Check the available Python3 versions
| |
- Install Python36
| |
- Install pip3
| |
- Install the kernel
python36 -m pip install ipykernel
python36 -m ipykernel install
- Error when widgetsnbextension is not installed and enabled
The frontend reports a 404 error, unable to find /jupyter/nbextensions/widgets/notebook/js/extension.js
Just install and enable widgetsnbextension.
| |
5. Markdown Enhancements
The notedown plugin lets you create Jupyter notes with Markdown, and also supports creating and editing Markdown files online.
- Install
| |
- Configure
Edit ~/.jupyter/jupyter_notebook_config.py and add the following content:
| |
