1. Terraform Vs Kubernetes
Infrastructure as Code (Iac) is built on immutable infrastructure: it uses orchestration tools to turn infrastructure into text, so you can manage infrastructure the way you manage code.
In 2018 I was working on SaaS development, deploying on the Kubernetes platform, and that was the year Terraform was very hot. In 2019 I started working on secondary development of Kubernetes, and only then did I hear about Terraform. These days the amount of new Terraform documentation online is already small — it is mostly Kubernetes.
Why did I start paying attention to Terraform? Because testing Kubernetes often requires creating a large number of clusters. Manually creating VMs in an IaaS GUI and then logging in to deploy is the least efficient approach. I also tried deploying Kubernetes with a Jenkins pipeline, but that means maintaining a reliable server. In the end I landed on Terraform.
Terraform carries the platform, while Kubernetes carries the application.
Storage platforms, monitoring platforms, PaaS platforms, platforms that depend on Kubernetes, DevOps platforms, and so on should be considered for deployment on VMs to reduce architectural complexity, while user service workloads can be deployed directly on Kubernetes. Right now the bar for using and operating Kubernetes is not very low; forcing an all-in on Kubernetes when the operational capability has not kept up leads to even thornier problems. Before, the service was merely slow; now the service will not open at all.
2. How Terraform Works
The core of an orchestration tool is defining a DSL language: users describe the process in the Outer DSL, while the orchestration tool implements the Inner DSL to parse it and convert it into concrete execution actions. As shown below:
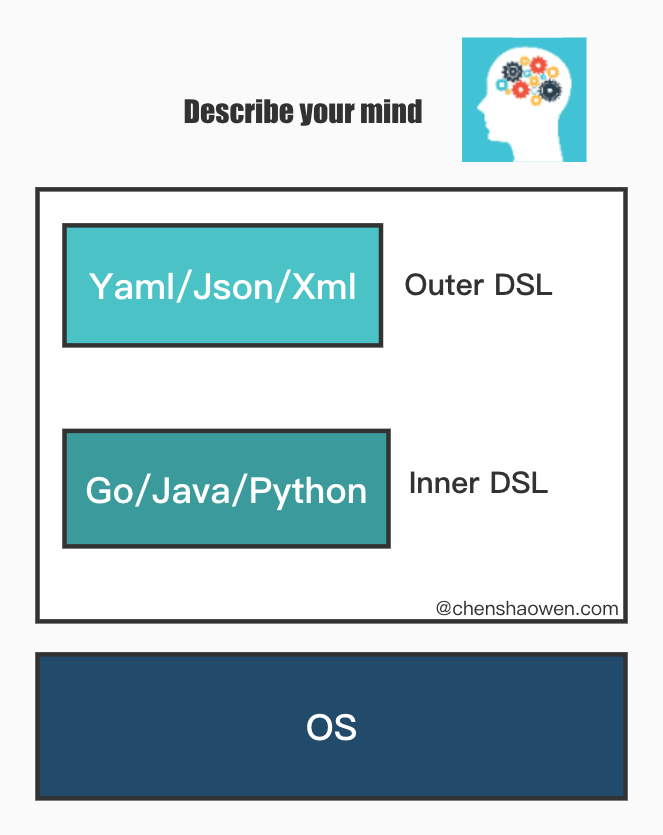
Terraform’s Outer DSL is there for users to write:
| |
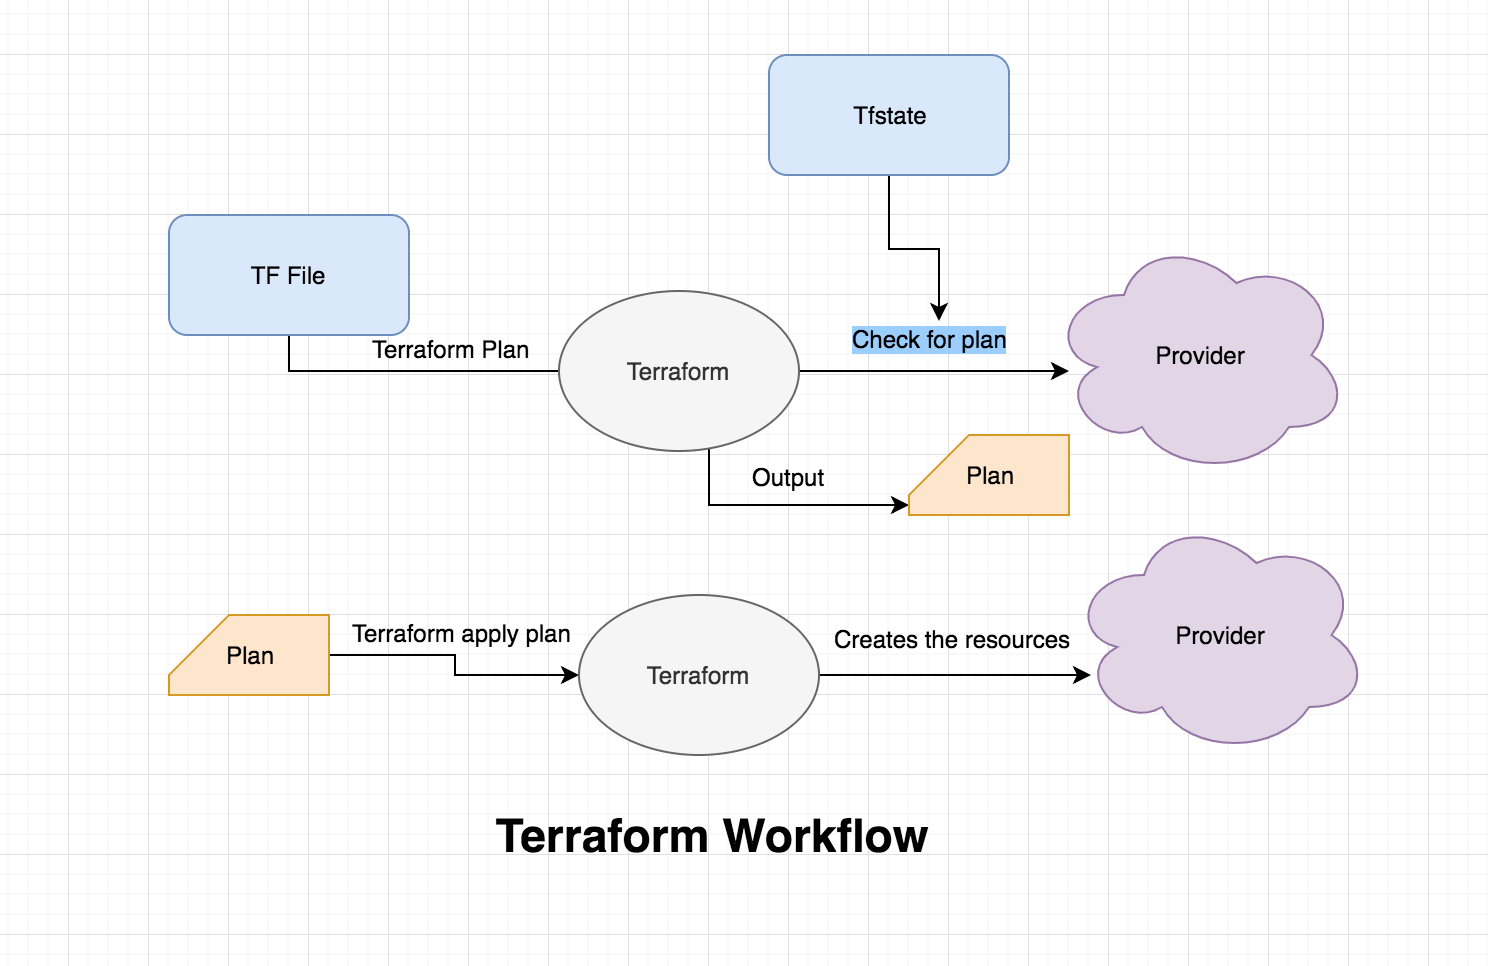
Terraform’s Inner DSL is implemented by developers in Golang and consists of two parts, Core and Plugins. Core communicates with Plugins over RPC.
The Plugins handle the domain implementation and provide Providers. Core is responsible for parsing the Outer DSL, managing resources, managing builds, and executing plans. As shown below:
3. How to Publish a Provider
A Provider is essentially a wrapper around a domain — plainly put, it is a wrapper around an IaaS API. Implement authentication based on the schema.Provider that Terraform provides, and CRUD for IaaS resources based on schema.Resource, and you are done.
https://registry.terraform.io/ offers hosting similar to DockerHub, and on its pages you can find Providers and Modules for the relevant infrastructure. A Provider is usually the IaaS itself, while a Module is a component or application built on top of a Provider.
- First you need to publish the Provider to a GitHub Release.
The main steps are as follows:
- Install goreleaser and configure .goreleaser.yml
Copy the .goreleaser.yml file from terraform-provider-scaffolding straight into the project root. goreleaser handles project releases: it can compile for several OS targets at once and publish them to GitHub.
- Configure GPG_FINGERPRINT
If you have not set up GPG, see this document, GPG Verified Commits. List all GPG keys in the environment:
| |
Set the environment variable:
| |
GPG_FINGERPRINT points to the particular GPG key you use, and it is also what you will need to enter on the registration page below.
- Set GITHUB_TOKEN
Open GitHub’s personal configuration page, check the public_repo scope, and once the token is generated:
| |
- Tag the repository
| |
- Publish the Release
| |
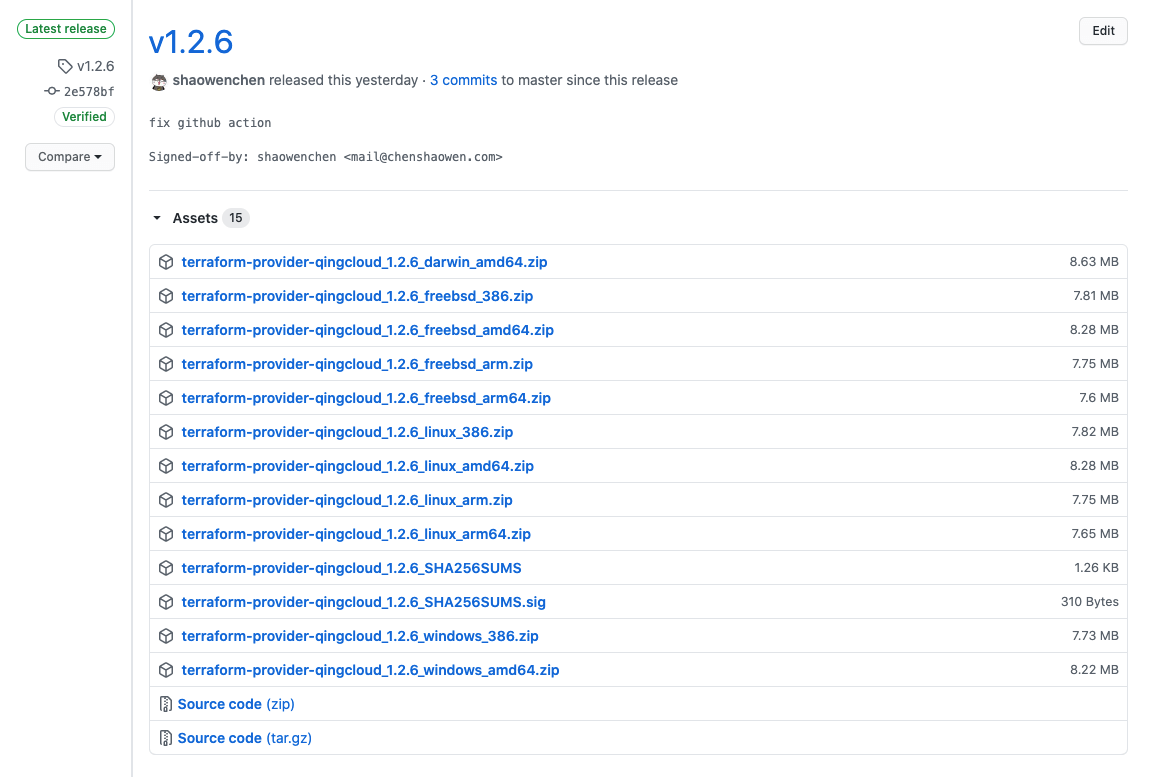
In the end, this is what it looks like on the GitHub page:
If you want to release automatically with GitHub Actions, you can add a file `` :
| |
RELEASE_TOKEN is the GITHUB_TOKEN value from above, and GPG_PRIVATE_KEY is the output of the command below:
| |
gpg --export-secret-keys --armor xxx(YOUR_GPG_ID)
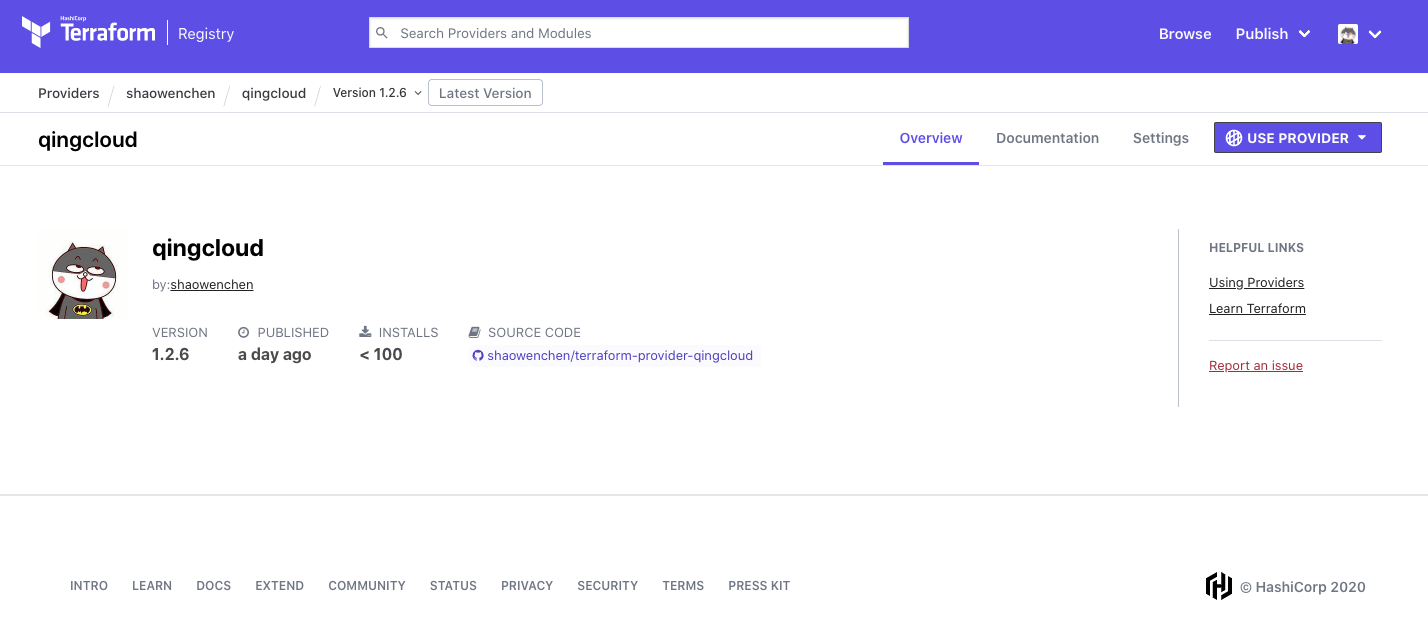
- Then prepare the GPG key, log in to https://registry.terraform.io/ with your GitHub account, select the Provider repository, and publish a Provider. After publishing, the result looks like this:
4. How to Use a Provider to Deliver an Iac Application
Add three files under the directory: var.tf, platform.tf, and install.sh. Their contents are roughly as follows:
var.tf defines the provider and the global variables.
| |
platform.tf defines the IaaS-related resources.
| |
install.sh installs the platform application on the specified IaaS. You can also wrap it into a module, which is clearer.
| |
All these infrastructure-related configuration files need to be stored and managed with Git. Whenever you need to create something, just clone it, enter the directory:
| |
and the corresponding platform application is created. Running terraform destroy tears down everything that was created.
