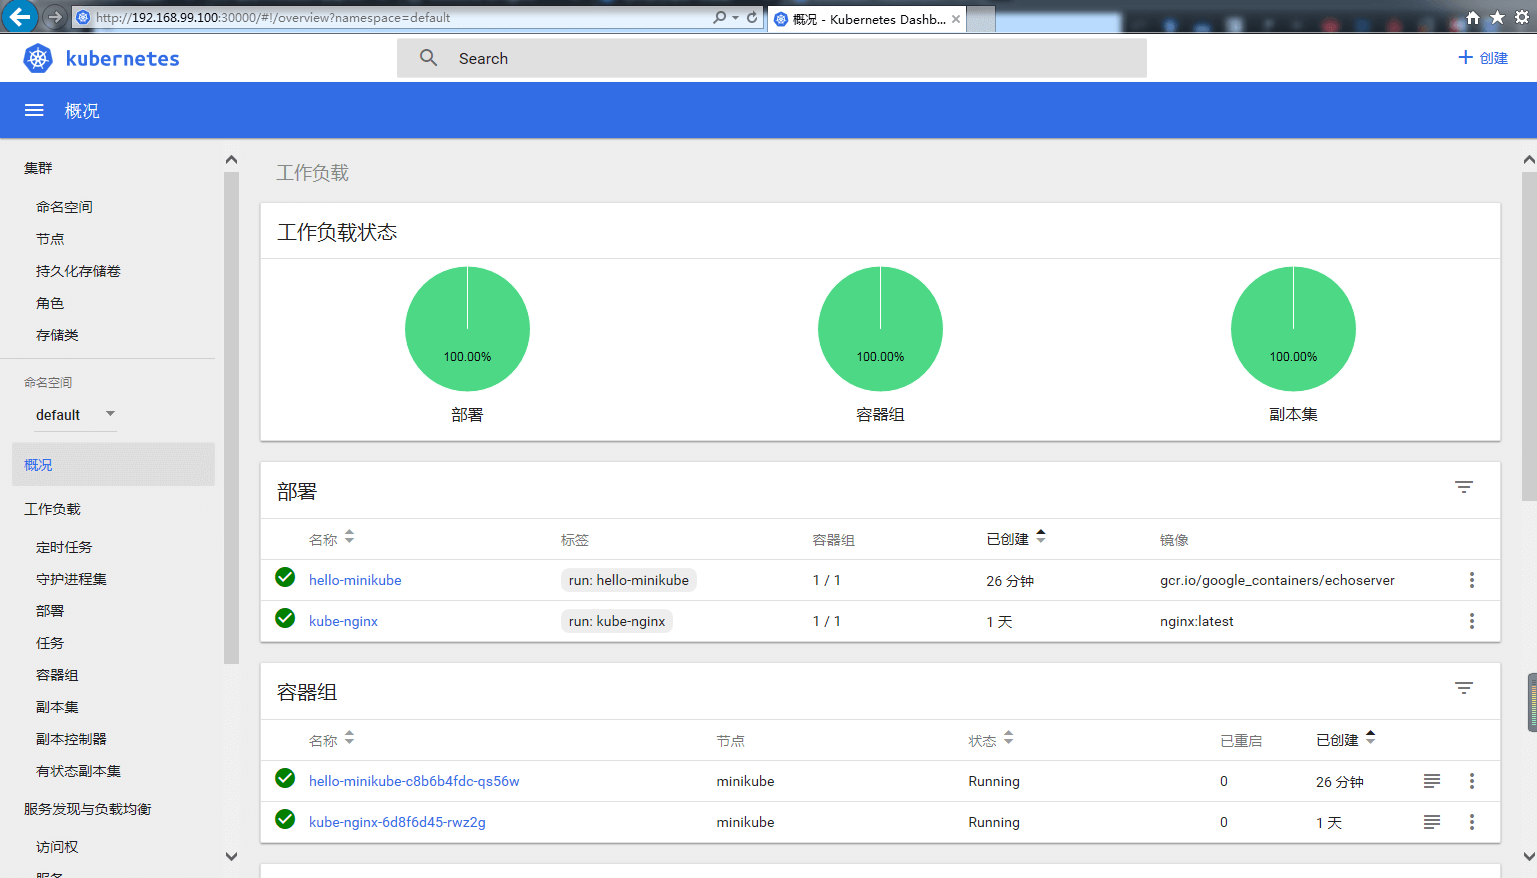
1. Basic Concepts
1.1 Kubernetes
Kubernetes (K8s for short), the successor to Google’s Borg, is an open-source system for automatically deploying, scaling, and managing containerized applications.
The features it provides:
- Automated deployment of containers
- Automated scaling up and down
- Automated application/service upgrades
- Grouping containers to serve traffic externally, with load balancing support
- Health checks for services, with automatic restarts
1.2 Kubernetes Cluster
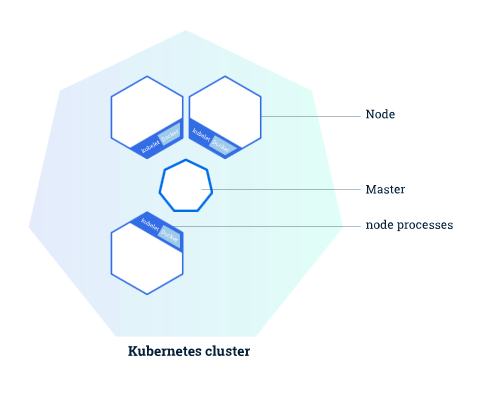
As shown above, a Kubernetes cluster contains two types of resources:
- Master nodes, which coordinate and control the whole cluster
The Master is responsible for managing the cluster. It coordinates all behavior and activity in the cluster, such as running, modifying, and updating applications.
- Node nodes, the worker nodes that run applications.
A Node is a worker node in the Kubernetes cluster and can be a VM or a physical machine. Every Node has a Kubelet, which manages communication between the node and the Kubernetes Master.
1.3 Kubelet
The main job of the Kubelet is to periodically fetch the desired state of the Pods/Containers on its node — which containers to run, how many replicas, how networking or storage should be configured, and so on — from a local source or from the API, and to call the corresponding container platform interfaces to reach that state. The main capabilities the Kubelet provides:
- Pod management
- Container health checks
- Container monitoring
1.4 MiniKube
During development you can use Minikube to get a lightweight Kubernetes cluster by creating a local virtual machine and deploying a simple single-node cluster on it.
The Minikube CLI provides the basic cluster operations, including start, stop, status, and delete.
2. Installation
2.1 Requirements
- kubectl, for managing Node nodes
- Windows
- VirtualBox or Hyper-V, the underlying virtual machine
- VT-x/AMD-v virtualization must be enabled in BIOS, i.e. the virtualization instruction set must be turned on
- Internet connection on first run, an internet connection is required on the first run
Since Docker Toolbox for Windows was installed previously, VirtualBox is already installed. Here I will mainly cover how to install kubectl and MiniKube.
2.2 Installing Kubectl
The official documentation describes in detail how to install kubectl on various systems. On Windows, use the Chocolatey package manager (for the install method, see an earlier post):
| |
| |
Because the service has not been started, it reports that it cannot connect.
2.3 Installing MiniKube
In MiniKube’s GitHub repository, how to install MiniKube on various systems is described in detail. MiniKube is written in Go. On Windows you can download the MiniKube executable and install it directly, or you can install it with the Chocolatey package manager.
| |
3. Usage
3.1 Creating and Starting a Cluster
Using the minikube start command, you can create and configure a virtual machine running a single-node Kubernetes cluster, and at the same time configure kubectl to communicate with this cluster.
| |
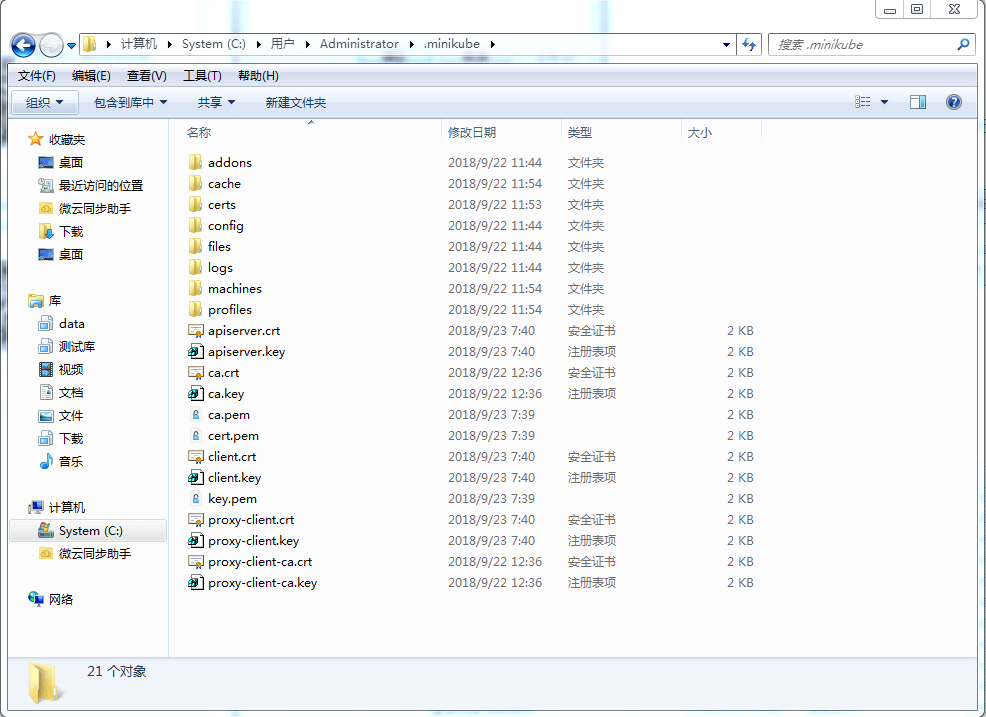
Minikube uses VirtualBox as the driver by default; the --vm-driver flag lets you specify a driver. Setting the MINIKUBE_HOME environment variable lets you specify the installation directory; the default installation directory is C:\Users\Your User Name\.minikube.
Check whether the node is healthy:
| |
3.2 Pulling Images
If the network is restricted, the gcr.io page cannot be opened. There are two ways to solve the problem of images failing to pull. Given my environment, I can access the internet through a proxy, so here I only offer the general approach.
- First, configure a proxy
| |
Finding a usable proxy is not an easy task, so you can try the second approach.
- Second, pull from the Alibaba Cloud mirror and retag
| |
3.3 Starting a Service
Create an Nginx Pod service
| |
Expose the service through NodePort
| |
Check the Pod status
| |
Get the URL for accessing Nginx
| |
Open the page

3.4 MiniKube Basic Commands
- Start the cluster
| |
- Check the status
| |
- View the logs
| |
- Stop the cluster
| |
- Delete the cluster
| |
- Check the IP
| |
3.5 Viewing the Dashboard
| |