1. System Requirements
- Kubernetes, >= 1.16.0-0
- Helm, >= 3.0
- Linux kernel >= 4.9.17
For the process of upgrading the kernel on CentOS 7, see How to Switch the Data Plane to eBPF Under Calico.
2. Uninstalling Calico
- Delete the cluster resources
1
2
3
4
5
6
| kubectl -n kube-system delete ds calico-node
kubectl -n kube-system delete deploy calico-kube-controllers
kubectl -n kube-system delete sa calico-node
kubectl -n kube-system delete sa calico-kube-controllers
kubectl -n kube-system delete cm calico-config
kubectl -n kube-system delete secret calico-config
|
1
| kubectl get crd | grep calico | awk '{print $1}' | xargs kubectl delete crd
|
- Bring down the Tunl0 interface
- Remove the Calico configuration files
1
| rm -rf /etc/cni/net.d/*
|
3. Installing Cilium
- Install Cilium and Hubble
1
2
3
4
5
| helm repo add cilium https://helm.cilium.io/
helm install cilium cilium/cilium --version 1.10.4 \
--namespace kube-system\
--set hubble.relay.enabled=true \
--set hubble.ui.enabled=true
|
- Change Hubble UI to be accessed via NodePort
1
| kubectl -n kube-system patch svc hubble-ui -p '{"spec": {"type": "NodePort"}}'
|
- Check Hubble UI’s access port:
1
2
3
4
| kubectl -n kube-system get svc hubble-ui
NAME TYPE CLUSTER-IP EXTERNAL-IP PORT(S) AGE
hubble-ui NodePort 10.106.132.71 <none> 80:32572/TCP 11m
|
4. Accessing Hubble to View Network Connections
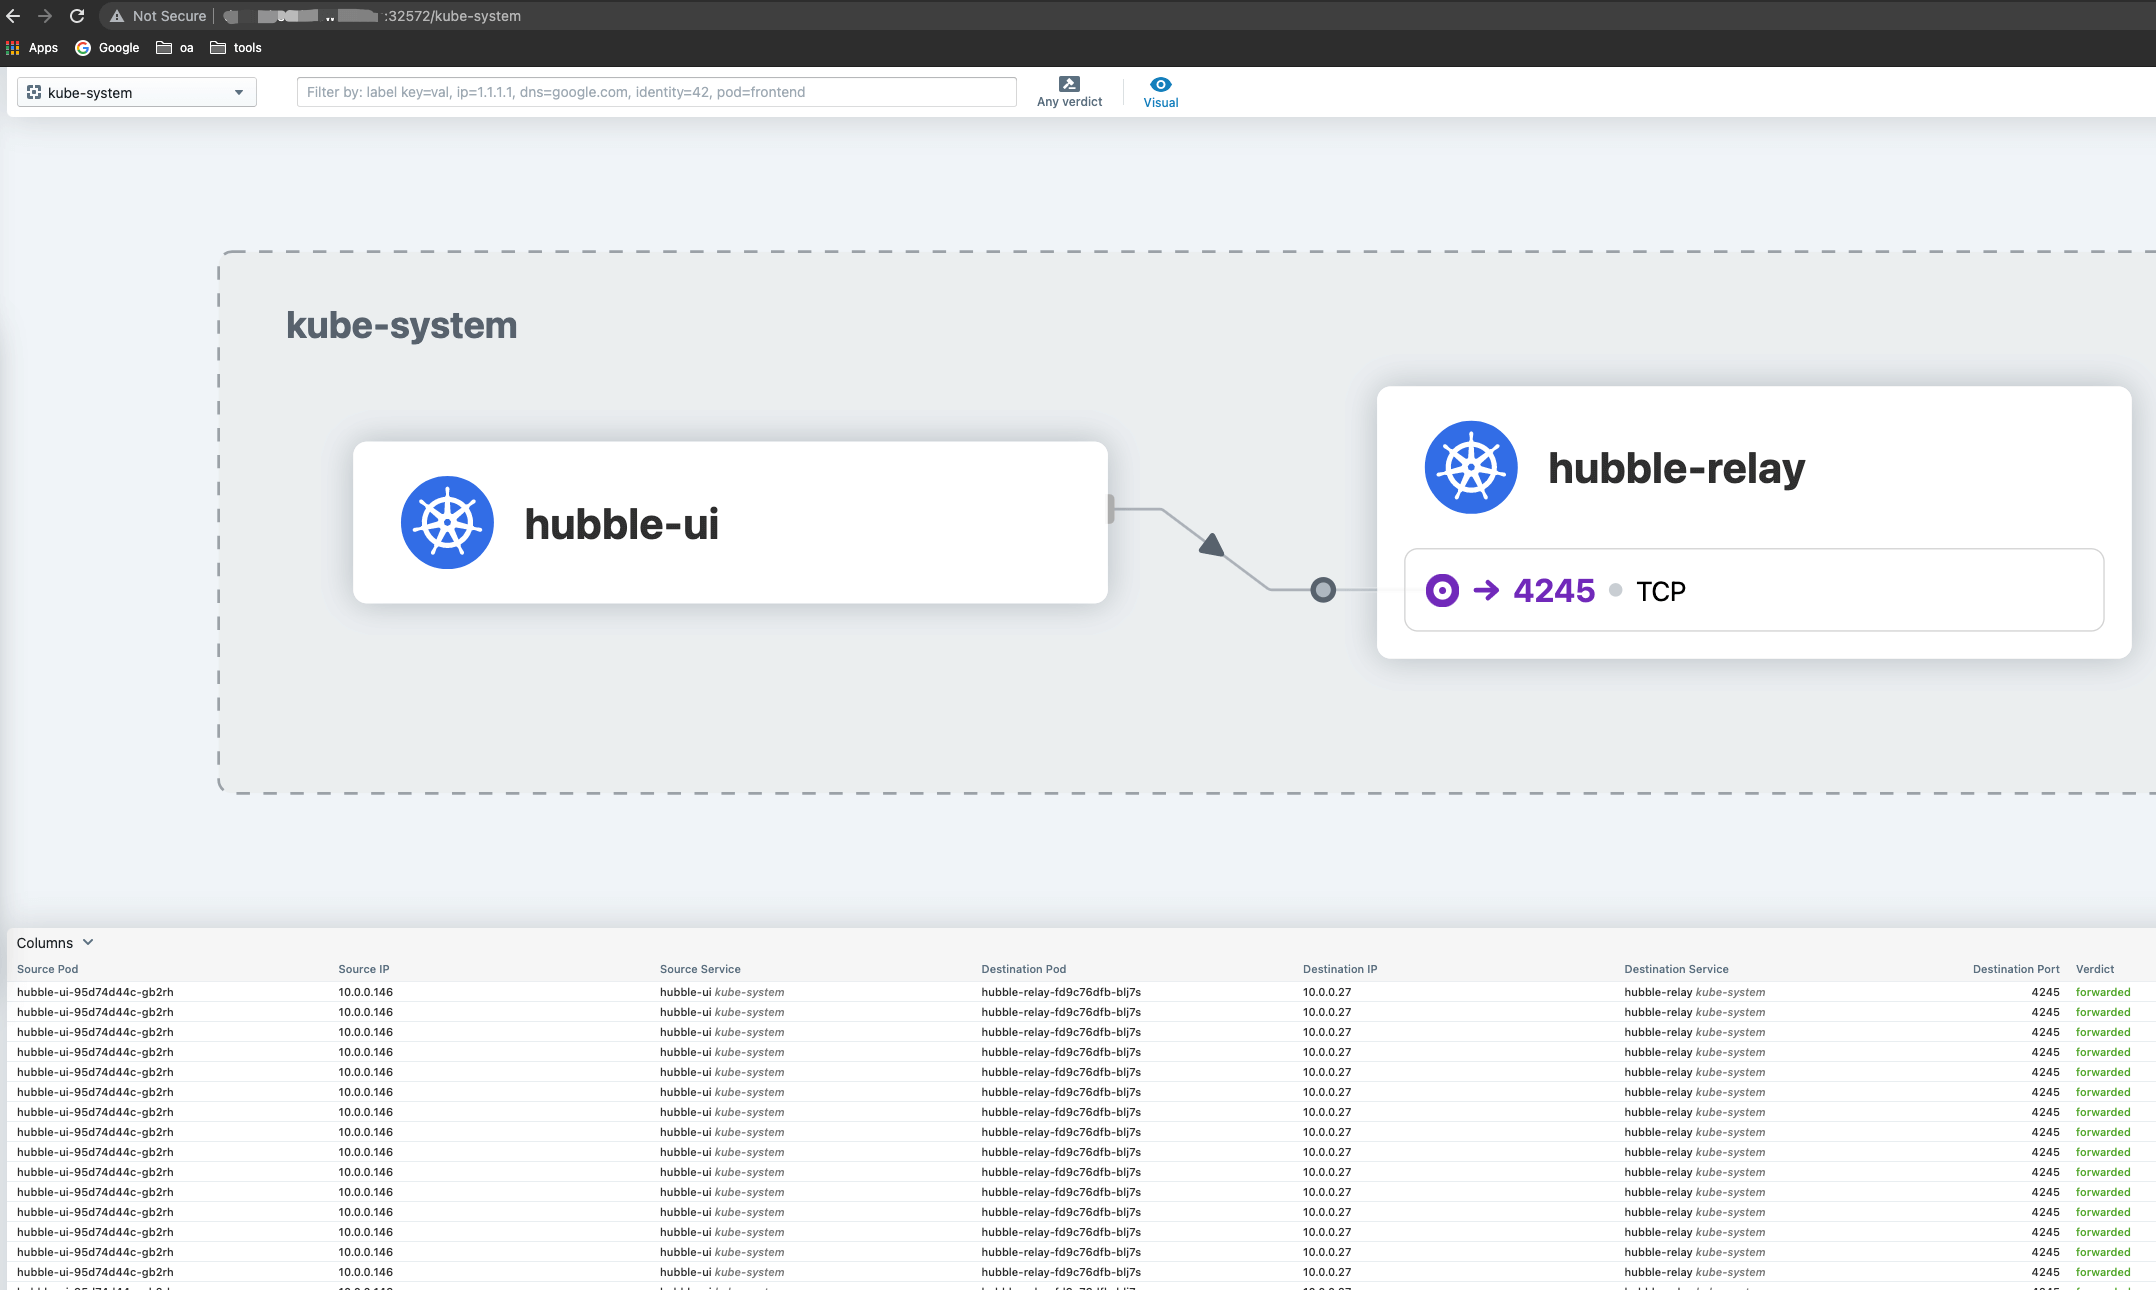
Visit the host at IP:32572 and you can see the visualized network topology.
5. References
