1. Recommended Configuration for Running Stable Diffusion
- Memory: at least 16 GB DDR4 or DDR5
- Storage: at least 10 GB of free space
- GPU: an NVIDIA card with at least 6 GB of VRAM
If your hardware falls short, you can also use one of the various optimized forks that support lower-spec hardware, but generation time will increase.
The current development machine is configured as:
- 2.9 GHz 8-Core Intel Core i7
- 16 GB 2666 MHz DDR4
- 250 GB SSD
Since there is no GPU, you need to wait a while longer when generating images.
2. Running Stable Diffusion on macOS
- Install anaconda
| |
- Configure PATH
| |
- Initialize conda for the shell
| |
Here you need to close the window and log into Terminal again.
- Download and enter the project directory
| |
- Create a Python environment
| |
- Activate the Python environment and install dependencies
| |
- Download the model
Go to https://huggingface.co/CompVis/stable-diffusion-v-1-4-original and download the sd-v1-4.ckpt or sd-v1-4-full-ema.ckpt file, then place it under the models/Stable-diffusion directory. There are also many other models on huggingface you can download and use, and you can try them online too. For example https://huggingface.co/spaces/IDEA-CCNL/Taiyi-Stable-Diffusion-Chinese .
- Modify the runtime parameters to skip the GPU check, see [1]
| |
- Run the project
| |
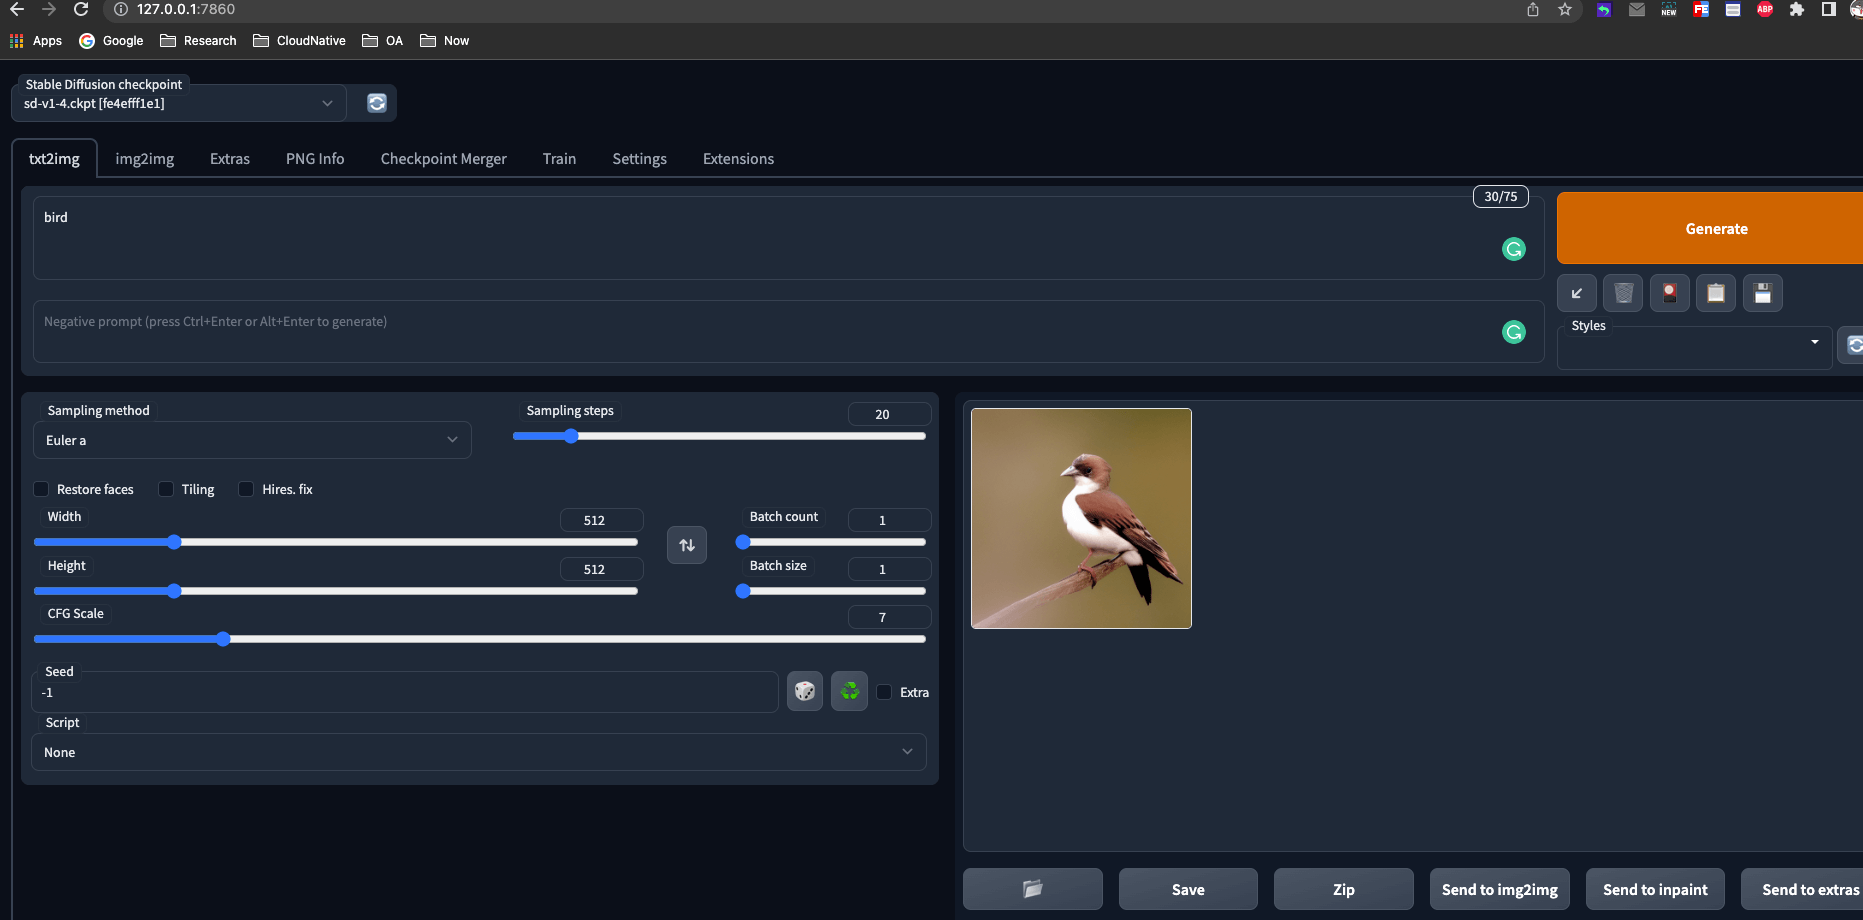
Visit http://127.0.0.1:7860 locally to open the UI.
If you see an error like stderr: Running command git clone --filter=blob:none --quiet https://github.com/mlfoundations/open_clip.git at startup, you can edit launch.py, find the def prepare_environment() function, and change git+https://https://github.com/ to git+https://github.com/.
3. Text-to-Image Test
There are many writing techniques, sentence patterns, and modifiers for Prompts; Stable Diffusion also has many parameters you can adjust. But this post is mainly about running Stable Diffusion on macOS without a GPU, so here we just enter bird for the test. The generated image is shown below: