About ten years ago, I installed macOS on a laptop. The biggest headache back then was that only specific hardware could succeed, and drivers for all sorts of things were missing. Later I bought my own Mac laptop and stopped paying attention to how to install macOS on generic machines for a long time. Recently I got hold of a Dell desktop with a decent configuration and tried it again. This article mainly records that process.
1. Dell OptiPlex 7080MT Physical Machine Configuration
The machine’s configuration is as follows:
CPU Intel(R) Core(TM) i7-10700 CPU @ 2.90GHz(2904 MHz)
Motherboard Dell 0J37VM
Memory 16.00 GB (2666 MHz)
Primary drive 250 GB SSD + 1 TB HDD
Graphics Intel(R) UHD Graphics 630 (1024 MB)
NIC Intel(R) Ethernet Connection (11) I219-LM
I dug a CSR Bluetooth adapter out of a cabinet; plugging it into a USB port works right away.
2. Installing macOS
The main reference document here: https://blog.daliansky.net/macOS-BigSur-11.2.3-20D91-Release-version-with-OC-0.6.7-and-Clover-5131-and-PE-original-image.html
2.1 Downloading the macOS Image and Burning Tool
Image download link: OndeDrive
Burning tool: etcher
2.2 Burning the USB Boot Drive
On Windows, you need to run it with administrator privileges. The process is very simple: choose the image, choose the USB drive to burn to, and click Flash. As shown below:
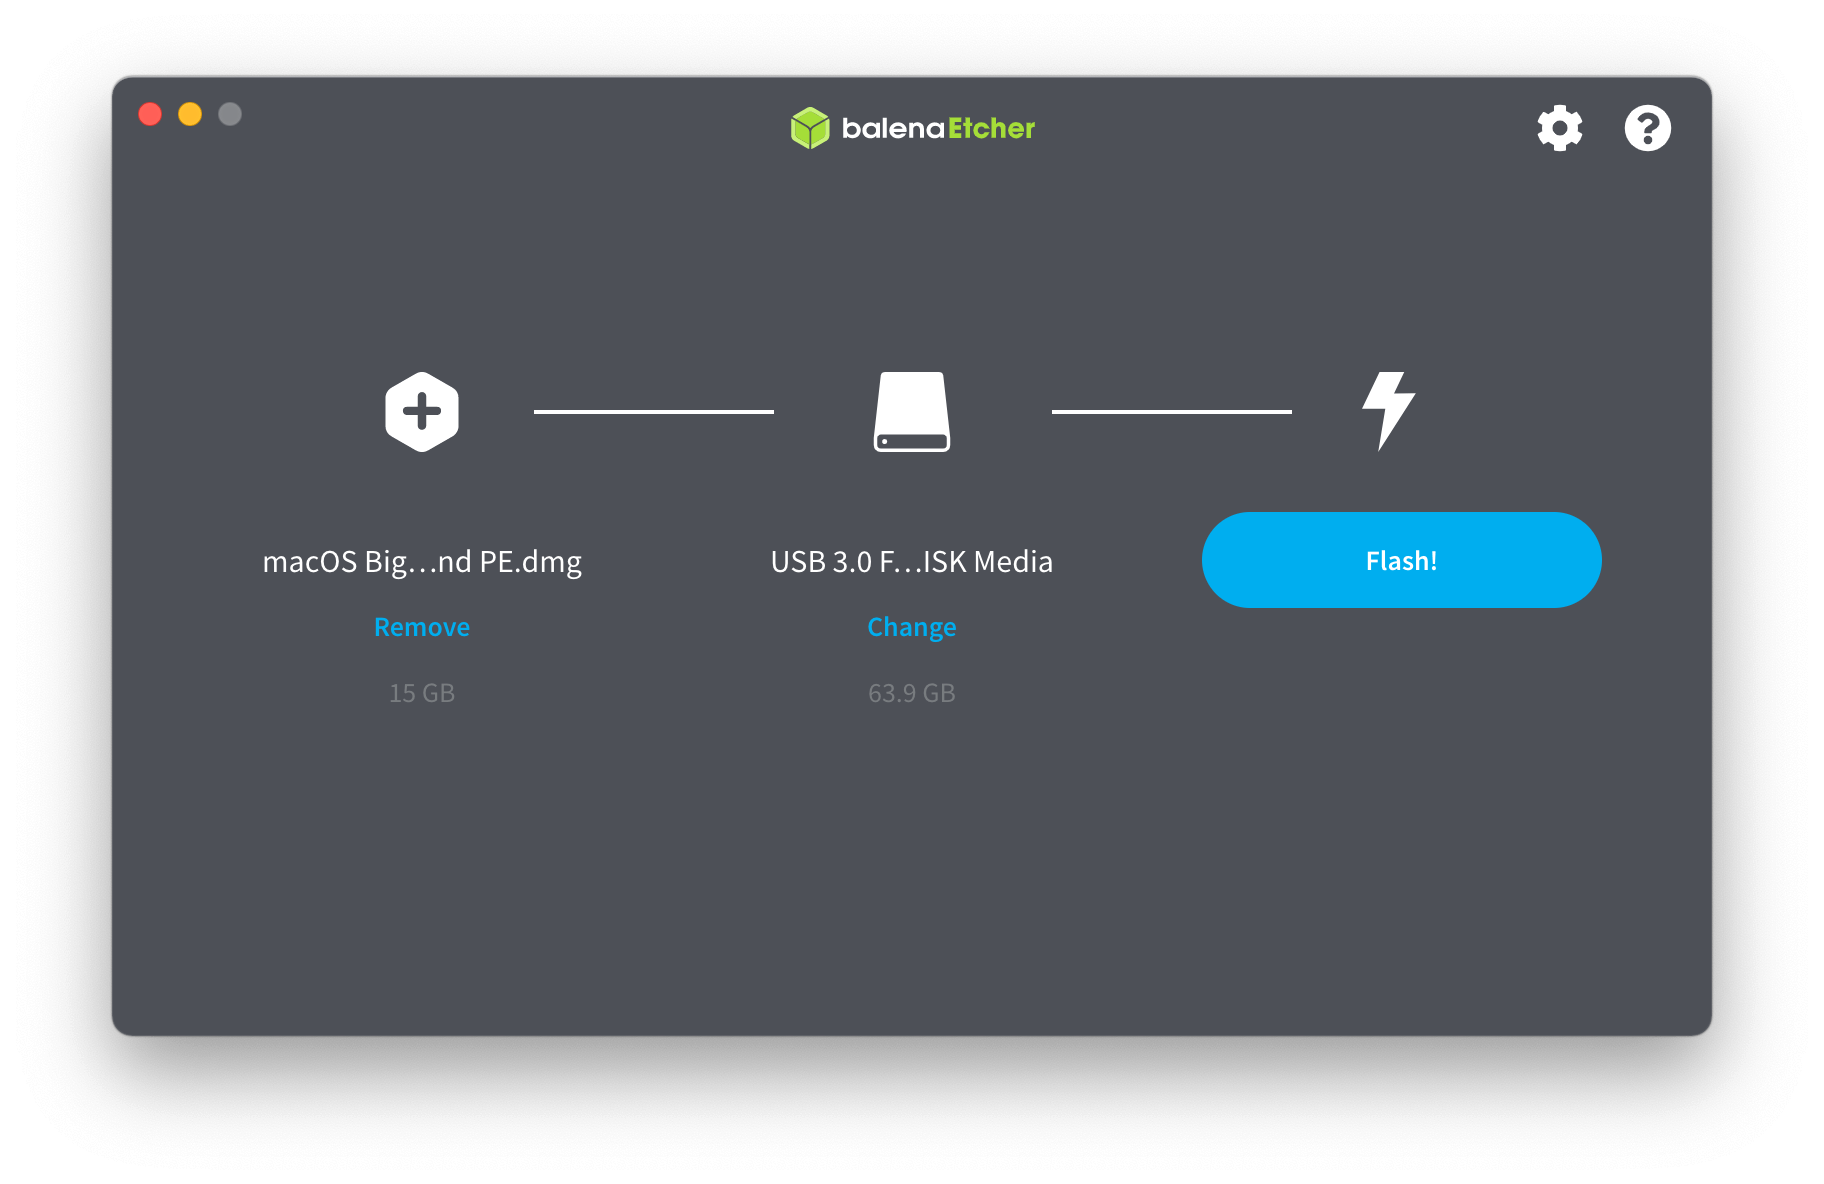
The image downloaded above is a two-in-one image, meaning the USB drive will contain two boot entries: one for macOS and one for WinPE.
2.3 Setting Up the BIOS
| Setting | Value |
|---|---|
| SATA Operation | AHCI |
| Integrated NIC | Enabled |
| Secure Boot Enable | unChecked |
| Secure Boot Mode | Audit Mode |
| SGX | Disabled |
| SpeedStep | Enable |
| C-States Control | Checked |
| Turboost | Enable |
| HyperThread Control | Enable |
| Intel Speed Shift Technology | Enable |
| Deep Sleep Control | Disabled |
| USB Wake Support | unChecked |
| Wake on LAN/WLAN | Lan only |
| Block Sleep | unChecked |
| Fastboot | Minimal |
| Virtualization | Enable |
| VT For Direct I/O | unChecked |
| ASPM | Auto |
2.4 Installing macOS
Restart the computer, hold F12, and select USB boot.
Use the [Disk Utility] tool to format the SSD as an APFS GUID partition. A GUID partition reserves an EFI partition, which is used to tell the BIOS the boot information.
Install macOS onto the SSD.
2.5 Replacing the EFI Files
Different hardware needs different EFI files. After macOS is installed successfully, it will not necessarily boot into the system, so you need to build EFI files.
Fortunately, some enthusiasts have already made an EFI for the Dell Optiplex 7080MT. Reference link: https://github.com/shaowenchen/dell-optiplex-7080mt-hackintosh-opencore .
Here you only need to boot into the WinPE system on the USB drive, then use the DiskGenius tool to overwrite the EFI folder in the boot partition on the SSD with the EFI folder adapted to the hardware.
2.6 The Final Result
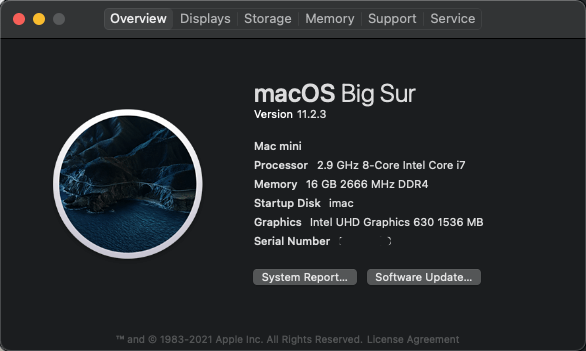
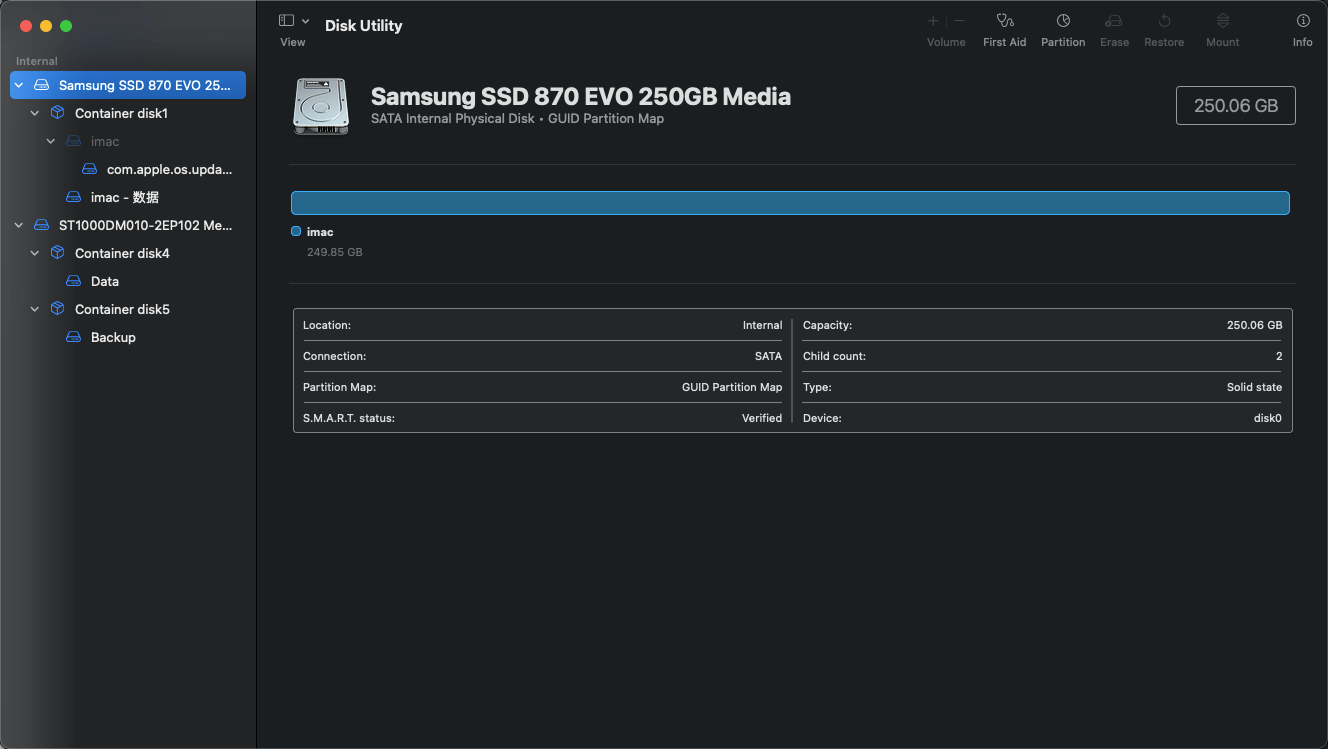
Since there are two drives, SSD + HDD, I split the HDD into two partitions: 800 GB for storing data and 200 GB for Time Machine backups.
3. Other Problems Encountered
3.1 Google Drive Keeps Failing to Sync
For individuals, Google Drive provides a synced backup drive, meaning it can keep the data in Google Drive in sync with a local directory.
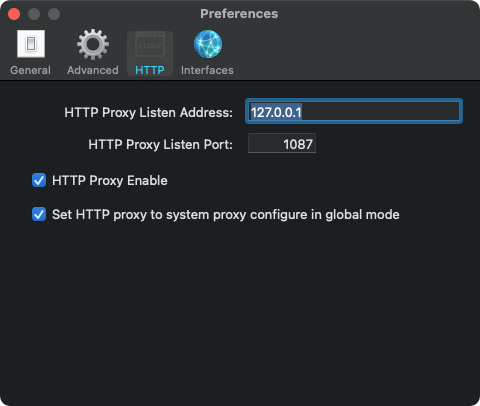
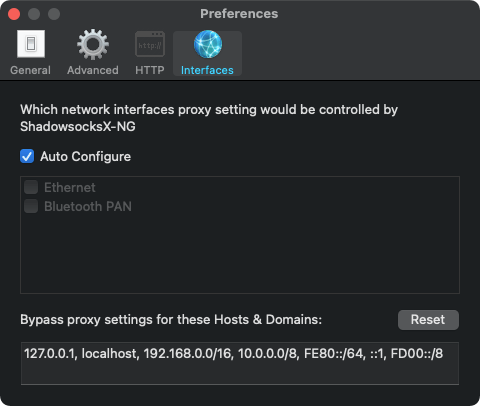
When I used it before, I could never log in, and afterwards the connection kept dropping now and then, so syncing did not work properly. This time I found that the cause was not setting a system proxy.
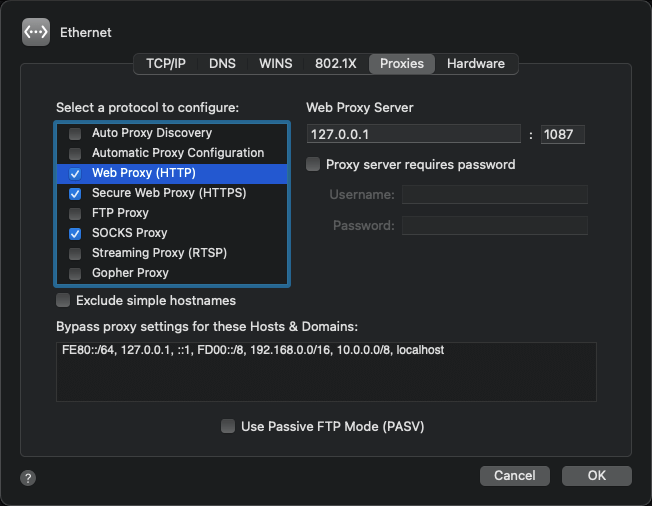
Another approach is to check the relevant option directly in the proxy tool, which injects the Proxy automatically.
3.2 Installing on the HDD, Then Migrating to the SSD
At first, because Windows was already installed on the SSD, I installed macOS onto the HDD. While using macOS I found that Spotlight was very slow and opening applications often showed the spinning wheel, so I decided to migrate to the SSD. Below are the migration steps:
- Format the SSD as an APFS GUID partition and name it imac
- Use the DiskGenius tool from the USB WinPE system to copy the EFI files from the HDD to the EFI files on the SSD
- Shrink the SSD partition and add a new partition, backup
- Back up the macOS system on the HDD to backup using Time Machine
- Boot the computer from the USB drive and install a new system onto the SSD’s imac partition. During this install, backup was recognized automatically and recovery started at boot. If it is not recognized, you need to restore manually with Time Machine.
- Delete the backup partition and extend it into the imac partition.
And with that, the migration is complete.
