If you use Logstash to centrally receive the log input from Filebeat, it easily creates a single point of bottleneck; if you use Kafka to receive the log input from Filebeat, the timeliness of the logs is not guaranteed. Here we output the logs collected by Filebeat directly to Elasticsearch.
1. Preparation
Here we do not distinguish between master, data, and client nodes; instead, a single cluster of three nodes is reused for all roles. For a very large-scale Elasticsearch cluster, it is recommended to separate the control plane from the data plane to improve stability.
- Make sure the cluster has usable default storage
1
2
3
4
| kubectl get sc
NAME PROVISIONER RECLAIMPOLICY VOLUMEBINDINGMODE ALLOWVOLUMEEXPANSION AGE
local (default) openebs.io/local Delete WaitForFirstConsumer false 411d
|
1
2
3
4
5
6
7
8
| export ELASTICSEARCH_IMAGE=elasticsearch:7.17.5
docker run --name elastic-helm-charts-certs -i -w /tmp $ELASTICSEARCH_IMAGE /bin/sh -c " \
elasticsearch-certutil ca --out /tmp/elastic-stack-ca.p12 --pass '' && \
elasticsearch-certutil cert --name security-master --dns security-master --ca /tmp/elastic-stack-ca.p12 --pass '' --ca-pass '' --out /tmp/elastic-certificates.p12"
docker cp elastic-helm-charts-certs:/tmp/elastic-certificates.p12 ./
docker rm -f elastic-helm-charts-certs
openssl pkcs12 -nodes -passin pass:'' -in elastic-certificates.p12 -out elastic-certificate.pem
openssl x509 -outform der -in elastic-certificate.pem -out elastic-certificate.crt
|
- Create Kubernetes Secret credentials
1
2
3
4
| kubectl create ns elastic
kubectl -n elastic create secret generic elastic-certificates --from-file=elastic-certificates.p12
kubectl -n elastic create secret generic elastic-certificate-pem --from-file=elastic-certificate.pem
kubectl -n elastic create secret generic elastic-certificate-crt --from-file=elastic-certificate.crt
|
- Create the login user and password
1
2
3
4
5
6
7
| ELASTIC_USER=elastic
ELASTIC_PASSWORD=XXXXXX
kubectl create secret generic elastic-credentials -n elastic \
--from-literal=username="${ELASTIC_USER}" \
--from-literal=password="${ELASTIC_PASSWORD}" \
--dry-run=client -o yaml | kubectl apply -f -
|
- Add the Elastic Helm Charts repository
1
| helm repo add elastic https://helm.elastic.co
|
2. Installing Elasticsearch
- Create a values.yaml file to configure the installation parameters
1
| vim es-master-values.yaml
|
 1
 2
 3
 4
 5
 6
 7
 8
 9
10
11
12
13
14
15
16
17
18
19
20
21
22
23
24
25
26
27
28
29
30
31
32
33
34
35
36
37
38
39
| clusterName: "elasticsearch"
nodeGroup: "master"
roles:
master: "true"
ingest: "true"
data: "true"
imageTag: 7.17.5
image: elasticsearch
volumeClaimTemplate:
accessModes: ["ReadWriteOnce"]
resources:
requests:
storage: 200Gi
replicas: 3
esConfig:
elasticsearch.yml: |
xpack.security.enabled: true
xpack.security.transport.ssl.enabled: true
xpack.security.transport.ssl.verification_mode: certificate
xpack.security.transport.ssl.keystore.path: /usr/share/elasticsearch/config/certs/elastic-certificates.p12
xpack.security.transport.ssl.truststore.path: /usr/share/elasticsearch/config/certs/elastic-certificates.p12
extraEnvs:
- name: ELASTIC_PASSWORD
valueFrom:
secretKeyRef:
name: elastic-credentials
key: password
secretMounts:
- name: elastic-certificates
secretName: elastic-certificates
path: /usr/share/elasticsearch/config/certs
antiAffinity: "soft"
|
- Start installing the components
1
| helm install elasticsearch-master elastic/elasticsearch -n elastic --values es-master-values.yaml --set service.type=NodePort --version 7.17.3
|
3. Installing Kibana
- Create a values.yaml file to configure the installation parameters
 1
 2
 3
 4
 5
 6
 7
 8
 9
10
11
12
13
14
15
16
17
18
| elasticsearchHosts: "http://elasticsearch-master.elastic.svc:9200"
imageTag: 7.17.5
image: elastic/kibana
replicas: 1
extraEnvs:
- name: "NODE_OPTIONS"
value: "--max-old-space-size=1800"
- name: "ELASTICSEARCH_USERNAME"
valueFrom:
secretKeyRef:
name: elastic-credentials
key: username
- name: "ELASTICSEARCH_PASSWORD"
valueFrom:
secretKeyRef:
name: elastic-credentials
key: password
|
- Start installing the components
1
| helm install kibana elastic/kibana -n elastic --values kibana-values.yaml --set service.type=NodePort --version 7.17.3
|
4. Installing Filebeat
- Create a values.yaml file to configure the installation parameters
1
| vim filebeat-values.yaml
|
 1
 2
 3
 4
 5
 6
 7
 8
 9
10
11
12
13
14
15
16
17
18
19
20
21
22
23
24
25
26
27
28
29
30
31
| image: elastic/filebeat
daemonset:
extraEnvs:
- name: "ELASTICSEARCH_USERNAME"
valueFrom:
secretKeyRef:
name: elastic-credentials
key: username
- name: "ELASTICSEARCH_PASSWORD"
valueFrom:
secretKeyRef:
name: elastic-credentials
key: password
filebeatConfig:
filebeat.yml: |
filebeat.inputs:
- type: filestream
id: varlog
paths:
- /var/log/*.log
- type: container
enabled: true
paths:
- /var/lib/docker/containers/*/*.log
output.elasticsearch:
host: "${NODE_NAME}"
hosts: '["http://${ELASTICSEARCH_HOSTS:elasticsearch-master:9200}"]'
username: "${ELASTICSEARCH_USERNAME}"
password: "${ELASTICSEARCH_PASSWORD}"
protocol: http
|
The filebeat.inputs in filebeat.yml determines which logs Filebeat collects.
- Start installing the components
1
| helm install filebeat elastic/filebeat -n elastic --values filebeat-values.yaml --version 7.17.3
|
5. Checking the Services and Verifying Functionality
- Make sure all services start correctly
 1
 2
 3
 4
 5
 6
 7
 8
 9
10
| kubectl -n elastic get pod
NAME READY STATUS RESTARTS AGE
elasticsearch-master-0 1/1 Running 0 10h
elasticsearch-master-1 1/1 Running 0 10h
elasticsearch-master-2 1/1 Running 0 10h
filebeat-filebeat-4l9jh 1/1 Running 0 9h
filebeat-filebeat-4m7r6 1/1 Running 0 9h
filebeat-filebeat-6x9pd 1/1 Running 0 9h
kibana-kibana-7976c5dc76-xfswq 1/1 Running 0 10h
|
1
2
3
4
5
6
| kubectl -n elastic get svc
NAME TYPE CLUSTER-IP EXTERNAL-IP PORT(S) AGE
elasticsearch-master NodePort 10.233.35.209 <none> 9200:30093/TCP,9300:31743/TCP 10h
elasticsearch-master-headless ClusterIP None <none> 9200/TCP,9300/TCP 10h
kibana-kibana NodePort 10.233.53.16 <none> 5601:30454/TCP 11h
|
You can reach Elasticsearch through HOST_IP:30093, as shown in the figure below. At this point you need to enter the account and password, elastic:XXXXXX, which is the account information set during the preparation work.

After entering the credentials correctly, Elasticsearch returns information about the cluster.
 1
 2
 3
 4
 5
 6
 7
 8
 9
10
11
12
13
14
15
16
17
| {
"name": "elasticsearch-master-1",
"cluster_name": "elasticsearch",
"cluster_uuid": "D6ugYWeTQSqi3kUAK-B36w",
"version": {
"number": "7.17.5",
"build_flavor": "default",
"build_type": "docker",
"build_hash": "8d61b4f7ddf931f219e3745f295ed2bbc50c8e84",
"build_date": "2022-06-23T21:57:28.736740635Z",
"build_snapshot": false,
"lucene_version": "8.11.1",
"minimum_wire_compatibility_version": "6.8.0",
"minimum_index_compatibility_version": "6.0.0-beta1"
},
"tagline": "You Know, for Search"
}
|
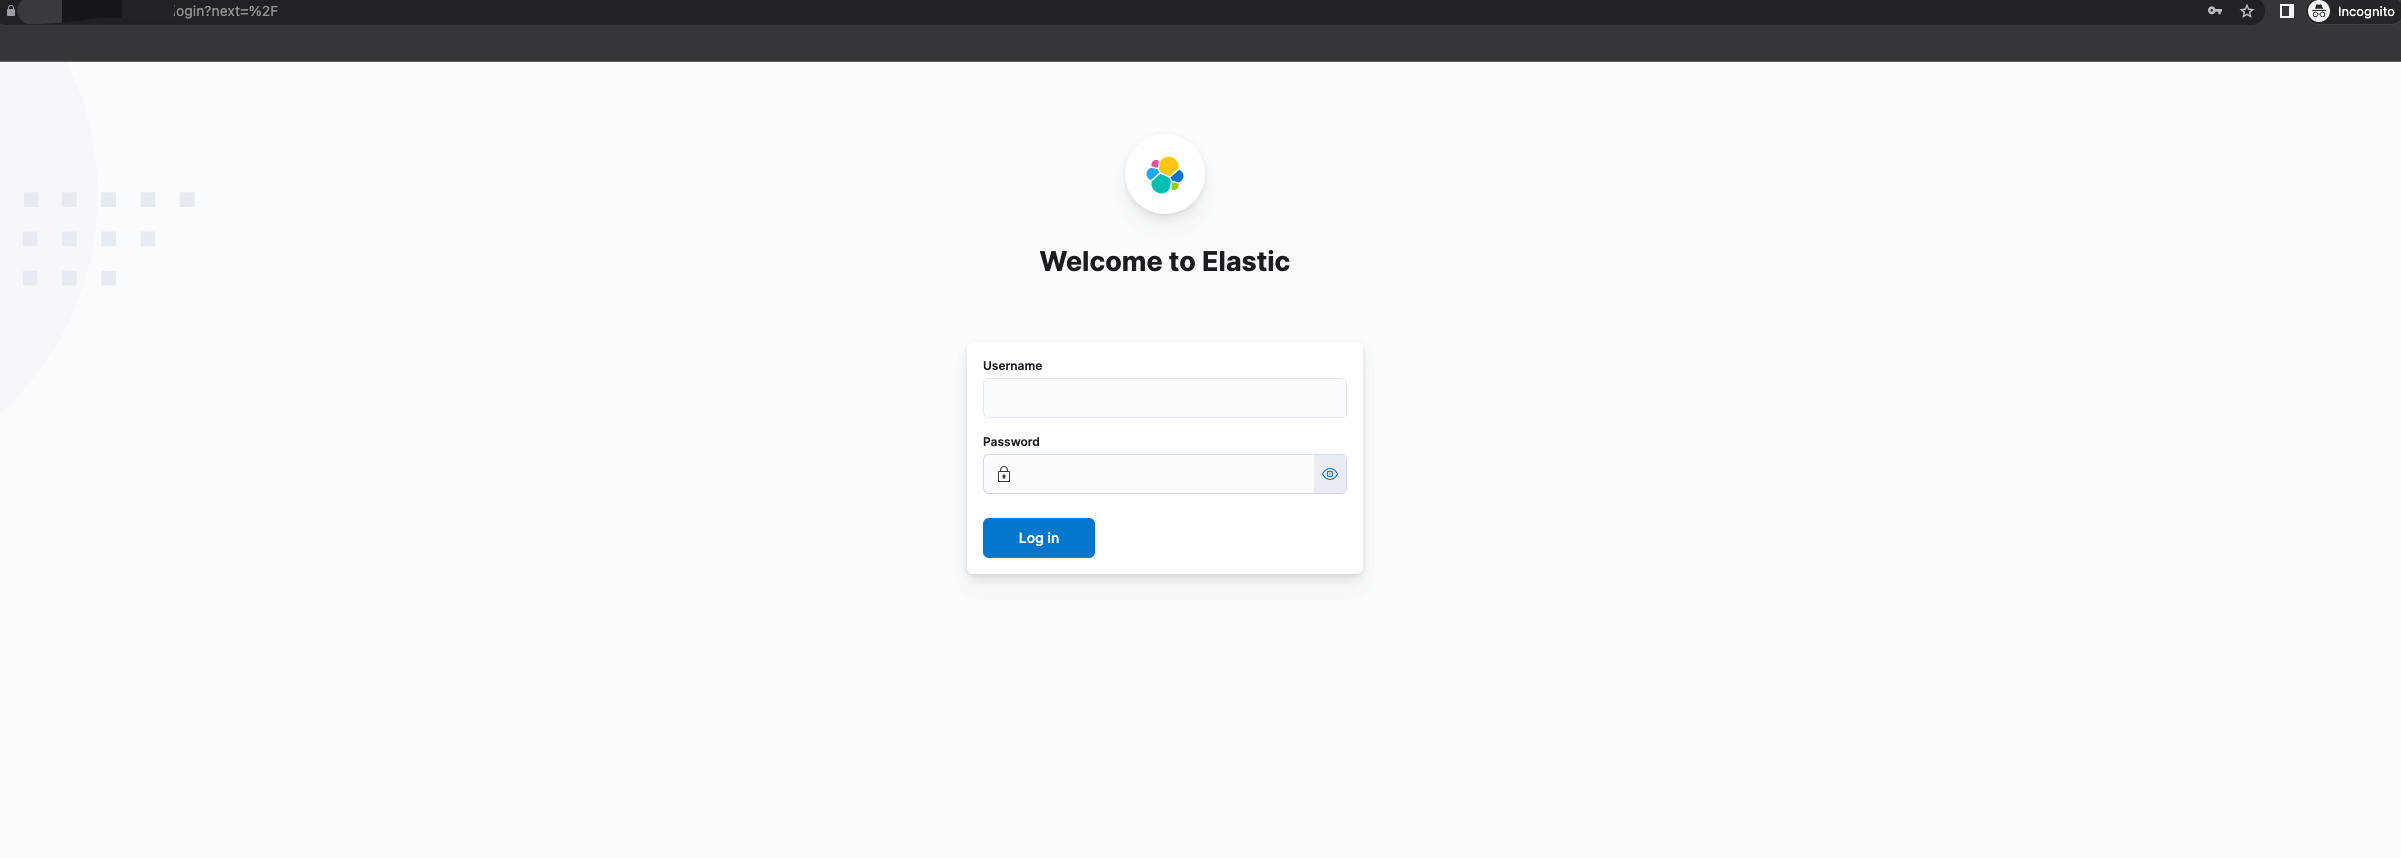
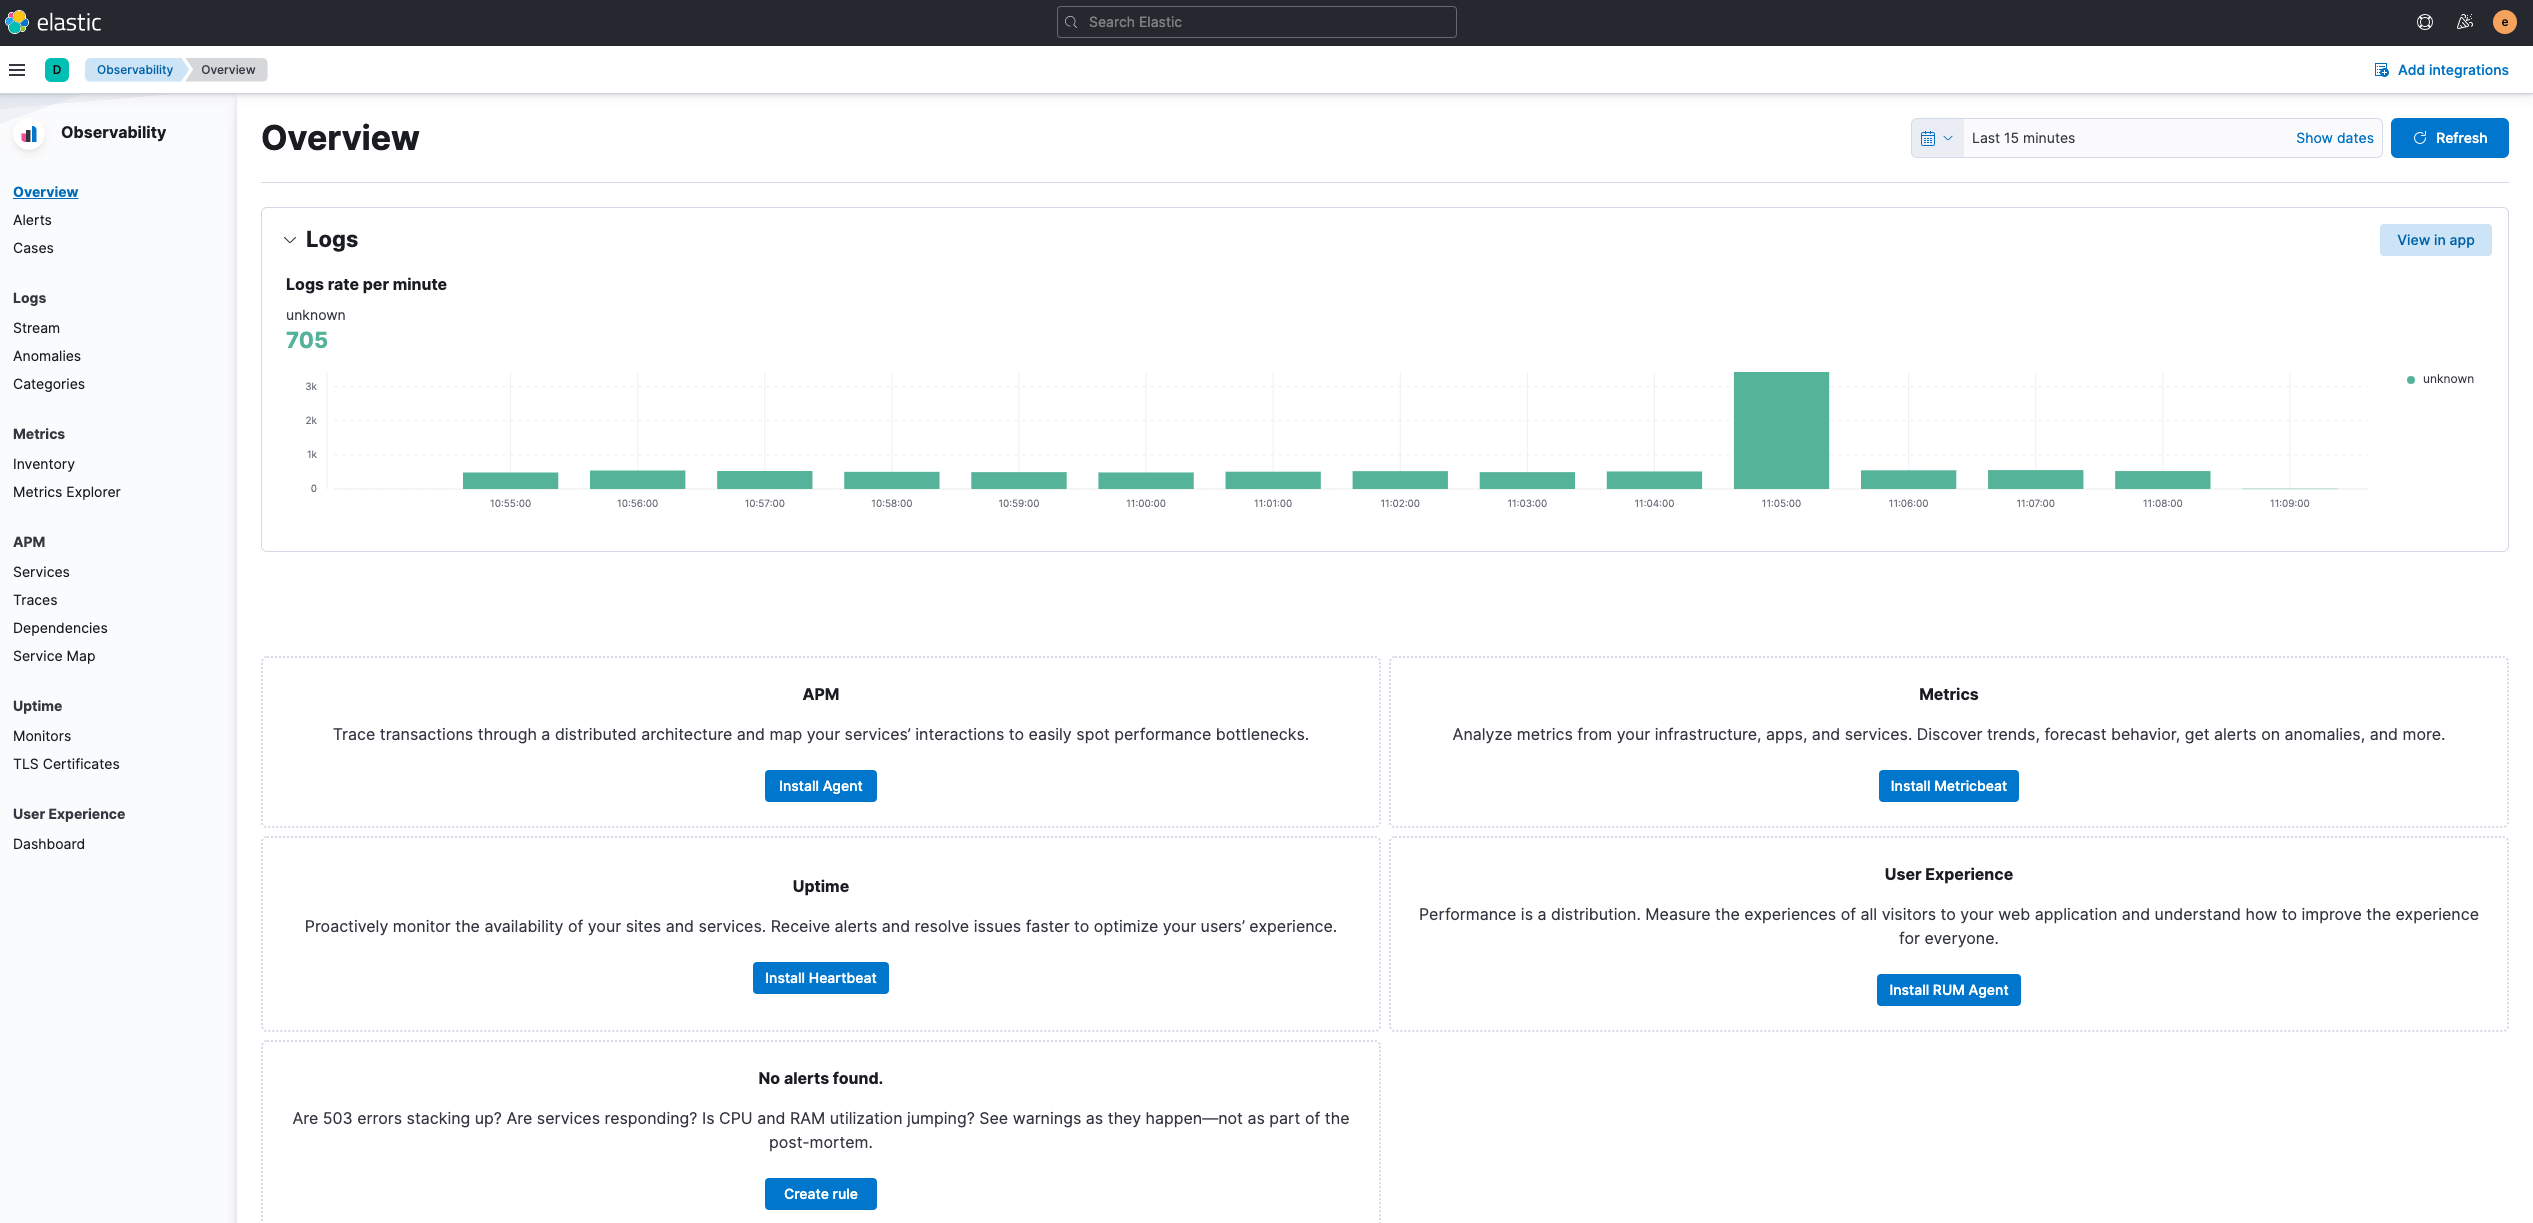
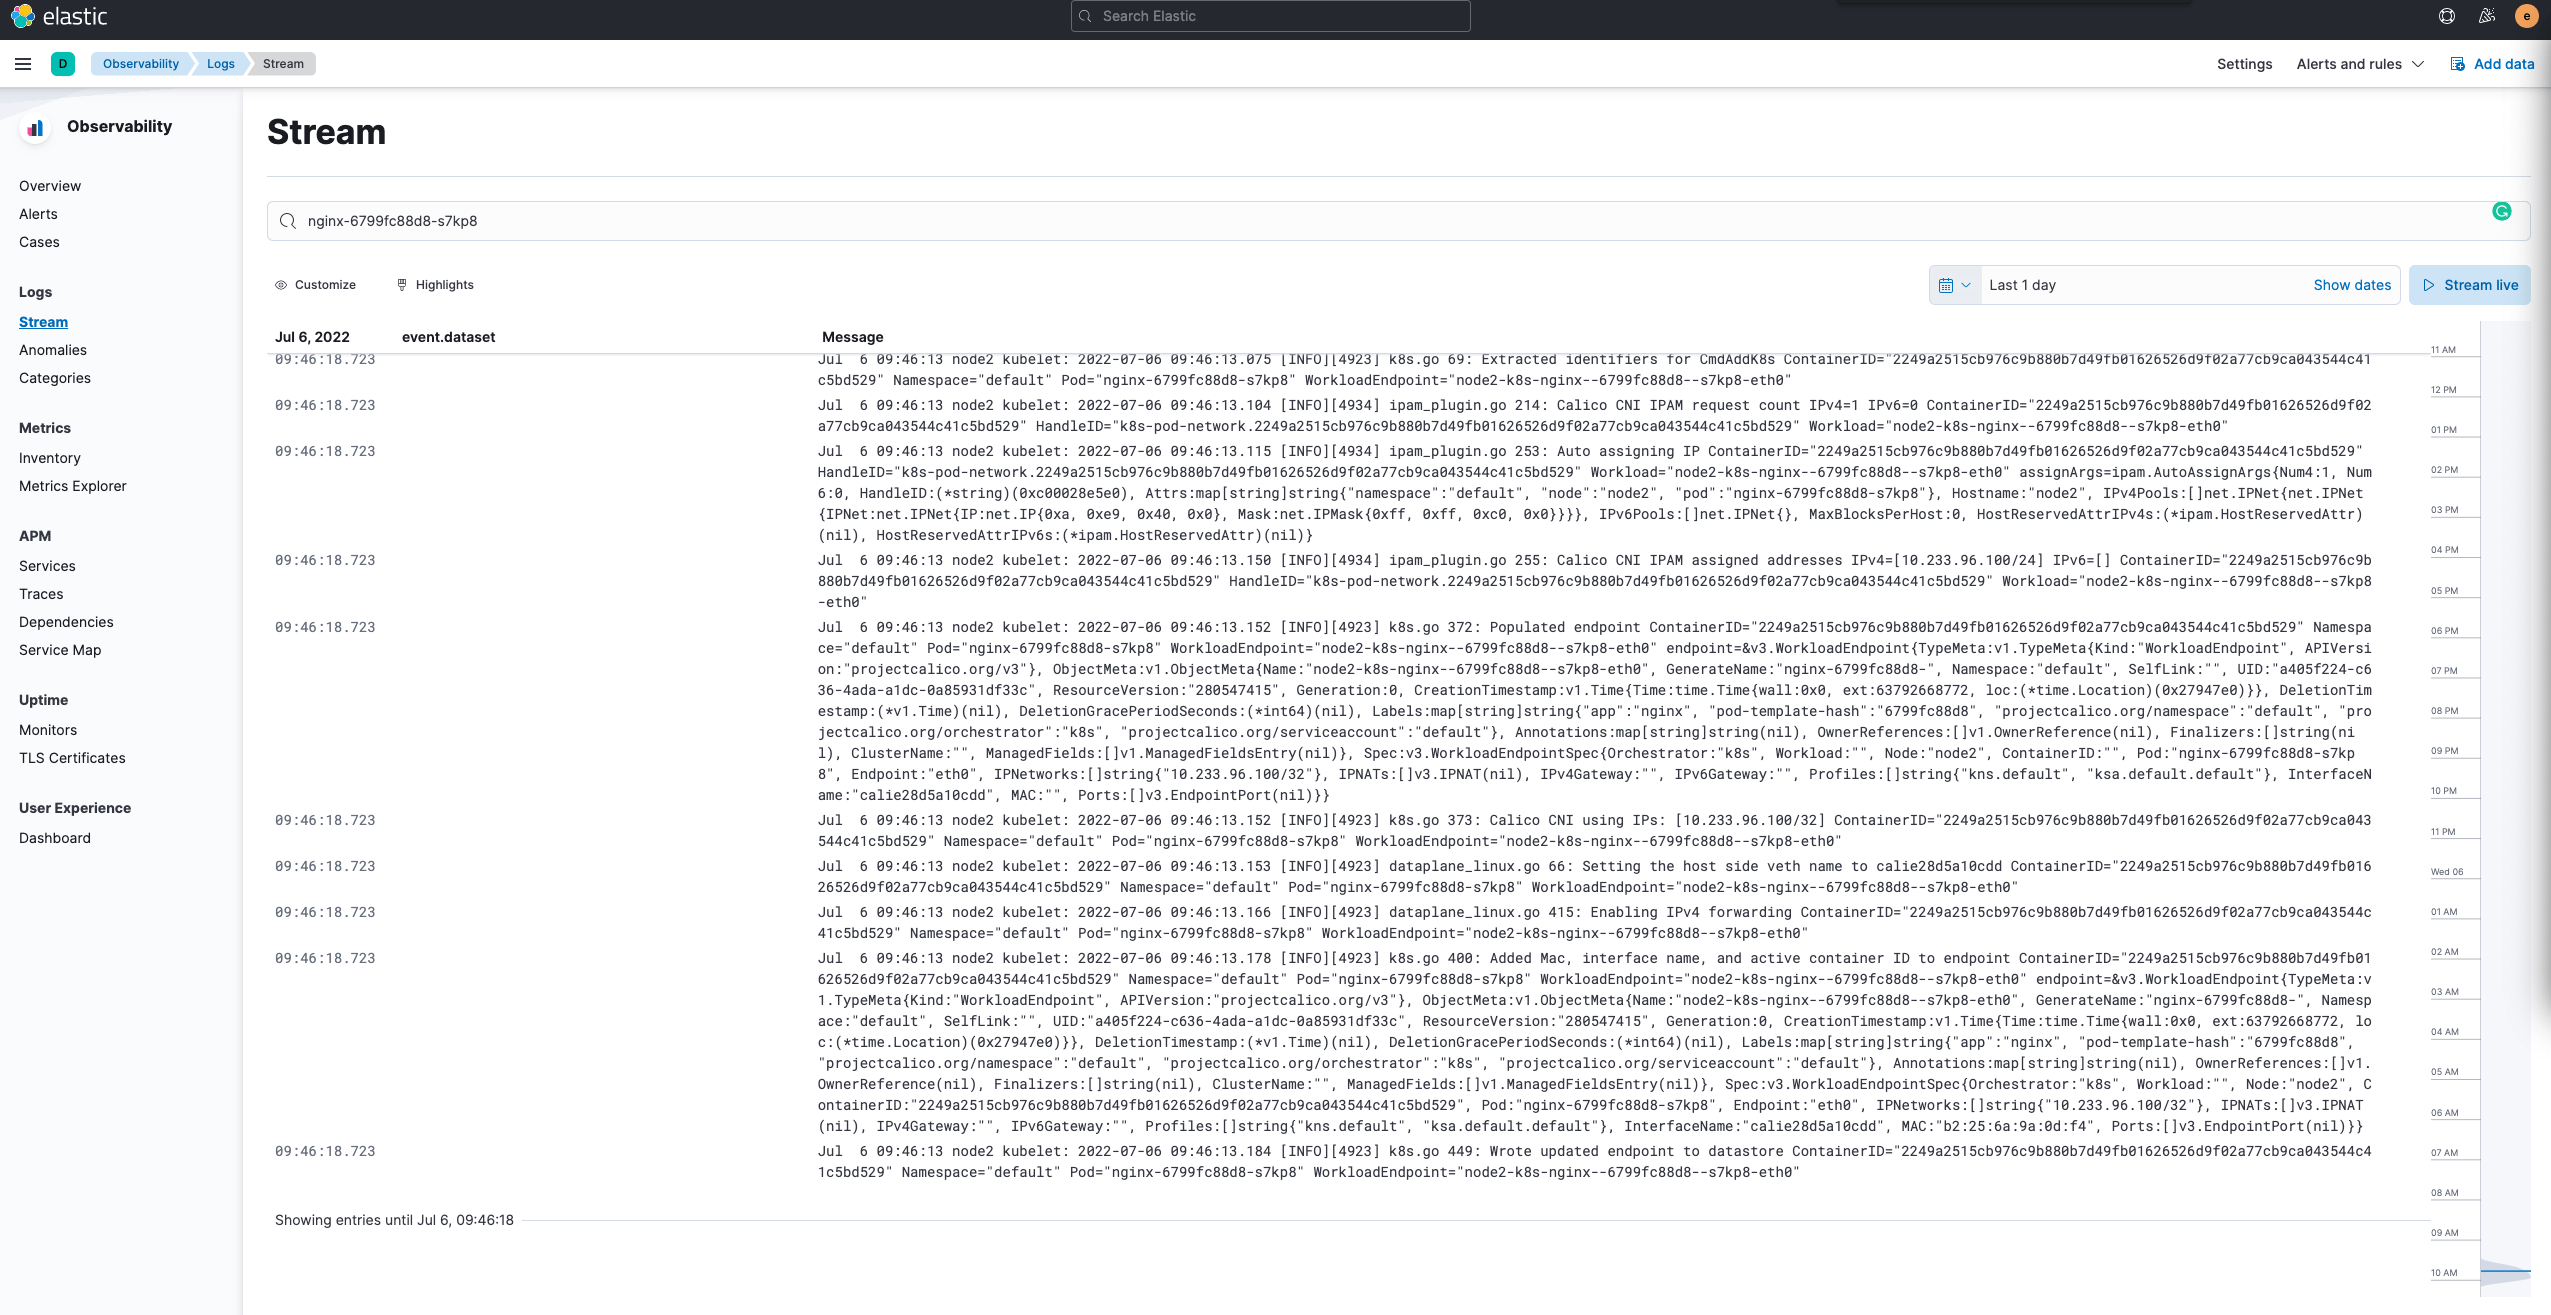
You can reach Kibana through HOST_IP:30454, as shown in the figure below. The account is the same as for Elasticsearch.
6. Cleaning Up the Environment
1
| helm uninstall elasticsearch-master -n elastic
|
1
| helm uninstall kibana -n elastic
|
1
| helm uninstall filebeat -n elastic
|
1
| kubectl -n elastic delete pvc --all
|
- Clean up the environment variables
1
2
| unset ELASTIC_USER
unset ELASTIC_PASSWORD
|
7. References
