1. SSL Certificates
Let’s start with a few concepts.
1.1 Digital Certificates
A digital certificate contains the public or private key used for encryption, along with some additional identity information. Anyone can use the relevant tools to generate their own digital certificate, for encrypting files and email, or for securing communications.
1.2 The SSL Protocol
An encryption protocol used for network communication. The communication process requires a digital certificate, and the public and private keys inside it are used to send a randomly generated communication key. Once the handshake completes, the SSL certificate is not used to encrypt the communication content itself.
1.3 CA Certificates
CA (Certification Authority) means certificate authority in Chinese. It is an organization that manages the issuance of digital certificates. A certificate issued by it is called a CA certificate, to distinguish it from digital certificates that individuals casually generate with tools. Looking at a CA certificate, there are two important pieces of information: who it was issued to, and who issued it. CA certificates come in 3 classes: DV domain-validated certificates, OV organization-validated certificates, and EV extended-validation organization certificates. For personal use, a DV certificate is generally more than enough; in the browser it shows up as a small green lock in front of the address bar.
1.4 The CA Certificate Trust Chain
If you install and trust the certificate of a CA organization, then with it as the root, you also trust the certificates issued by that CA to other organizations. Those other organizations can in turn create their own CA centers and issue next-level certificates, and so on down the chain, with many CA centers and digital certificates at each layer. This topmost CA certificate can be called the root certificate.
2. Introduction to the Let’s Encrypt Project
Let’s Encrypt is a service provided by the Internet Security Research Group (ISRG), which announced a collaboration with the Linux Foundation on April 9, 2015. The Let’s Encrypt project aims to provide permanent free SSL certificates for websites, to accelerate the internet’s transition from HTTP to HTTPS. At the same time, https/2 must also use https. StartSSL and Wosign offer free DV certificates, and the cheap options also include Rapid and Comodo certificates, while other certificates are generally more expensive. Let’s Encrypt certificates are signed quickly, are free, and support multiple domains, but at this stage the issued certificates are only valid for three months and need to be renewed through automated scripts. Let’s Encrypt has cross-signed with IdenTrust’s DST Root CA and is compatible with all mainstream browsers. In December 2015, the Let’s Encrypt project entered public beta.
The significance of an SSL certificate is not only encryption, but also the guarantee provided by the issuing authority, meaning that when economic losses are caused by the CA’s fault, there will be a certain amount of compensation. For cheap or free certificates, this kind of guarantee is not very meaningful, and CA organizations do not provide it either. The point of cheap and free certificates is to popularize https, prevent ISPs from hijacking http, and encrypt traffic.
3. Generating a Let’s Encrypt Certificate
The official recommendation for generating Let’s Encrypt certificates is the certbot automation toolkit. The official website has fairly detailed tutorials, adapting the generation environment to different operating systems. Here we’ll just download certbot directly from GitHub; certbot is a Python script.
git clone https://github.com/certbot/certbot
cd certbot
Before the actual installation, you need to shut down the server, since the script will occupy ports 80 and 443.
./letsencrypt-auto certonly
The script will automatically generate the environment.
Creating virtual environment…
Installing Python packages…
Installation succeeded.
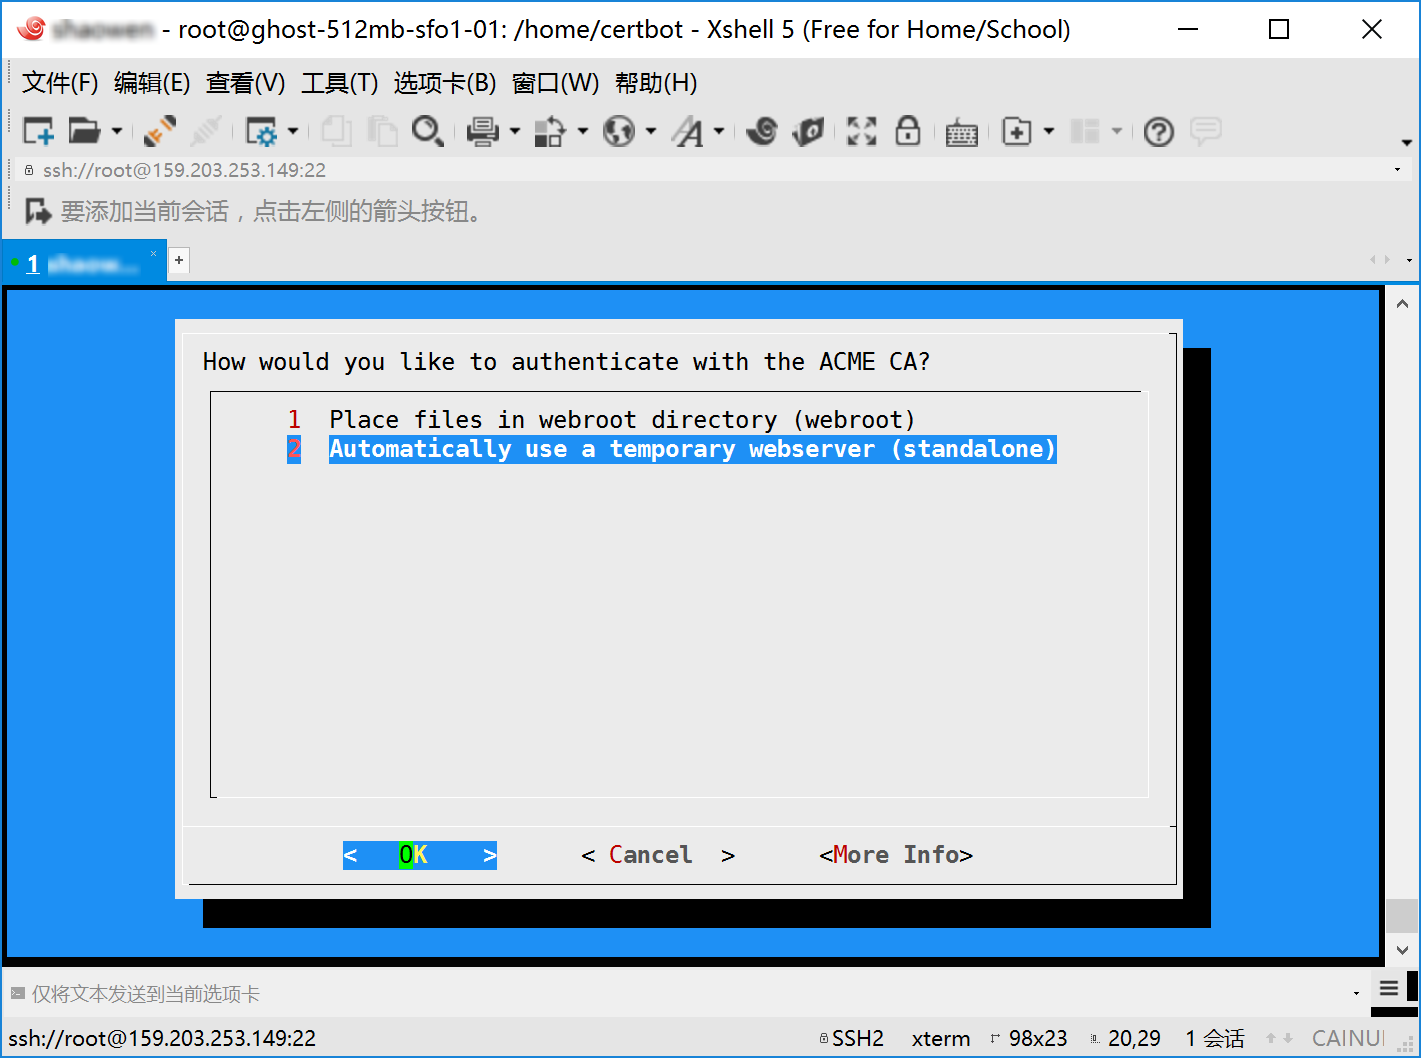
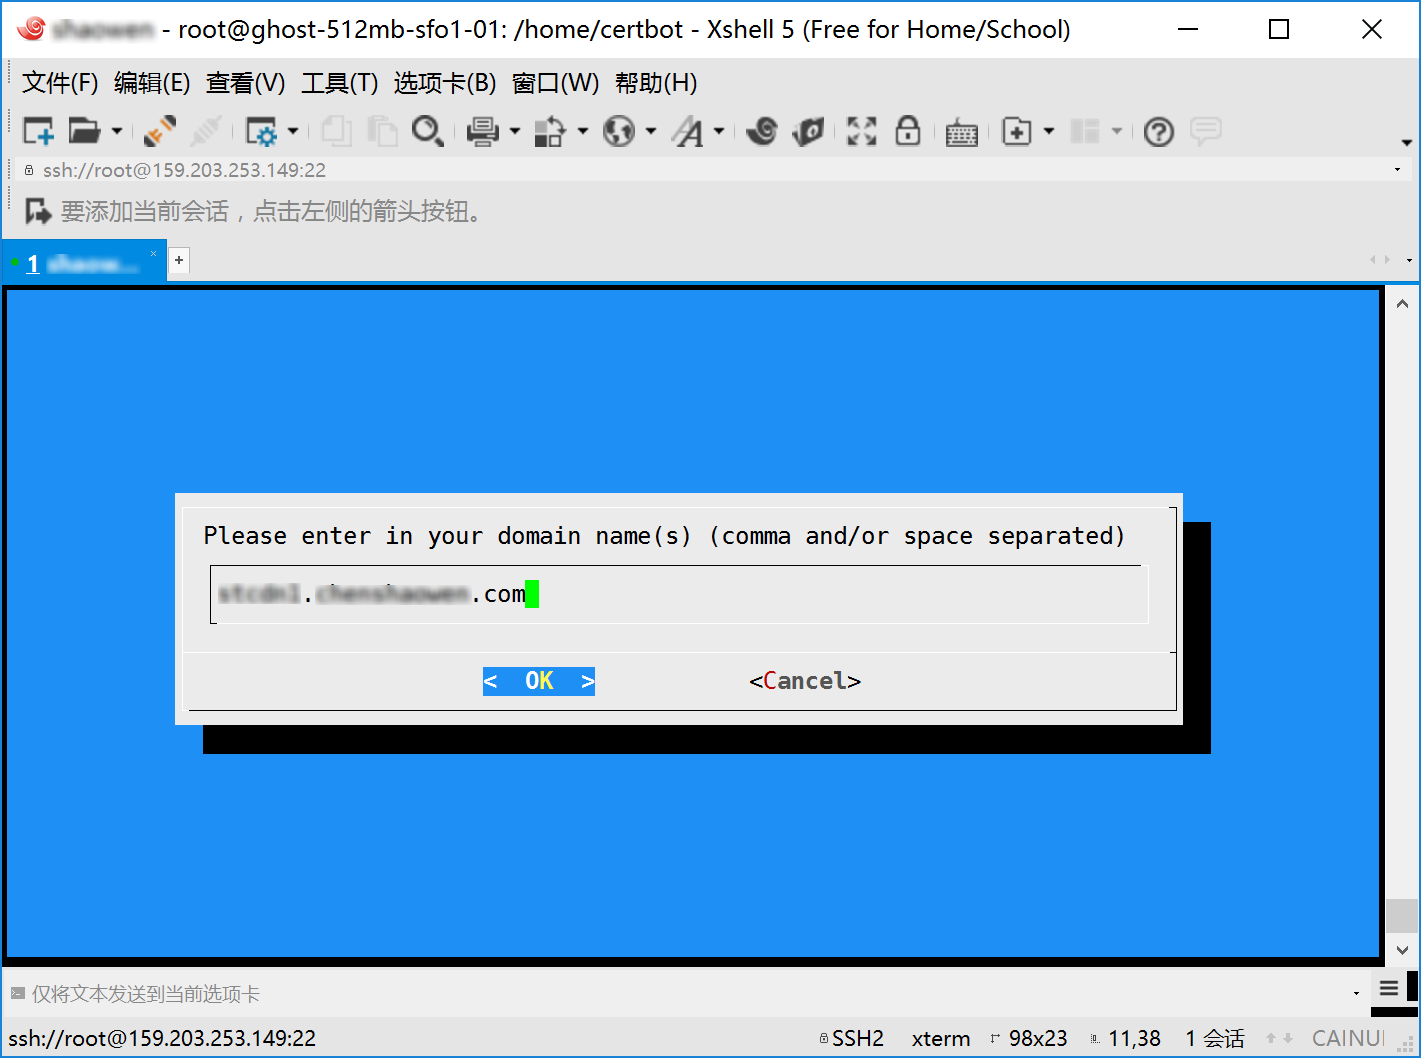
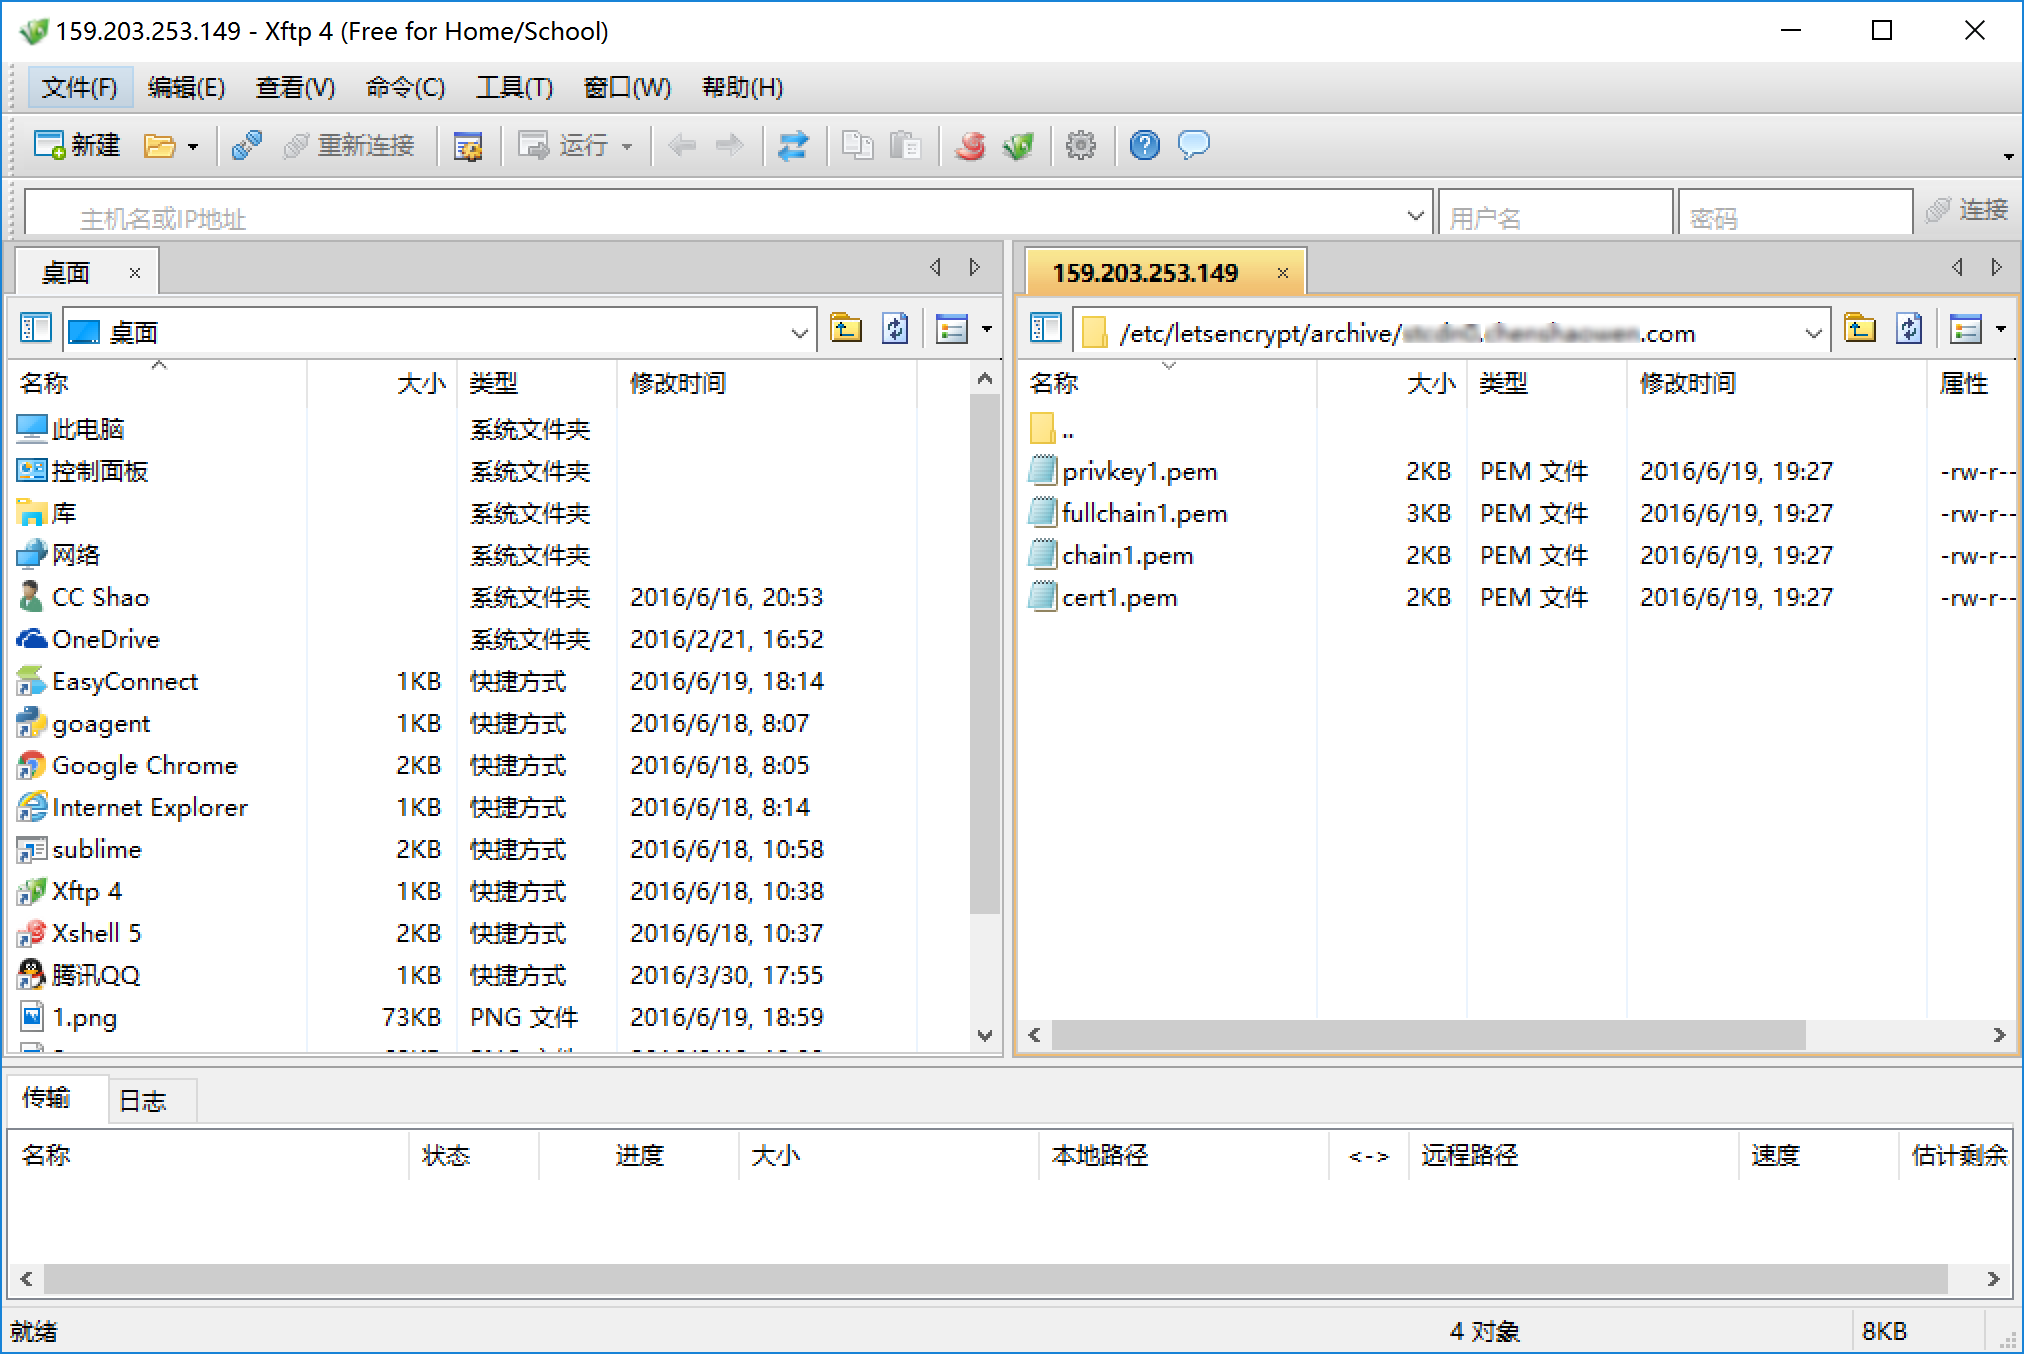
The certificates and their configuration are stored under the /etc/letsencrypt/ directory.
4. Server Deployment and Automation
In the certificate storage directory there are four files:
privkey1.pem: the certificate key
fullchain1.pem: the domain certificate with its certificate chain
chain1.pem: the Let’s Encrypt certificate
cert1.pem: the domain certificate
Modify the SSL-related parameters in Nginx’s nginx.conf configuration file.
ssl_certificate /etc/letsencrypt/live/XXX.com/fullchain1.pem;
ssl_certificate_key /etc/letsencrypt/live/XXX.com/privkey1.pem;
Since at this stage Let’s Encrypt’s validity is only 90 days, we can configure an automated renewal script, certrenew.h.
#!/bin/sh
# This script renews all the Let’s Encrypt certificates with a validity < 30 days
if ! /home/letsencrypt/letsencrypt-auto renew > /var/log/letsencrypt/renew.log 2>&1 ; then
echo Automated renewal failed:
cat /var/log/letsencrypt/renew.log
exit 1
fi
nginx -t && nginx -s reload
Enable the Cron scheduled task.
crontab -e
Edit the task content.
@daily /home/certrenew.sh
HTTPS website security performance test: SSL Server Test
