1. Log in to Ngrok and get an Authtoken
1.1 Log in to the Ngrok website and get an Authtoken
Visit the Ngrok website, https://dashboard.ngrok.com/ , and log in with a GitHub or Google account.
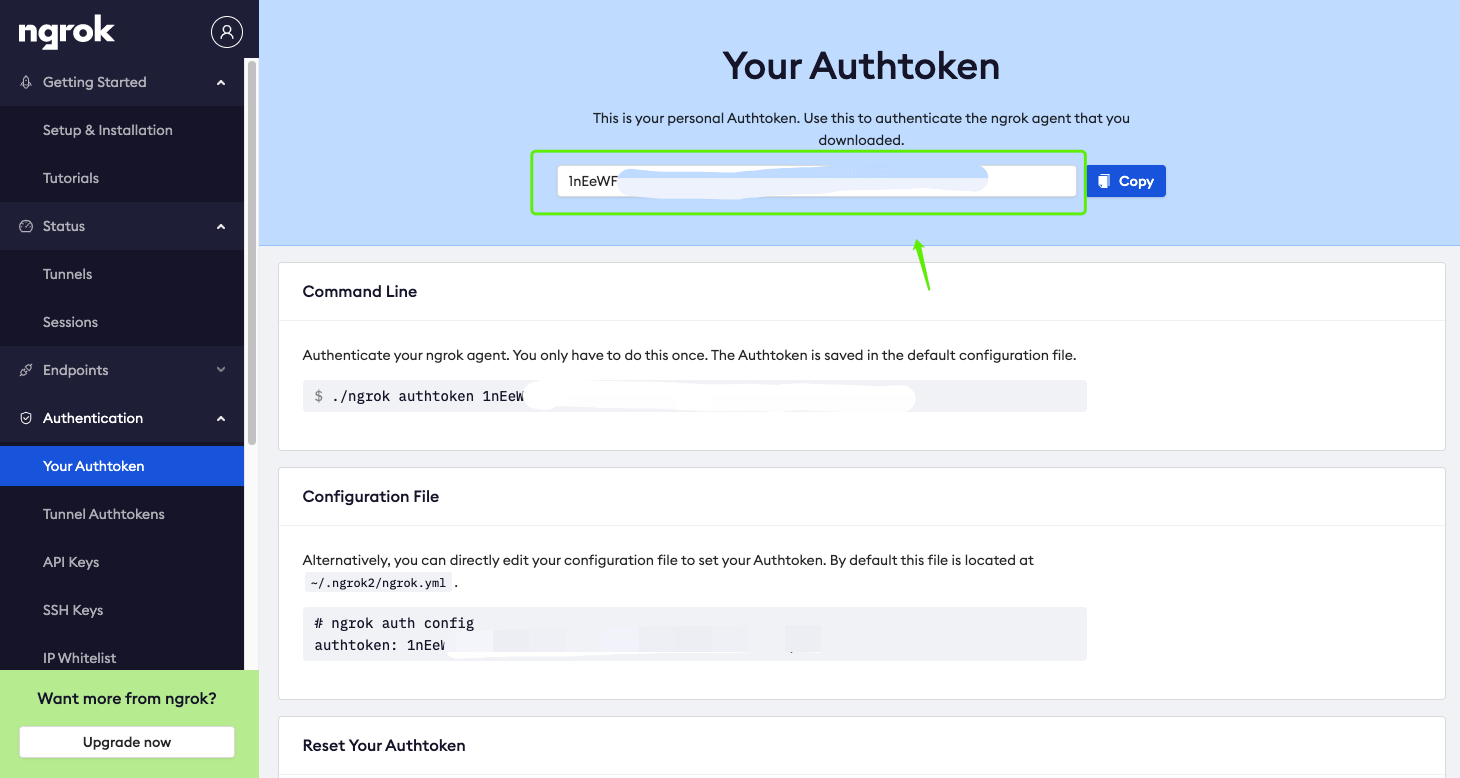
Go to the Authentication page and find your Authtoken, as shown below:
1.2 Configure Secrets under the GitHub project
On the project’s Settings page, add a new Secret, as shown below:
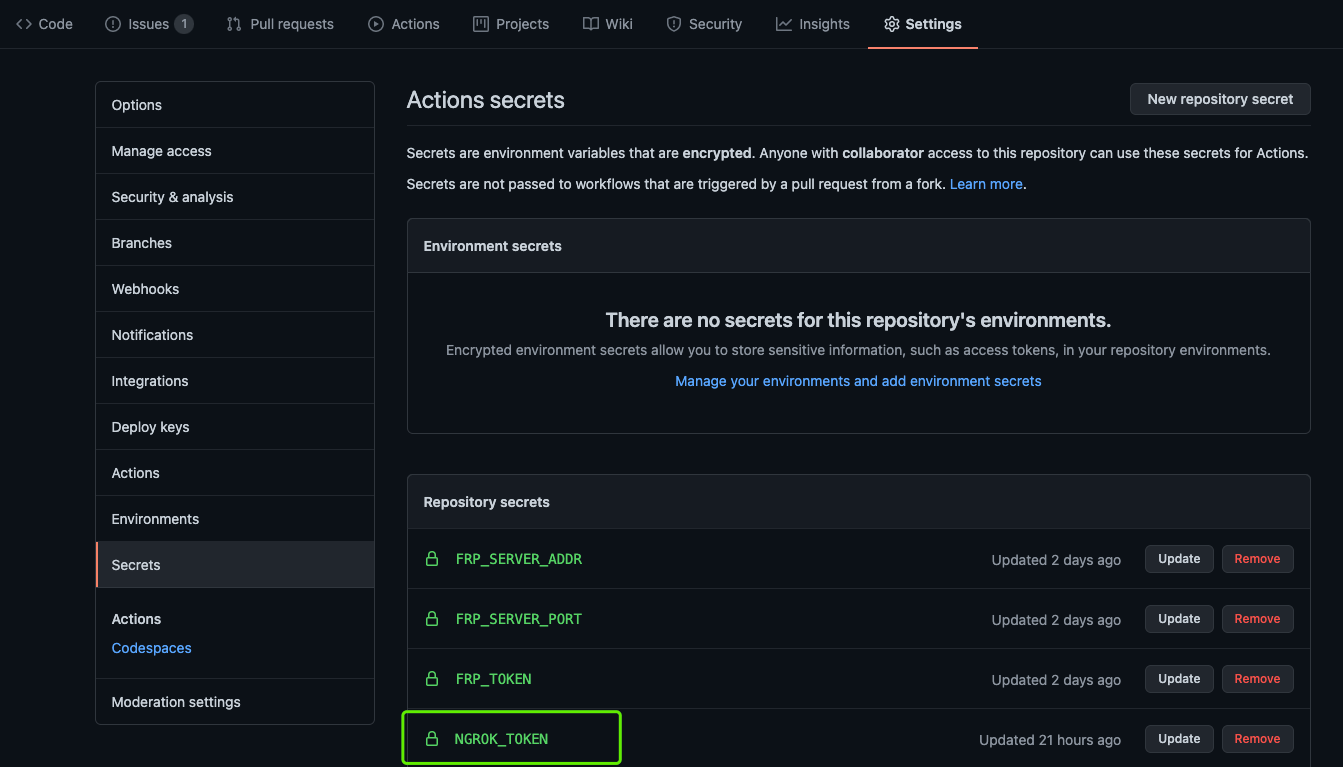
Set NGROK_TOKEN to the Authtoken obtained in the previous step.
2. Add a Workflow in GitHub Actions and run the Action
To make Kubernetes easier to use, KubeSphere is pre-installed here to manage the cluster.
Add the following file under the project’s .github/workflows directory:
kubernetes.yaml
| |
The timeout-minutes parameter determines how long you can use the environment; the maximum is no more than 6 hours, after which the environment is destroyed. It is set to 60 minutes here.
On the Actions page, click to run the Action.
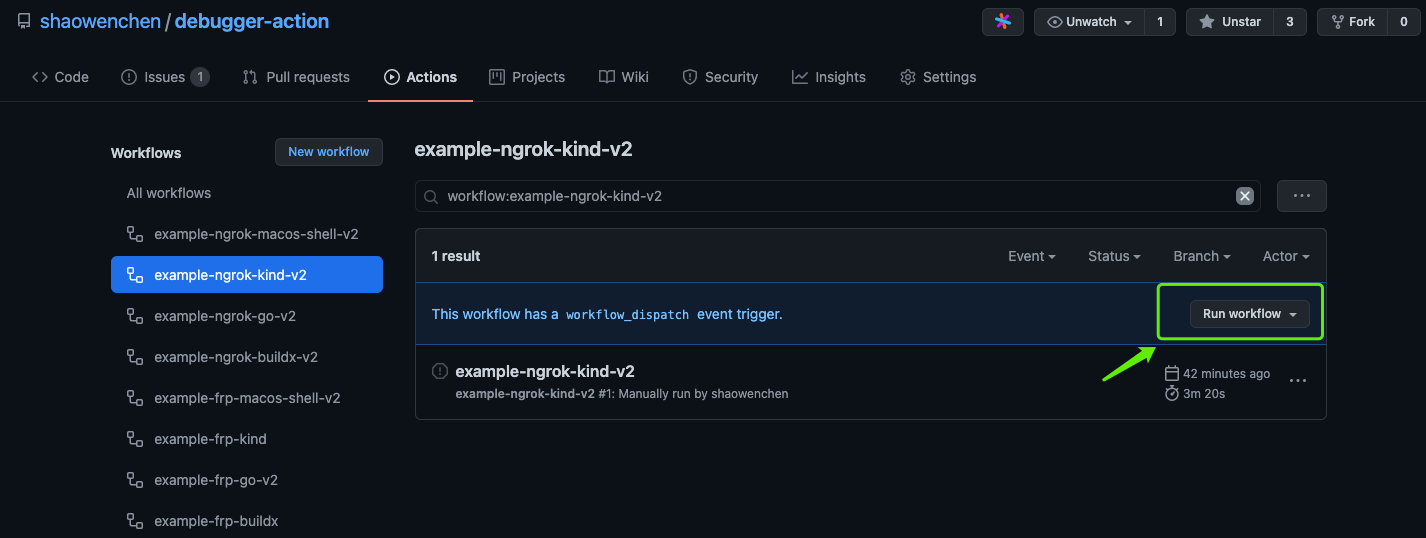
To see the full log, click into the Action after it finishes and view the streaming log; otherwise you may not see the relevant links. You need to log in to the Ngrok Dashboard and visit the https://dashboard.ngrok.com/status/tunnels page to check:
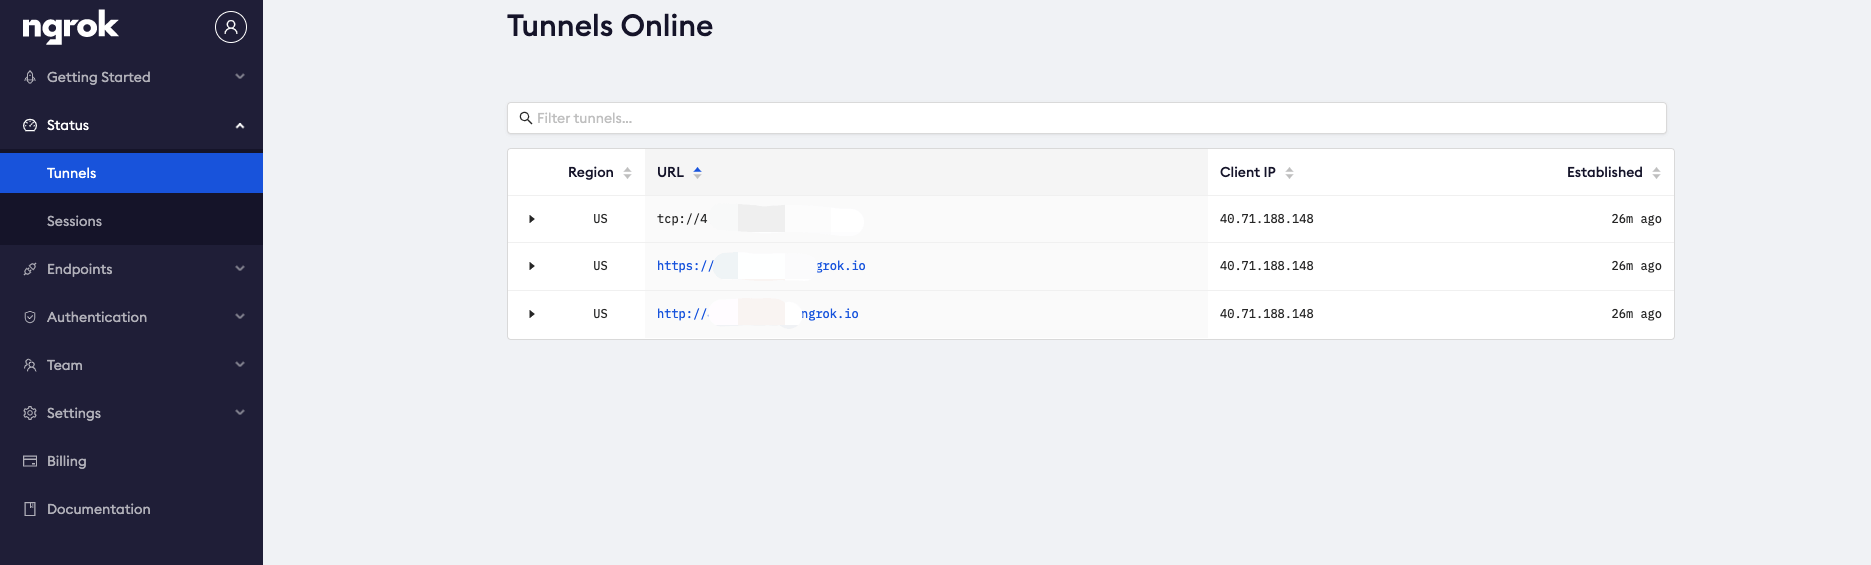
3. Access KubeSphere
You can find the relevant access links in the Action’s execution log.
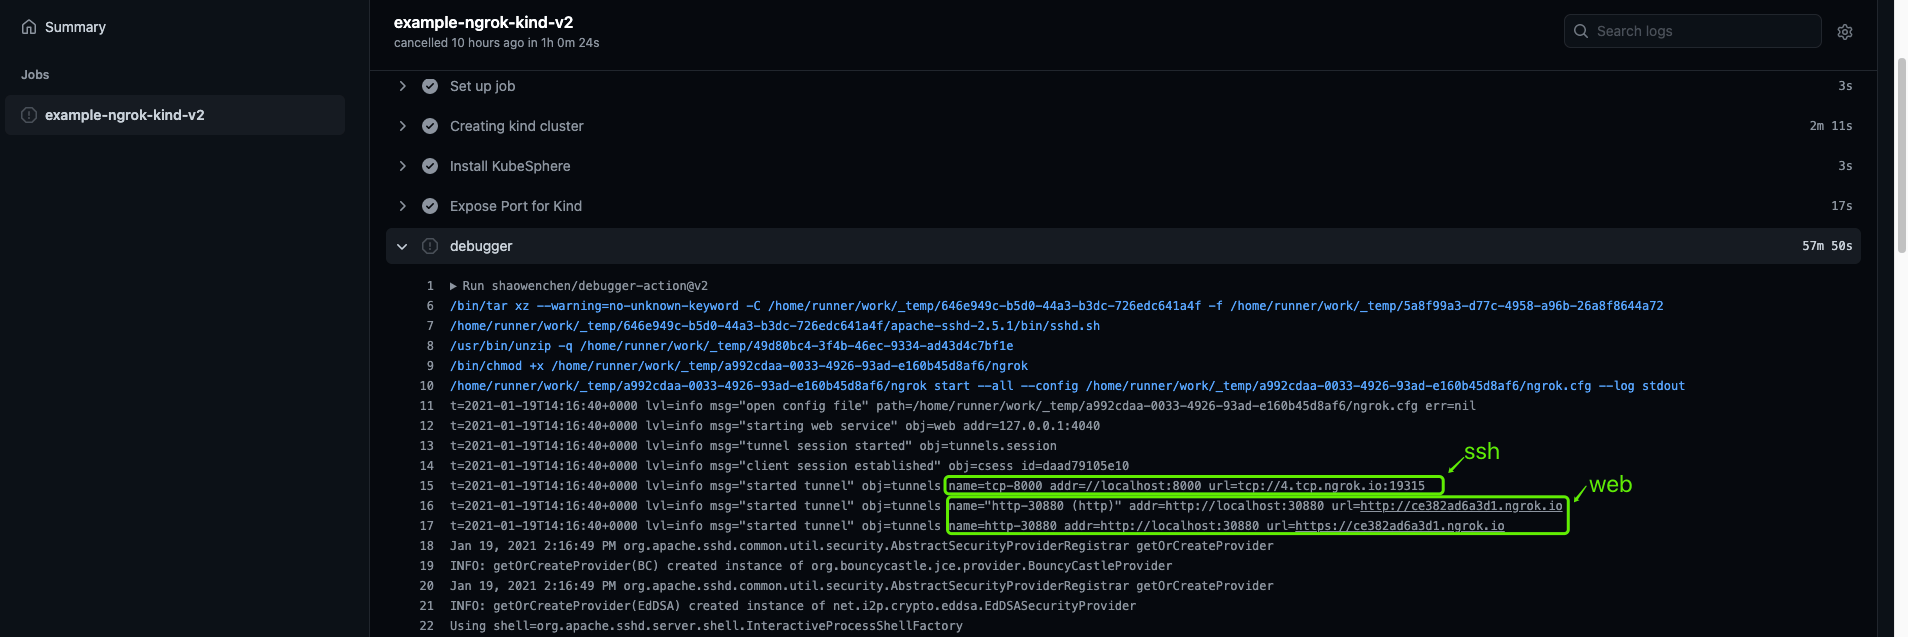
Use ssh root@4.tcp.ngrok.io -p 19315 to log in to the backend; the password is root.
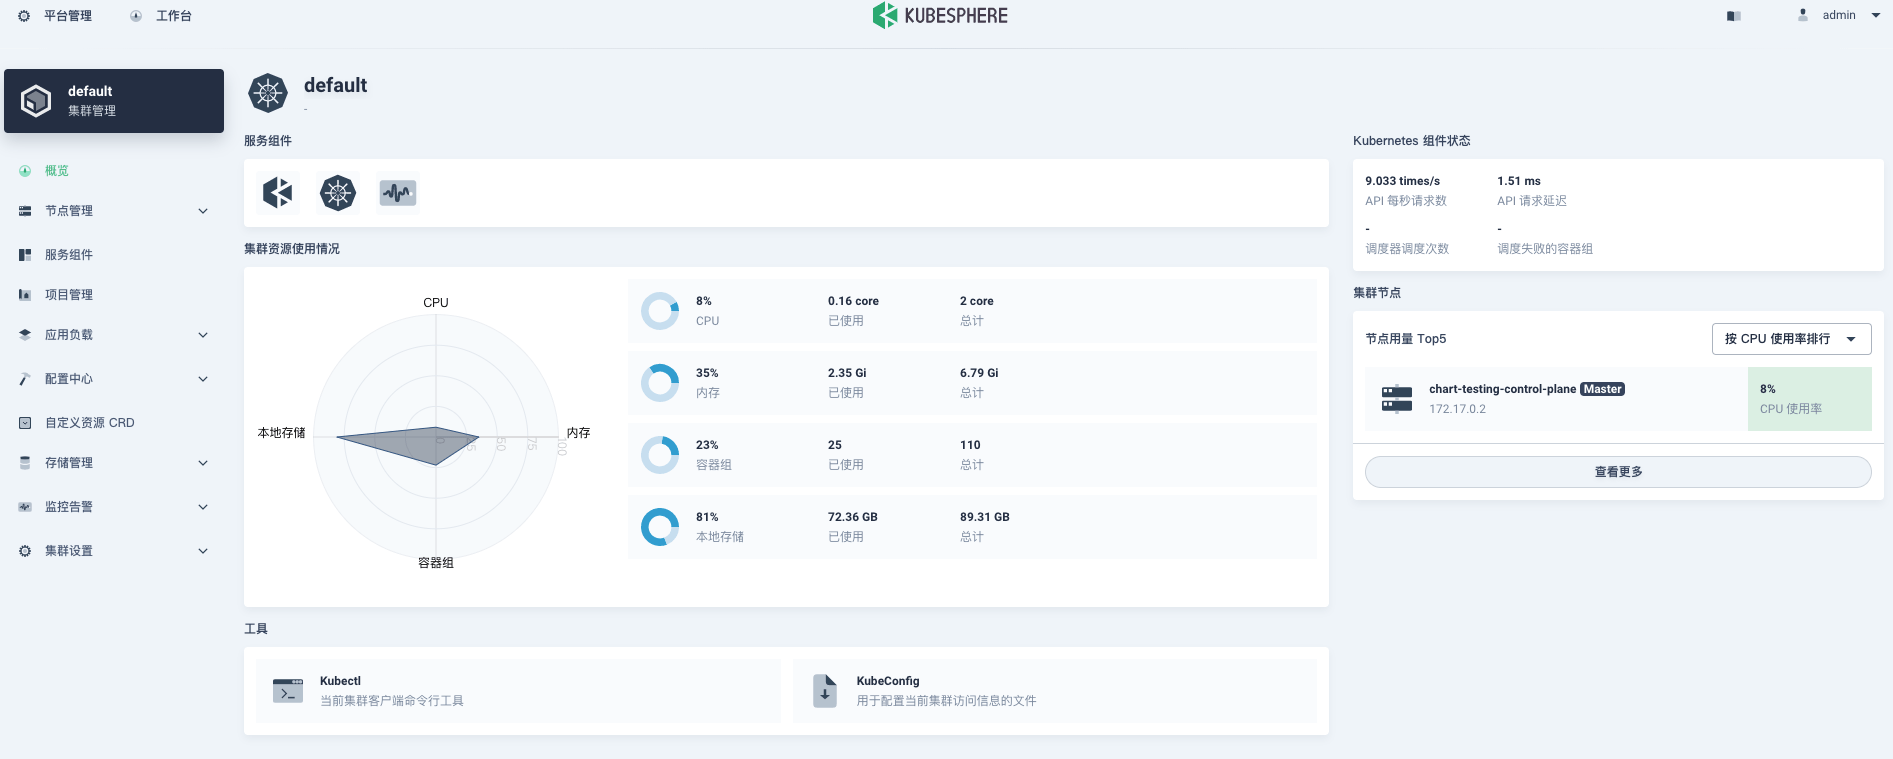
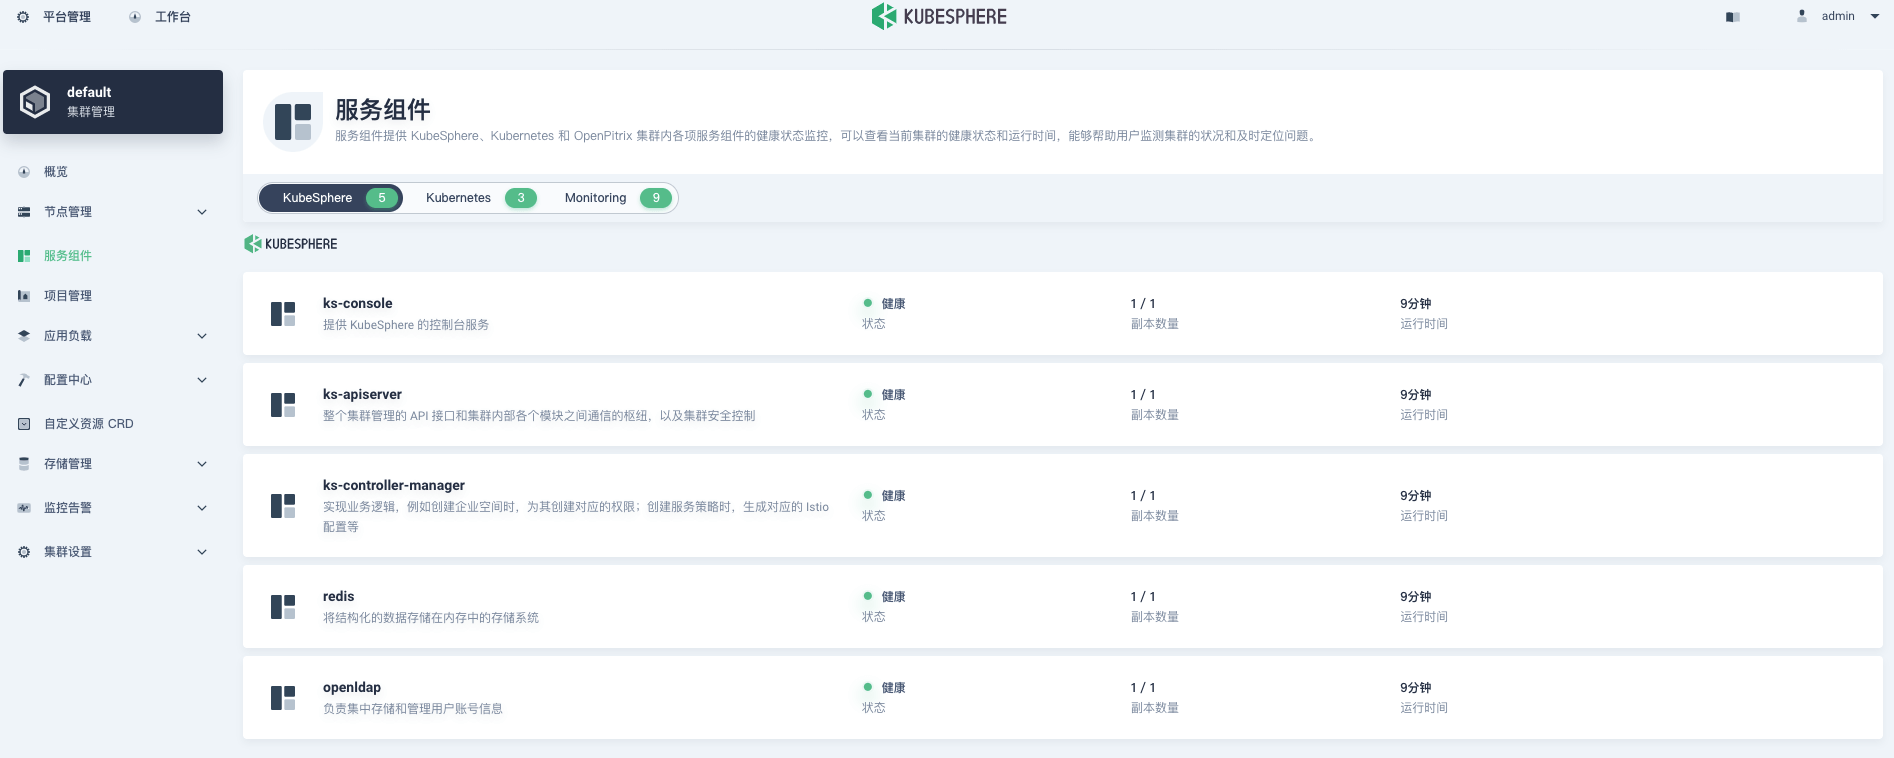
After waiting about 7 minutes for the Action to run, both https://ce382ad6a3d1.ngrok.io/ and http://ce382ad6a3d1.ngrok.io/ can open the KubeSphere management page. Below are screenshots of the product pages: