1. Why Deploy Independently with an Image
- Better SEO
With GitHub Pages, deploying a static site is very convenient. Configure it once, and every commit deploys and updates automatically. Add jsDelivr and Cloudflare acceleration on top, and among free options it is already production-ready.
Unfortunately, Baidu’s search engine indexes GitHub Pages sites very slowly, or not at all. Even using Cloudflare caching — and Cloudflare partners with Baidu — actively submitting a sitemap, and adding a push script to every page, it still had no effect. Google and Bing index far more, 4-5 times as much as Baidu. Another option is multi-line DNS resolution, giving Baidu’s crawler a dedicated IP for SEO, but that means deploying another whole service.
Deploying on a dedicated host is friendlier to SEO.
- Closer to cloud native
On a physical machine, environment setup scripts have poor compatibility and services are hard to maintain. In the cloud-native era, containers are the obvious first choice — you just package the service into an image.
The image build can be configured to run automatically in CI, while deployment is just managing one container.
Easy to use, easy to maintain — that is cloud native.
2. Packaging a Static File Service
Static site frameworks like Hexo, Jekyll, and Hugo render Markdown into HTML to serve content. For deployment, all you need is Nginx serving the static files.
2.1 Add a Dockerfile
Add a Dockerfile at the project root with the following content:
| |
Multi-stage builds effectively reduce the image size. The files referenced by the ADD instructions are described in detail below.
2.2 Add Nginx Configuration Files
Add the following three files under the project:
| |
The content of conf/nginx/default.conf is as follows:
| |
This forwards HTTP to HTTPS and bare-domain requests to www.
The .crt and .key files are the domain’s certificate files; many cloud vendors offer free HTTPS certificates. Tencent Cloud’s free HTTPS certificate is recommended here — simple validation, fast issuance, and it is downloadable.
3. GitHub Actions Builds the Image Automatically
3.1 Add a Makefile
Content as follows:
| |
The Makeffile defines two targets: build builds the image, and install sets up the Docker runtime on a physical machine.
3.2 Define the CI Build-and-Push Pipeline
Add the file .github/workflows/build.yaml at the project root with the following content:
| |
The secrets.GHCR_TOKEN here needs to be created on the https://github.com/settings/tokens/new page.
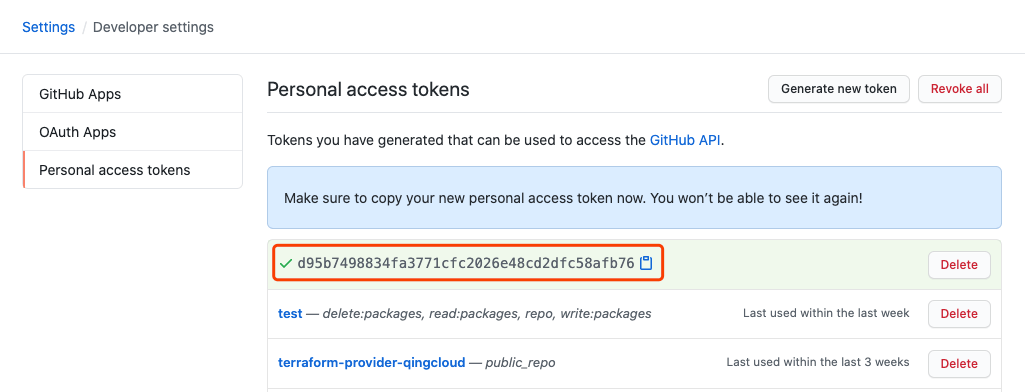
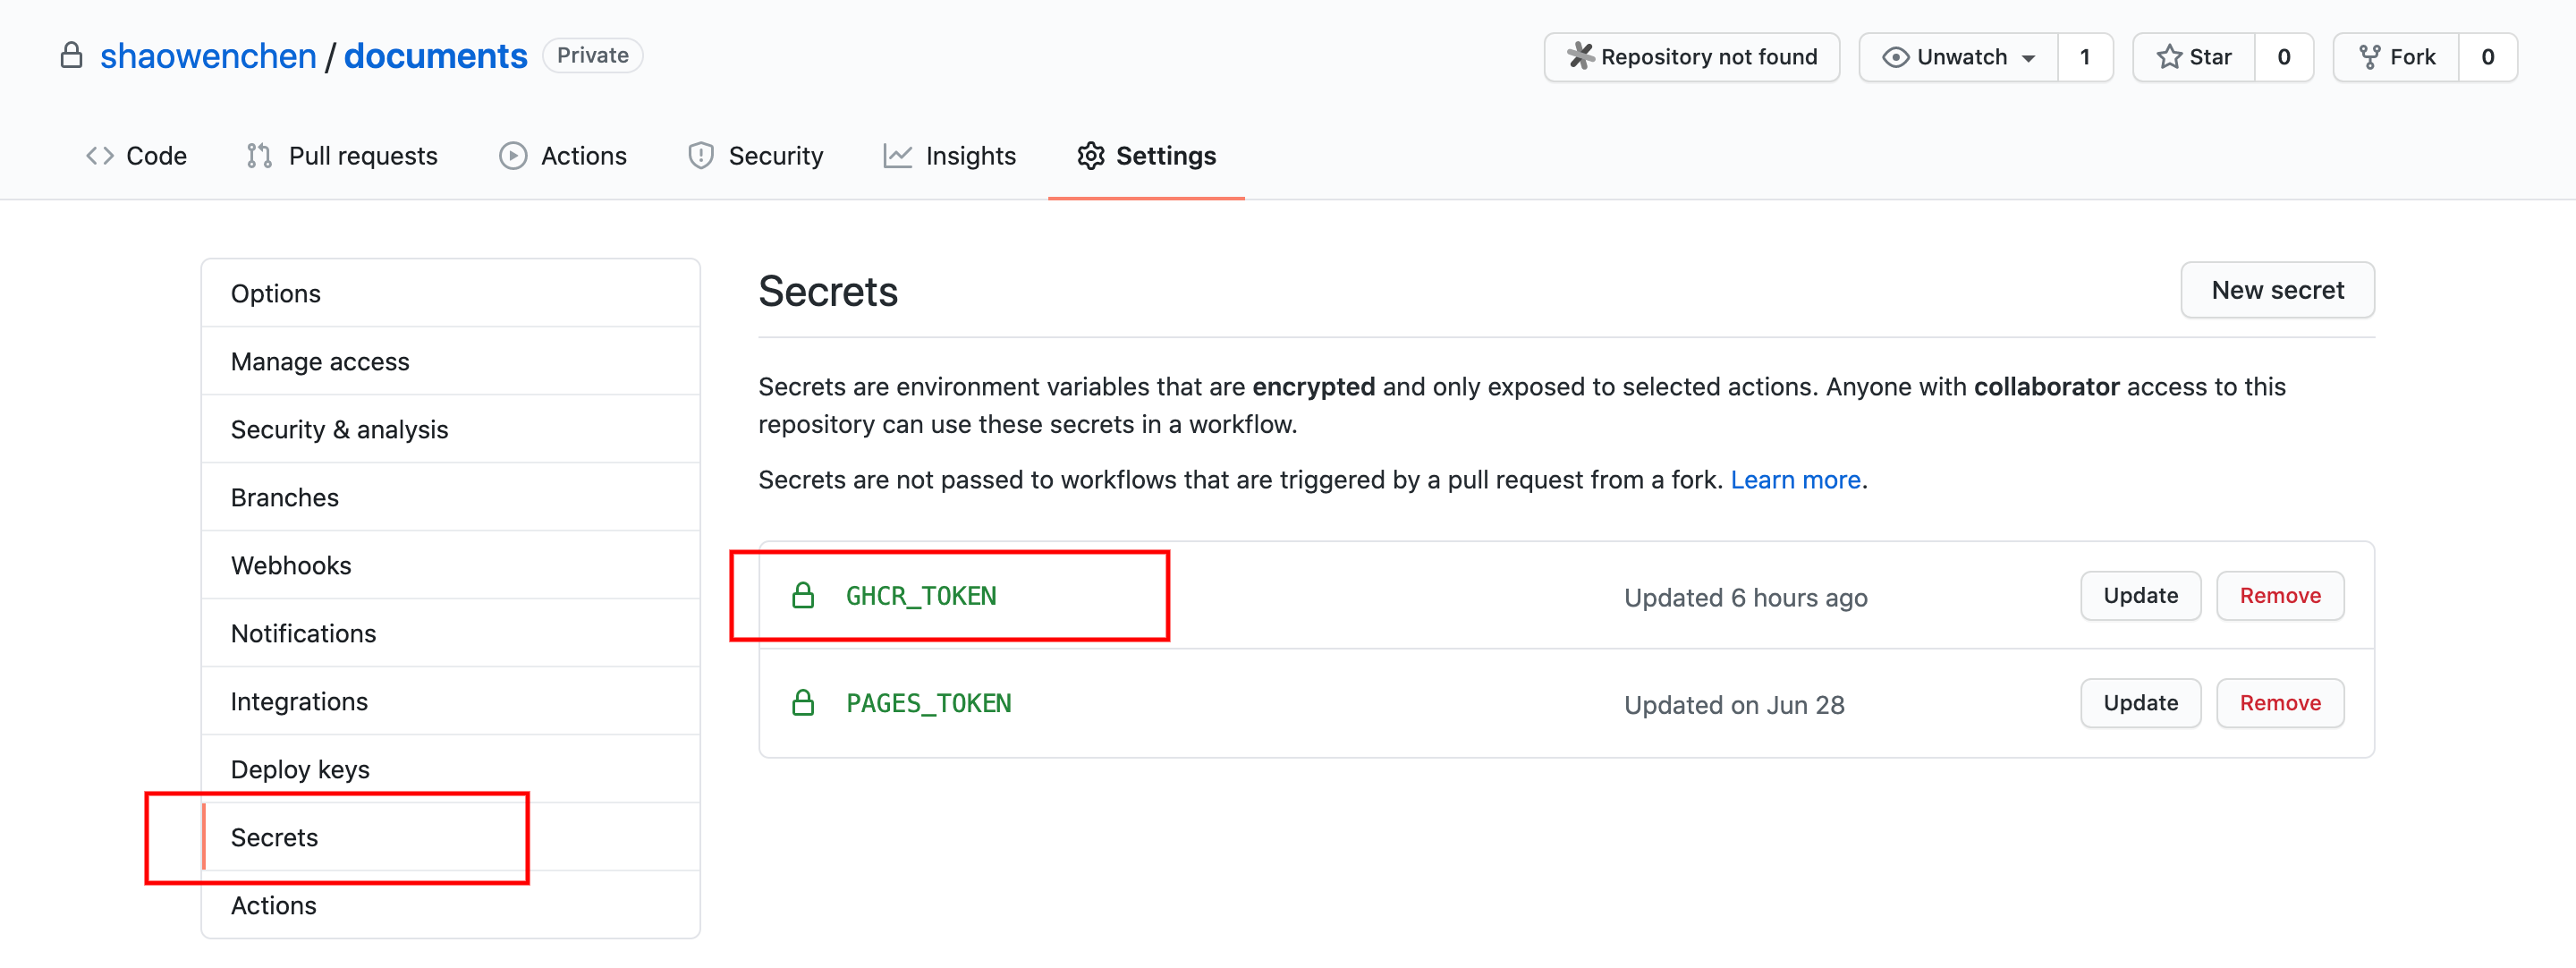
Then add it to the project’s Settings as the value of the GHCR_TOKEN variable.
4. Deploying the Service
In the example I use the ghcr.io registry; if it is not fast enough to access from servers in China, you can switch to an Alibaba Cloud registry.
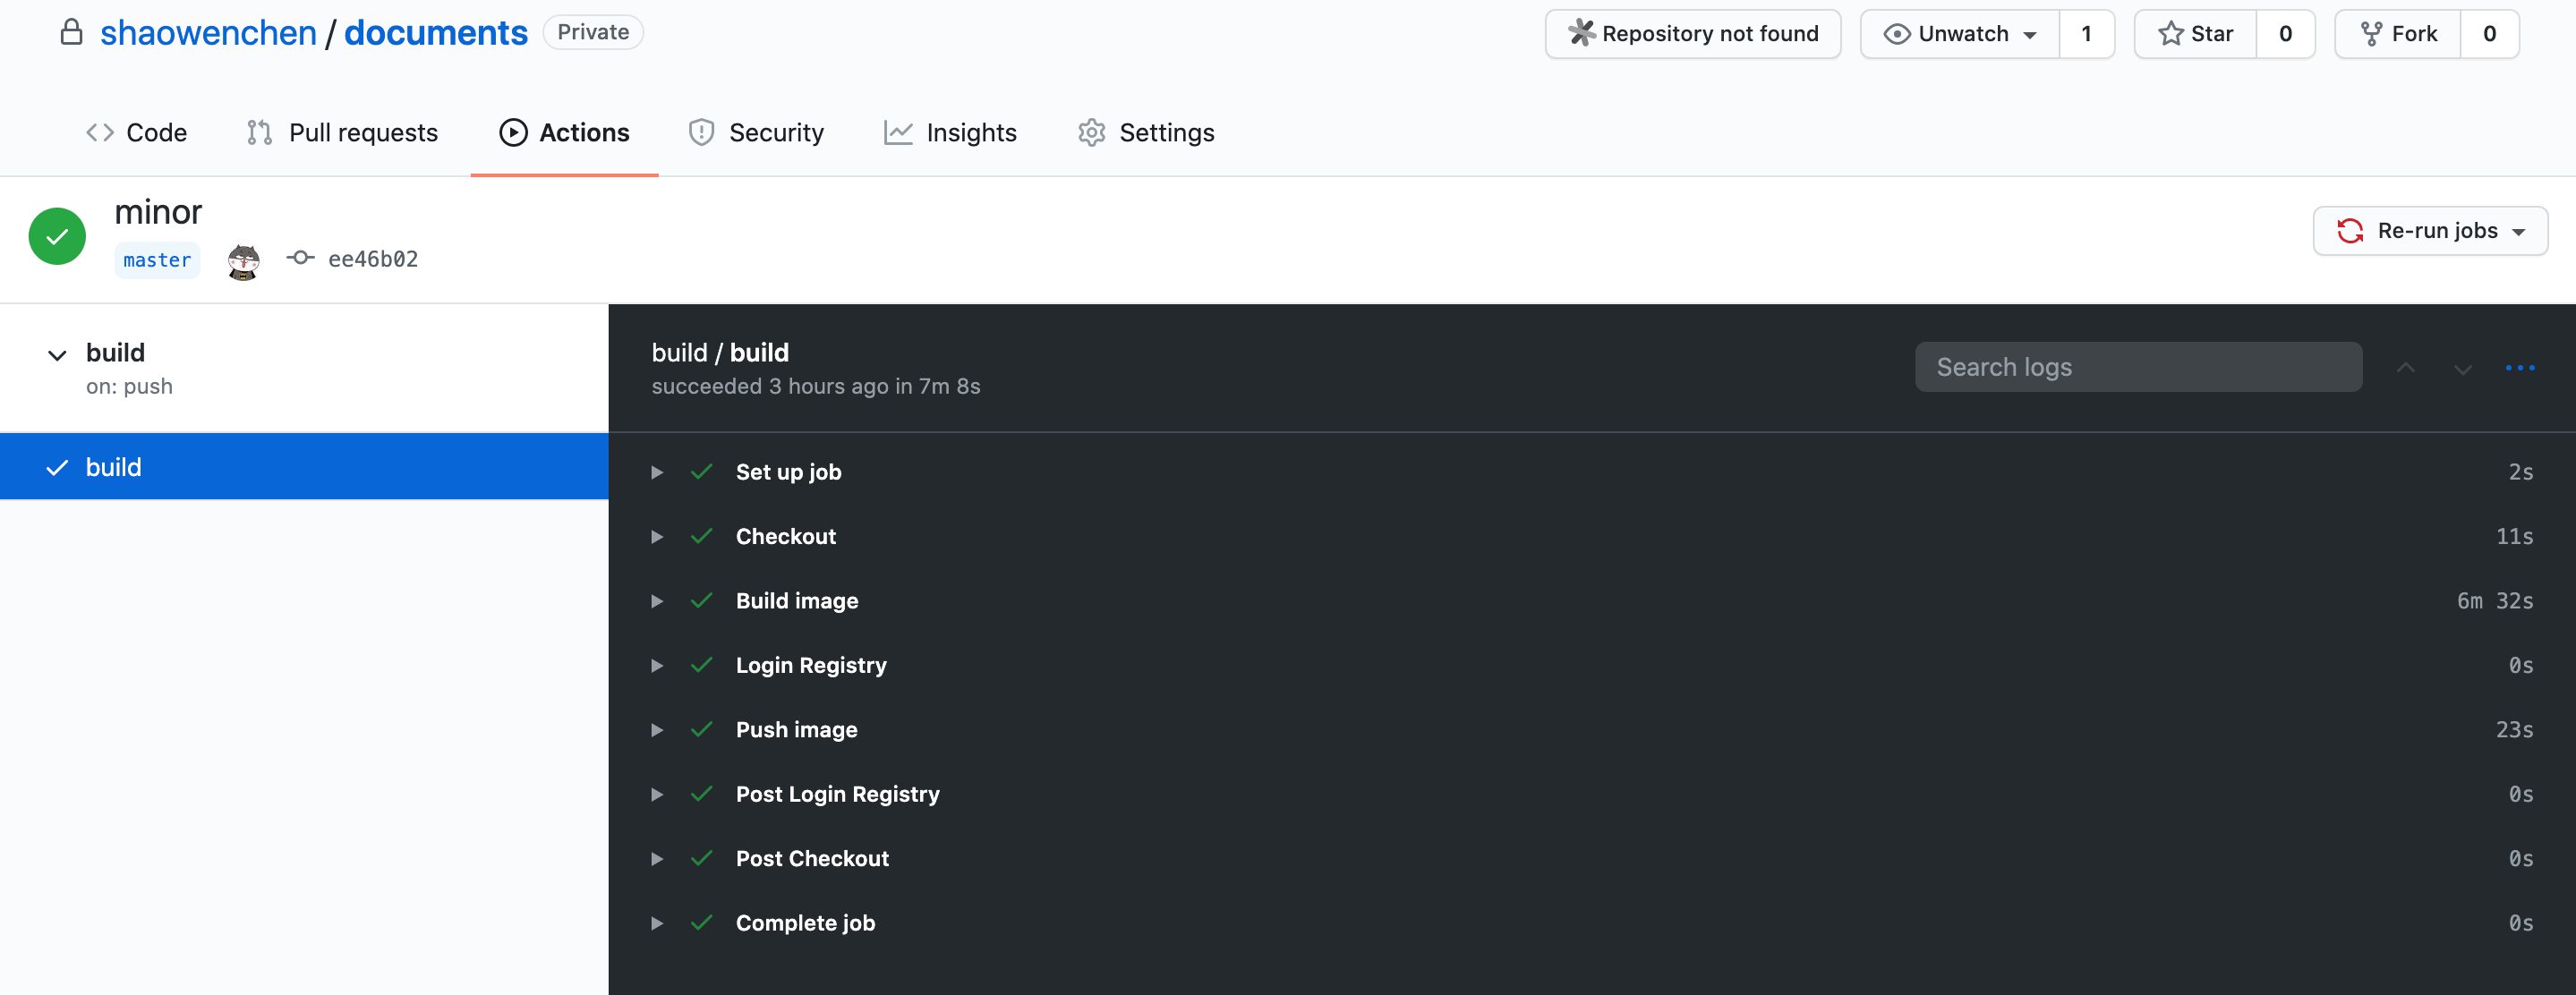
After committing the configuration above, GitHub Actions automatically builds and pushes the image, as shown below.
You can see the image under Packages on your profile page, as shown below.

Once the image is set to Public, it can be pulled without logging in. Below, the service is deployed with docker-compose.
docker-compose.yml
| |
Run the command to start the service:
| |
To update the service, pull the image first, then stop the service and start it again:
| |
Since this is just an Nginx serving static files, starting and stopping the service is very fast.
