1. Starting the Container
1
| export IMAGE=nousresearch/hermes-agent:v2026.6.5
|
- Set directory permissions
1
2
| mkdir -p hermes-agent-home
chmod -R 777 hermes-agent-home
|
- Set environment variables
1
2
3
| cat <<EOF > hermes-agent-home/.env
GATEWAY_ALLOW_ALL_USERS=true
EOF
|
 1
 2
 3
 4
 5
 6
 7
 8
 9
10
| nerdctl run -d \
--name hermes-agent \
--restart always \
--security-opt apparmor=unconfined \
--security-opt seccomp=unconfined \
--user hermes \
--network host \
-v $(pwd)/hermes-agent-home:/opt/data \
-v $(pwd)/openclaw-home/.openclaw:/opt/data/.openclaw \
$IMAGE gateway run
|
- Start the hermes-agent dashboard
1
2
3
4
5
6
7
8
9
| nerdctl run -d \
--name hermes-dashboard \
--restart always \
--security-opt apparmor=unconfined \
--security-opt seccomp=unconfined \
-p 9119:9119 \
-v $(pwd)/hermes-agent-home:/opt/data \
-e GATEWAY_HEALTH_URL=http://${node_IP}:8642 \
$IMAGE dashboard --host 0.0.0.0 --insecure
|
1
| nerdctl rm hermes-agent hermes-dashboard --force
|
2. Basic Usage
1
| nerdctl exec -it hermes-agent bash
|
1
| /opt/hermes/.venv/bin/hermes model
|
Here I chose the custom model (○) 26. Custom endpoint (enter URL manually)
1
| /opt/hermes/.venv/bin/hermes chat -q "hi"
|
1
| /opt/hermes/.venv/bin/hermes claw migrate
|
 1
 2
 3
 4
 5
 6
 7
 8
 9
10
11
| ┌─────────────────────────────────────────────────────────┐
│ ⚕ Hermes — OpenClaw Migration │
└─────────────────────────────────────────────────────────┘
◆ Migration Settings
Source: /opt/data/.openclaw
Target: /opt/data
Preset: full
Overwrite: no (skip conflicts)
Secrets: yes (allowlisted only)
|
1
| /opt/hermes/.venv/bin/hermes doctor
|
1
| /opt/hermes/.venv/bin/hermes
|
1
2
| echo "TELEGRAM_BOT_TOKEN=xxx
TELEGRAM_ALLOWED_USERS=xxx" >> /opt/data/.env
|
Add the user allowlist restriction.
1
| /opt/hermes/.venv/bin/hermes gateway restart
|
3. Remote Invocation Integration
3.1 Calling with the CLI
Deploy a server on the deployment machine to expose the API; see https://github.com/shaowenchen/demo/tree/master/hermes-agent-call. After the server receives a request, it runs the following command on the host:
1
| nerdctl exec -it hermes-agent /opt/hermes/.venv/bin/hermes chat --yolo -c -q "巡检一下集群"
|
The -c parameter here keeps a single session alive across calls.
- Hosting the service with pm2
1
| pm2 start "python3 hermes-agent-call.py" --name hermes-agent
|
1
| curl -X POST http://127.0.0.1:3011/call -H "Content-Type: application/json" -d '{"message":"hi"}'
|
1
| {"ok": true, "sessionid": "", "message": "hi", "command": "nerdctl exec hermes-agent /opt/hermes/.venv/bin/hermes chat --yolo -c -q \"hi\"", "exitCode": 0, "stdout": "Hey chenshaowen! 👋\nWhat can I help you with today?", "stderr": ""}
|
3.2 Calling with the OpenAI API
1
2
3
4
| echo "API_SERVER_ENABLED=true
API_SERVER_HOST=0.0.0.0
API_SERVER_PORT=8643
API_SERVER_KEY=xxxx" >> /opt/data/.env
|
1
| nerdctl restart hermes-agent
|
 1
 2
 3
 4
 5
 6
 7
 8
 9
10
11
12
13
14
15
| curl --location 'http://127.0.0.1:8643/v1/chat/completions' \
--header 'Content-Type: application/json' \
--header 'Authorization: Bearer xxx' \
--data '{
"model": "default",
"messages": [
{
"role": "user",
"content": "你是谁?"
}
],
"temperature": 0.1,
"max_tokens": 40960,
"stream": false
}'
|
4. Viewing the Dashboard
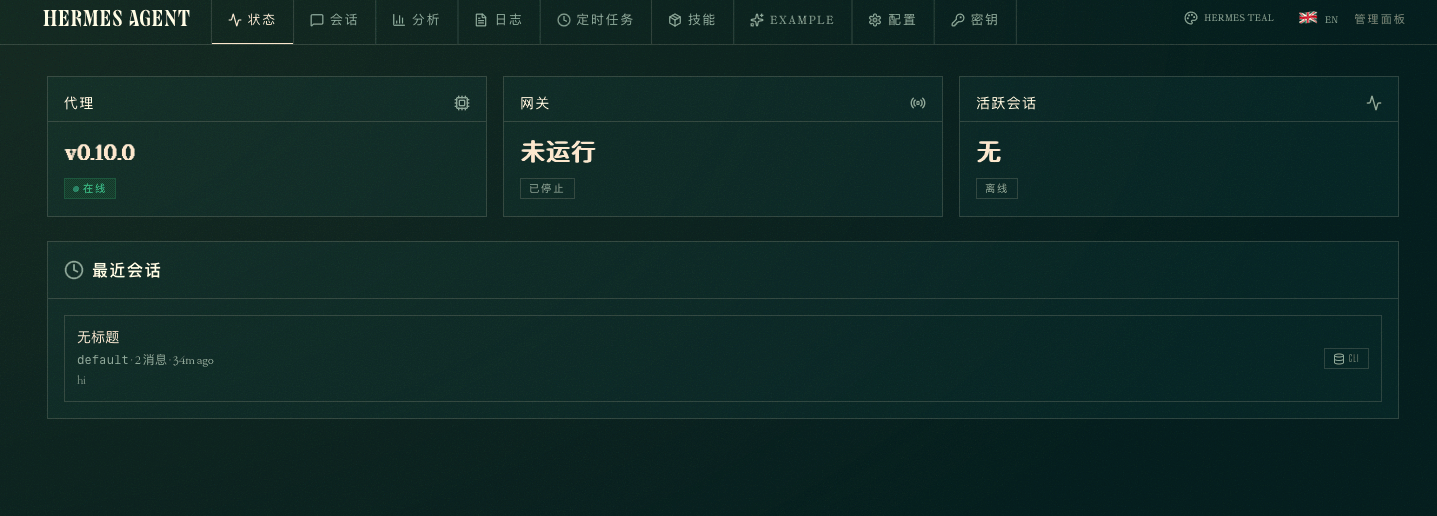
The Hermes Agent dashboard cannot be used to chat directly for now; it is mainly for configuration and status checks.
