1. Introduction
GitLab is an open-source application developed with Ruby on Rails. It implements self-hosted Git project repositories, and public or private projects can be accessed through a web interface.
It has features similar to GitHub, and can browse source code, manage defects and comments. It can manage team access to repositories; it is very easy to browse committed versions and it provides a file history repository. Team members can communicate using the built-in simple chat program (Wall). It also provides a code snippet collection feature that makes code reuse easy and makes it convenient to find things later when needed.
Simply put, the needs GitLab can satisfy are:
- Code repository management
- Code Review
- Free private repositories
- Open source, can be set up on an intranet
- GitLab CI, usable for continuous integration
2. Installation
2.1 Installing the Tool Set
| |
2.2 Installing GitLab CE
| |
2.3 gitlab.rb Configuration
Edit /etc/gitlab/gitlab.rb
- Change
external_url = "http://gitlab.com"to your own domain: http://yourdomain.com. - Change the port: uncomment
# unicorn['port'] = 8080and change 8080 to 8001, to avoid the port being occupied. - Change the port: uncomment
# gitlab_workhorse['auth_backend'] = "http://localhost:8080"and change 8080 to 8001. - Disable GitLab’s built-in Nginx: uncomment
#nginx['enable'] = trueand change true to false.
2.4 Local Nginx Configuration:
The following uses GitLab 9.4.4 as an example; the location of gitlab.socket may differ in other versions. You can find the exact location with the command:
| |
Use the nginx -t command to find the location of the nginx configuration file, and add the following server
| |
2.5 Starting GitLab
| |
Other commonly used commands:
| |
3. Troubleshooting
3.1 git clone 500
At this point you need to modify the Nginx configuration. The configuration above uses gitlab; in fact, the official website configures gitlab-workhorse. Below is a simplified configuration; for more detailed parameters you can consult the official documentation, and there is a link at the end of this post.
upstream gitlab-workhorse {
    server unix://var/opt/gitlab/gitlab-workhorse/socket;
    }
	server{
        listen 80;
        server_name yourdomain.com;

        server_tokens off;     # don't show the version number, a security best practice
        root /opt/gitlab/embedded/service/gitlab-rails/public;

        client_max_body_size 50m;

        access_log  /var/log/gitlab/nginx/gitlab_access.log;
        error_log   /var/log/gitlab/nginx/gitlab_error.log;

        location / {
        try_files $uri $uri/index.html $uri.html @gitlab-workhorse;
        }

        location @gitlab-workhorse {
        proxy_read_timeout 300; # Some requests take more than 30 seconds.
        proxy_connect_timeout 300; # Some requests take more than 30 seconds.
        proxy_redirect     off;

        proxy_set_header   X-Forwarded-Proto $scheme;
        proxy_set_header   Host              $http_host;
        proxy_set_header   X-Real-IP         $remote_addr;
        proxy_set_header   X-Forwarded-For   $proxy_add_x_forwarded_for;
        proxy_set_header   X-Frame-Options   SAMEORIGIN;

		proxy_pass http://gitlab-workhorse;
        }

        location ~ ^/(assets)/  {
        root /opt/gitlab/embedded/service/gitlab-rails/public;
        # gzip_static on; # to serve pre-gzipped version
        expires max;
        add_header Cache-Control public;
        }

    error_page 502 /502.html;
    }
3.2 The 502 Page
The message is: GitLab is taking too much time to respond. At this point you can check the /var/log/gitlab/nginx/gitlab_error.log log configured in the Nginx configuration above.
| |
Next, check the permissions on /var/opt/gitlab/gitlab-workhorse/socket.
| |
Now look at nginx.conf
| |
Analysis of the cause: the web page, executed as the nginx user, fails to access /var/opt/gitlab/gitlab-workhorse/socket — no permission. But /var/opt/gitlab/gitlab-workhorse/socket belongs to the git group, git user. So you only need to add the nginx user to the git group.
| |
In the official documentation this is done through passenger_group. Since the Passenger module requires recompiling and reinstalling Nginx, the official configuration was not adopted. On Stack Overflow, some people also succeed by directly changing the group that owns /var/opt/gitlab/gitlab-workhorse/socket; we could not reproduce that, and after every gitlab-ctl reconfigure the modified permission is lost again.
4. Testing
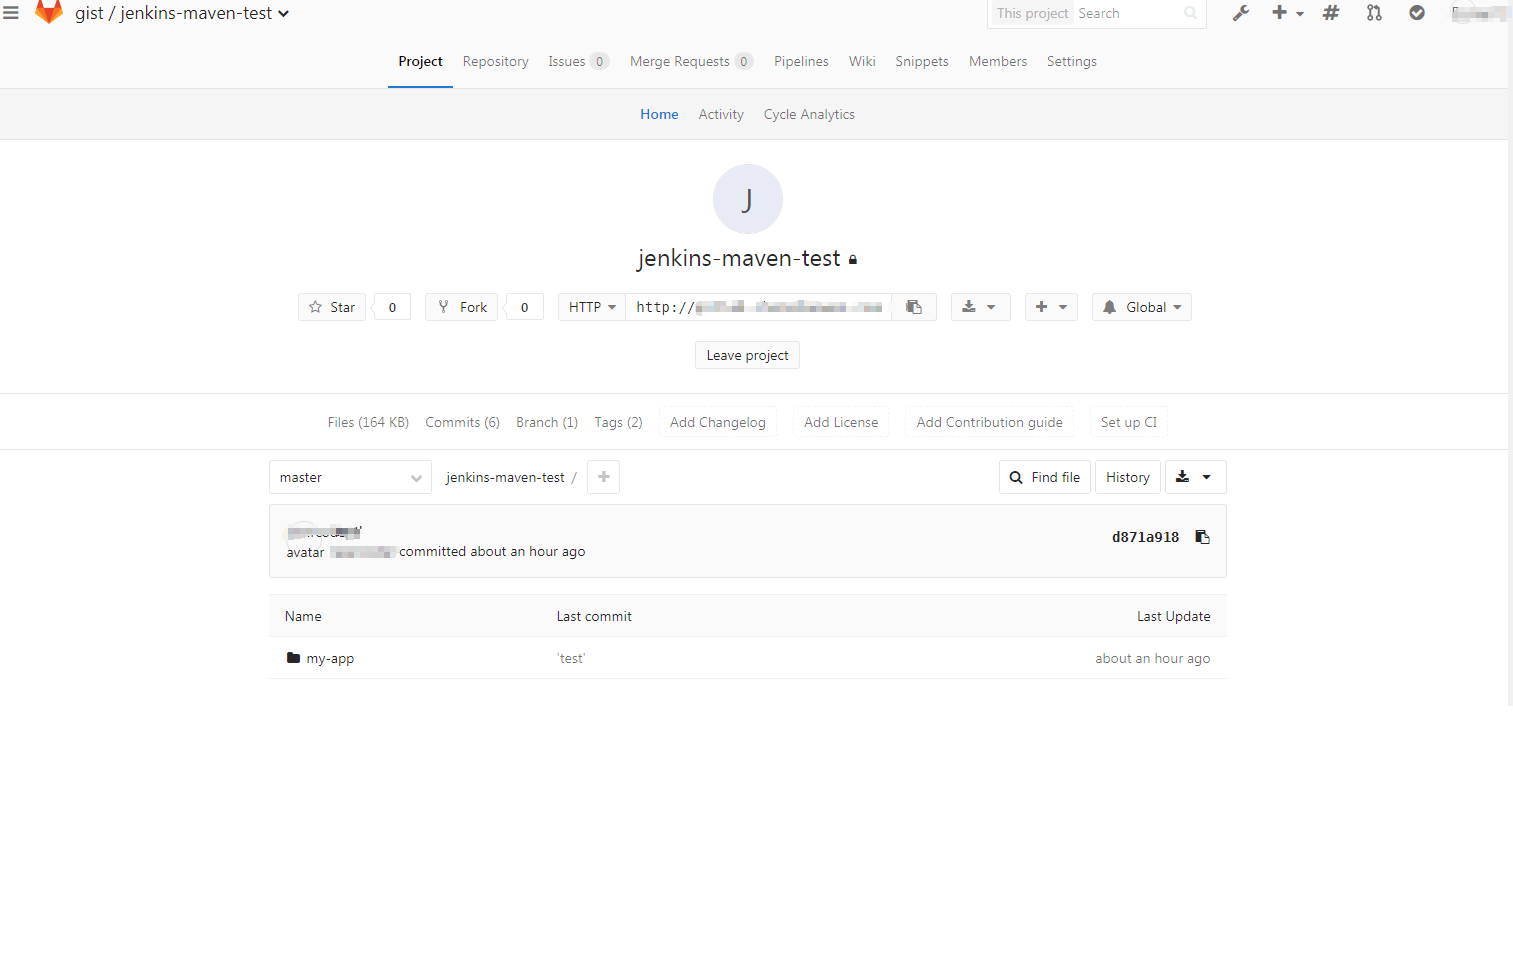
The specific git commands are not listed in detail here. Create a new project — GitLab supports forking directly from GitHub — then git clone it locally, then git push to master, completing a full push-and-pull cycle.