In a CICD flow, there are two main kinds of things that need to be saved: build artifacts and caches. Build artifacts are the final execution result, and caches exist to speed up the next build. This post mainly describes how to archive build artifacts and caches in Jenkins, along with a hands-on example backed by object storage. Some of the examples use Creating a Jenkins Slave Dynamically on Kubernetes to run builds; the configuration process can be found in the linked document.
1. Deploying Minio and Using S3cmd
1.1 Deploying Minio
Here we use docker-compose to orchestrate the Minio deployment.
- Install Docker-compose
| |
- Deploy Minio
| |
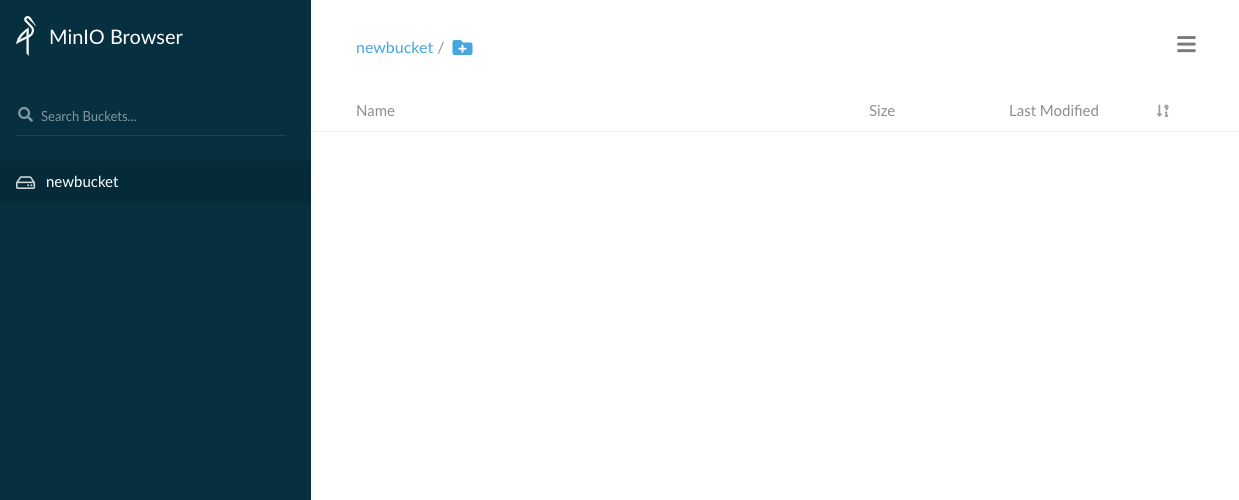
- View the Minio page
Pick any port from 9001-9004 and you can see the Minio page; log in with the account minioadmin:minioadmin.
1.2 Installing and Using S3cmd
- Install
| |
- Configure
Edit the ~/.s3cfg file and add the following content:
host_base = 1.1.1.1:9001
host_bucket = 1.1.1.1:9001
use_https = False

access_key =  minioadmin
secret_key = minioadmin

signature_v2 = False
This is only for testing; host_bucket points directly at the deployed server. In production, buckets come in two styles: DNS-style and Path-style, and they can support very large-scale distributed storage.
- Everyday operations
List all buckets
| |
Create a bucket
| |
Upload a file
| |
Upload a folder
| |
List the data in a bucket
| |
Download a file from a bucket
| |
Delete a file in a bucket
| |
Delete a bucket
| |
2. Archiving Builds in Jenkins
2.1 Local Archiving
Create a new pipeline with the following content:
pipeline {
  agent {
    kubernetes {
      yaml """
apiVersion: v1
kind: Pod
spec:
  containers:
  - name: maven
    image: maven:3.6.3-jdk-8-openj9
    command:
    - cat
    tty: true
"""
   }}
   stages {
      stage('Hello') {
         steps {
            container('maven') {
              sh "echo `date` >> newfile.txt"
            }
         }
      }
   }
   post {
    success {
        archiveArtifacts 'newfile.txt'
    }
  }
}
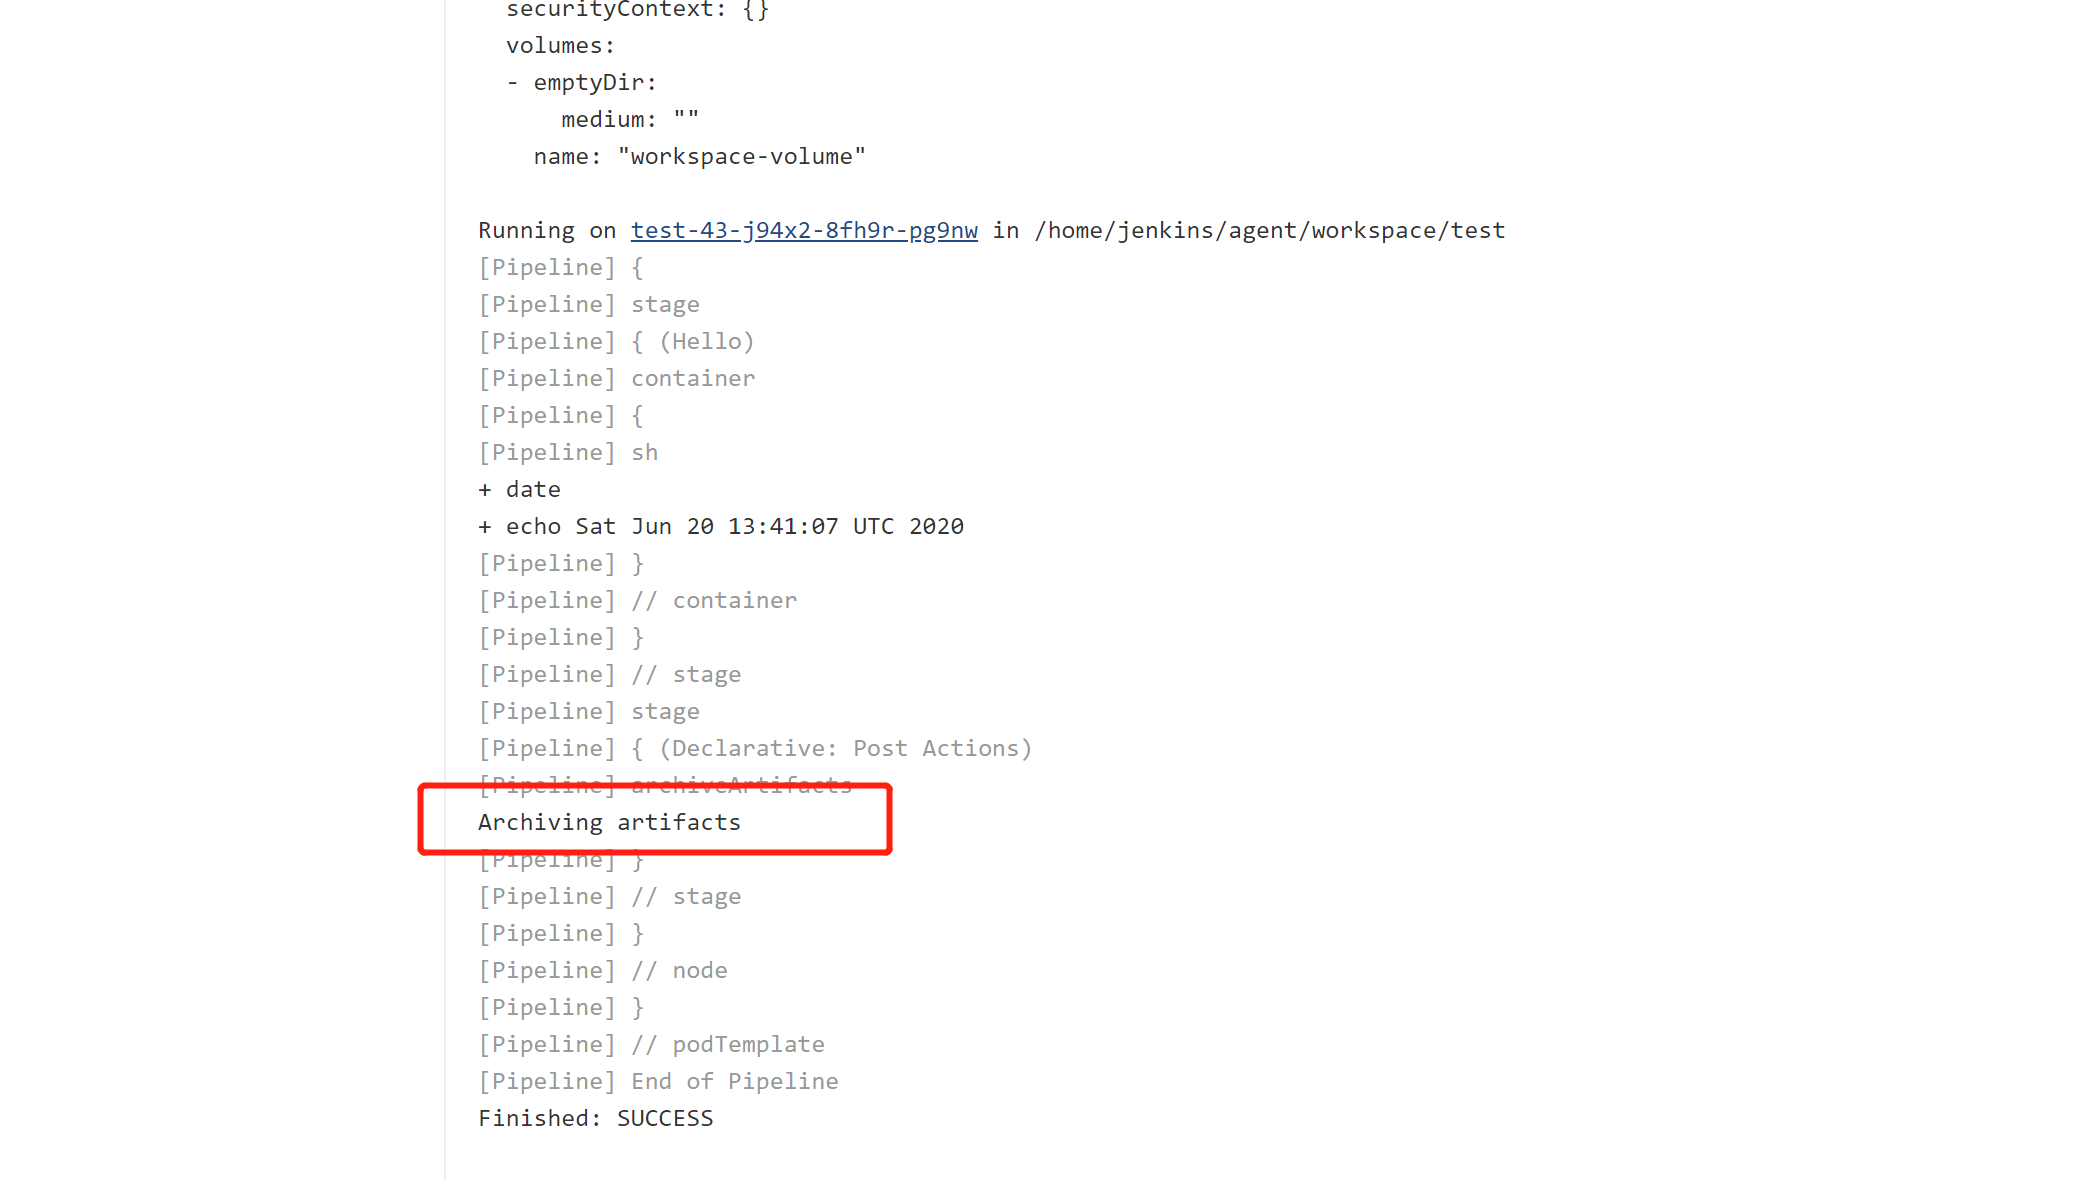
Looking at the build log, you can see the build artifact was archived successfully.
In the UI of that build, you can also view the archived file directly.
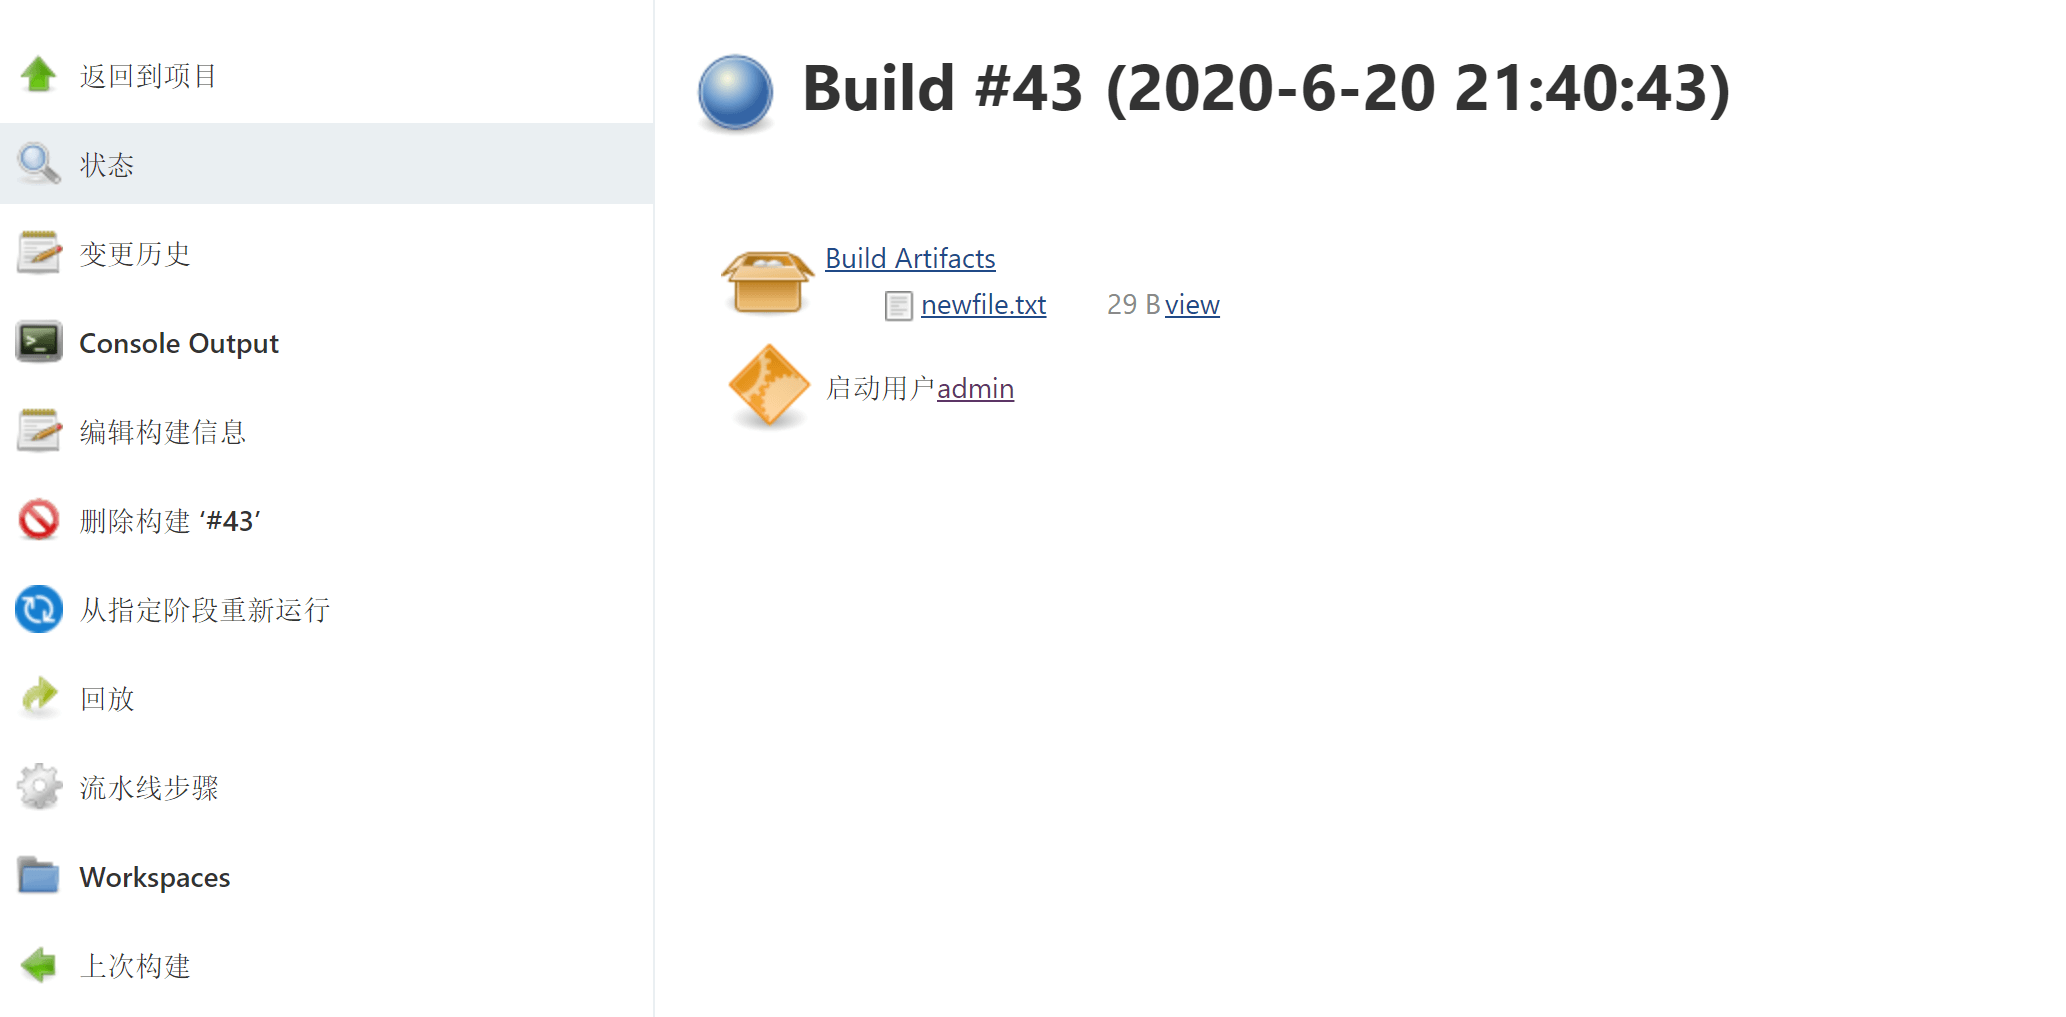
On the server, you can find the archived file at /var/jenkins_home/jobs/test/builds/43/archive/newfile.txt. Here Jenkins saves archived files directly under the /var/jenkins_home/jobs folder.
2.2 Archiving to Object Storage
Most object storage plugins in Jenkins target AWS rather than the S3 protocol. Of course, some cloud vendors, such as Qiniu, also provide Jenkins storage plugins. Here we mainly use an open-source object storage component - Minio.
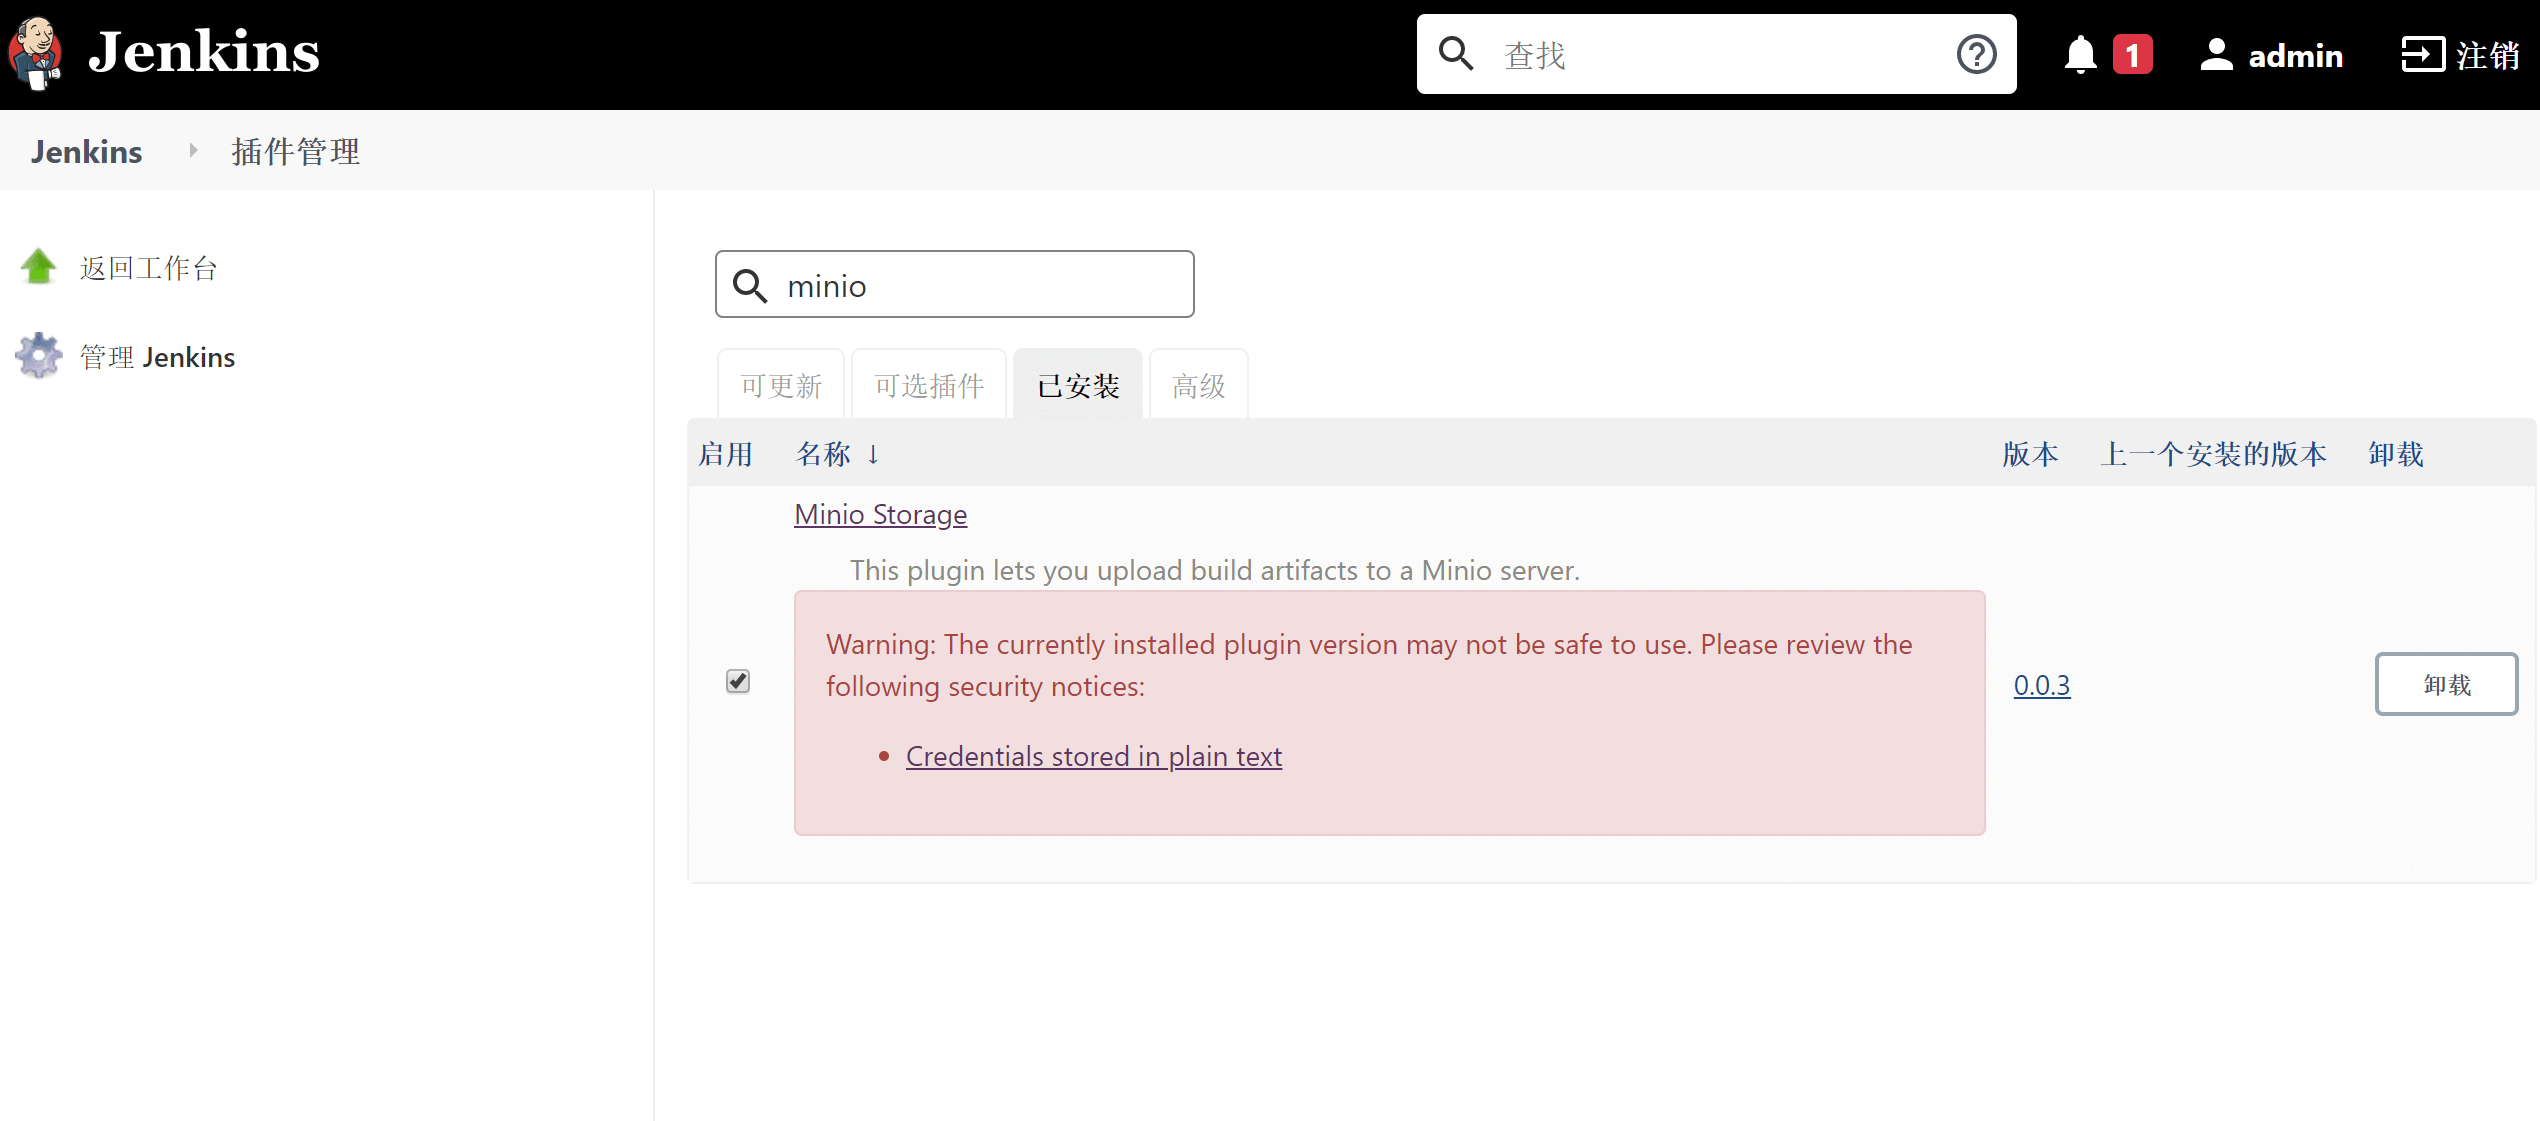
- Search for and install the minio plugin in the plugin marketplace
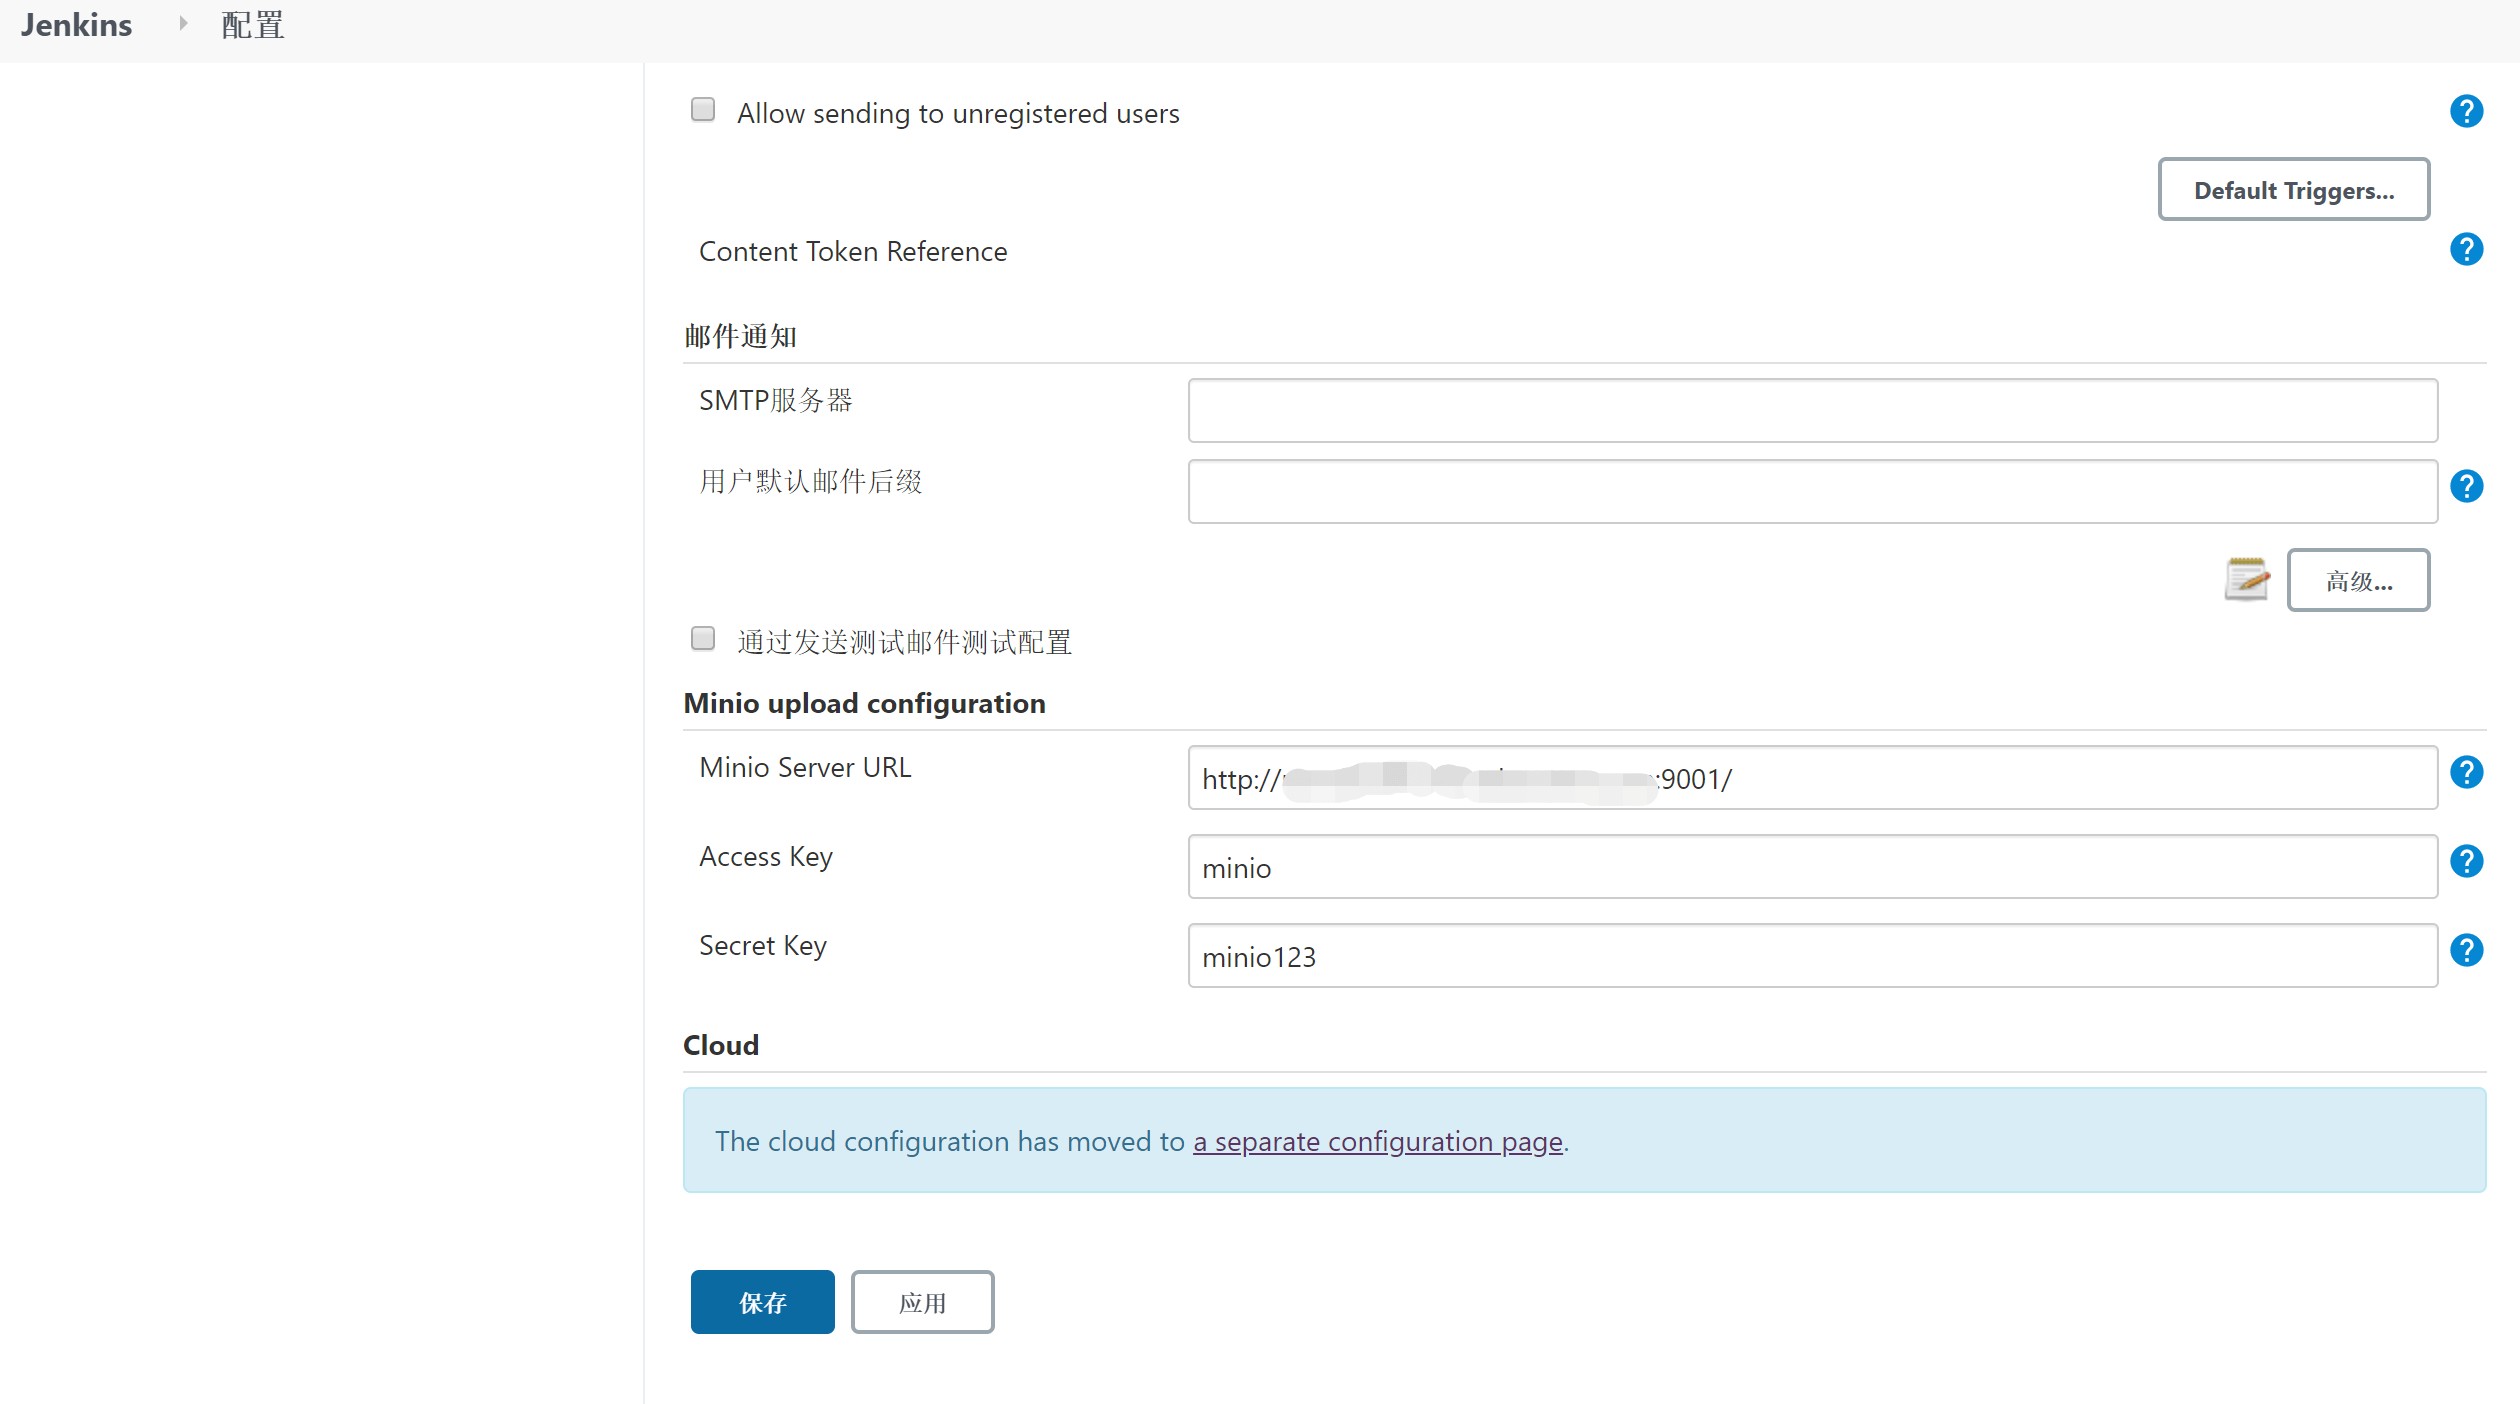
- Set the Minio-related configuration in the Jenkins configuration
- Create a new freestyle pipeline
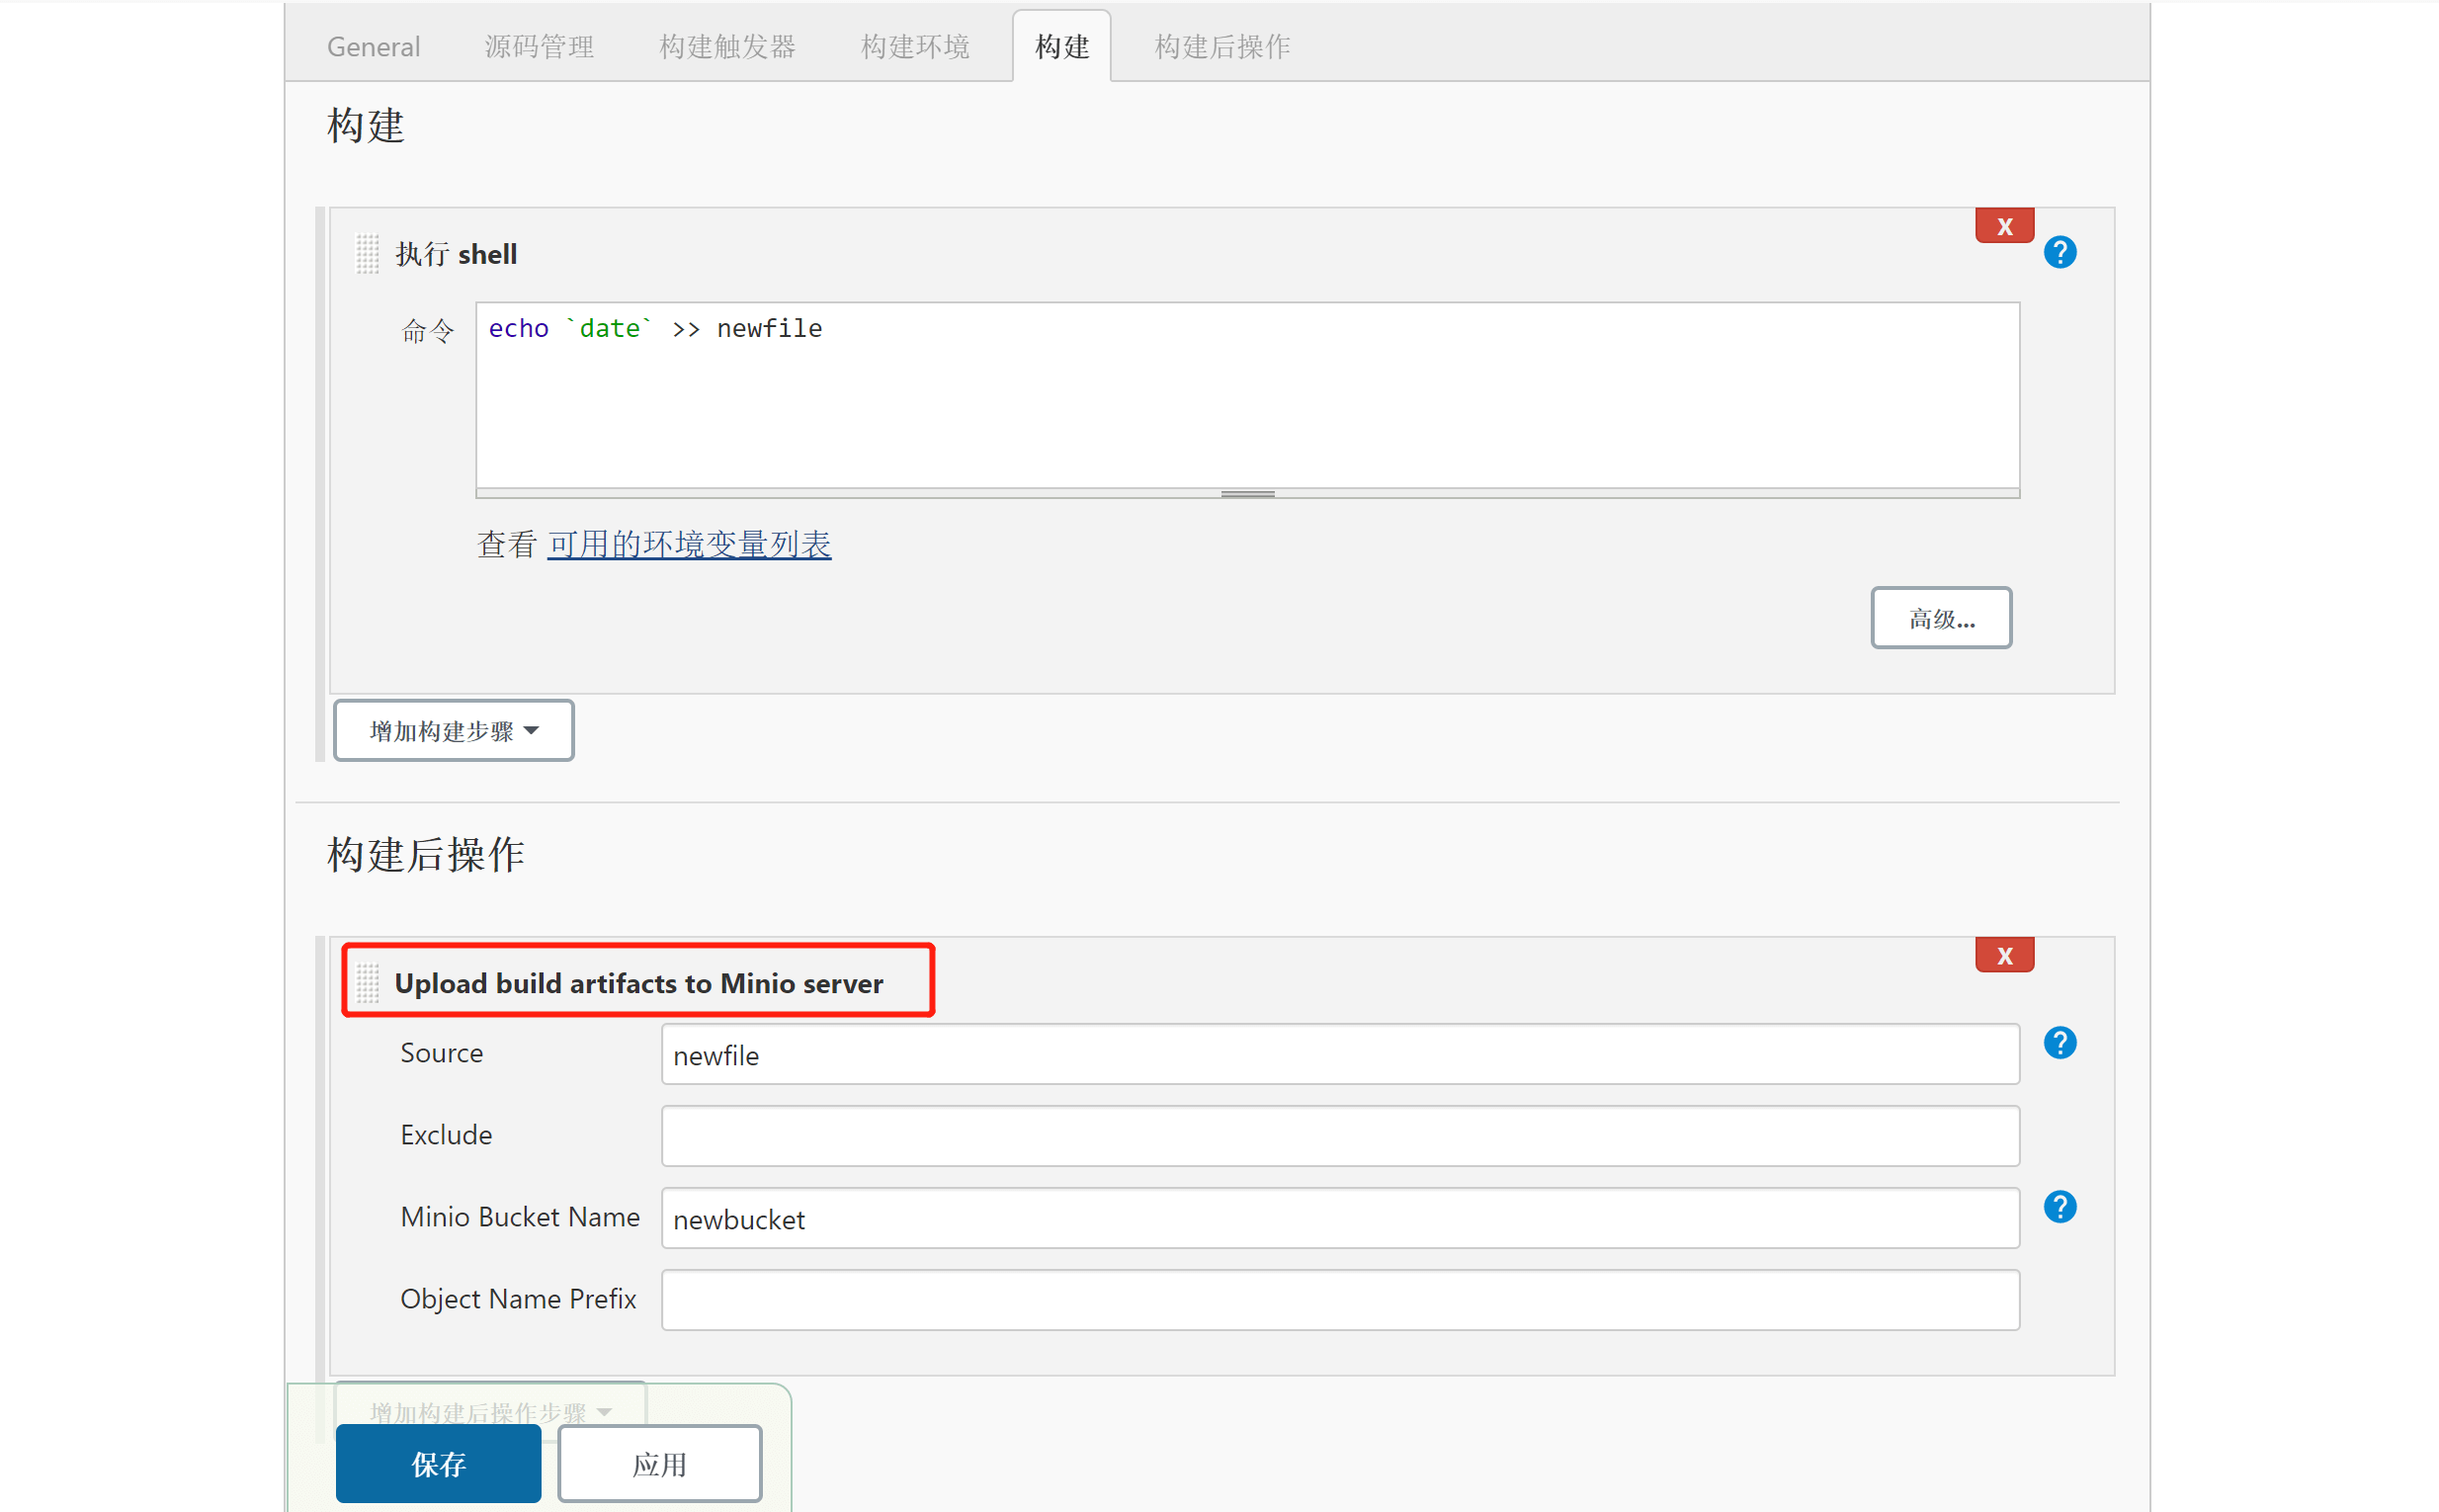
Edit the Step to execute, then set the files to archive after the build
- In the build log, you can see that the archive succeeded
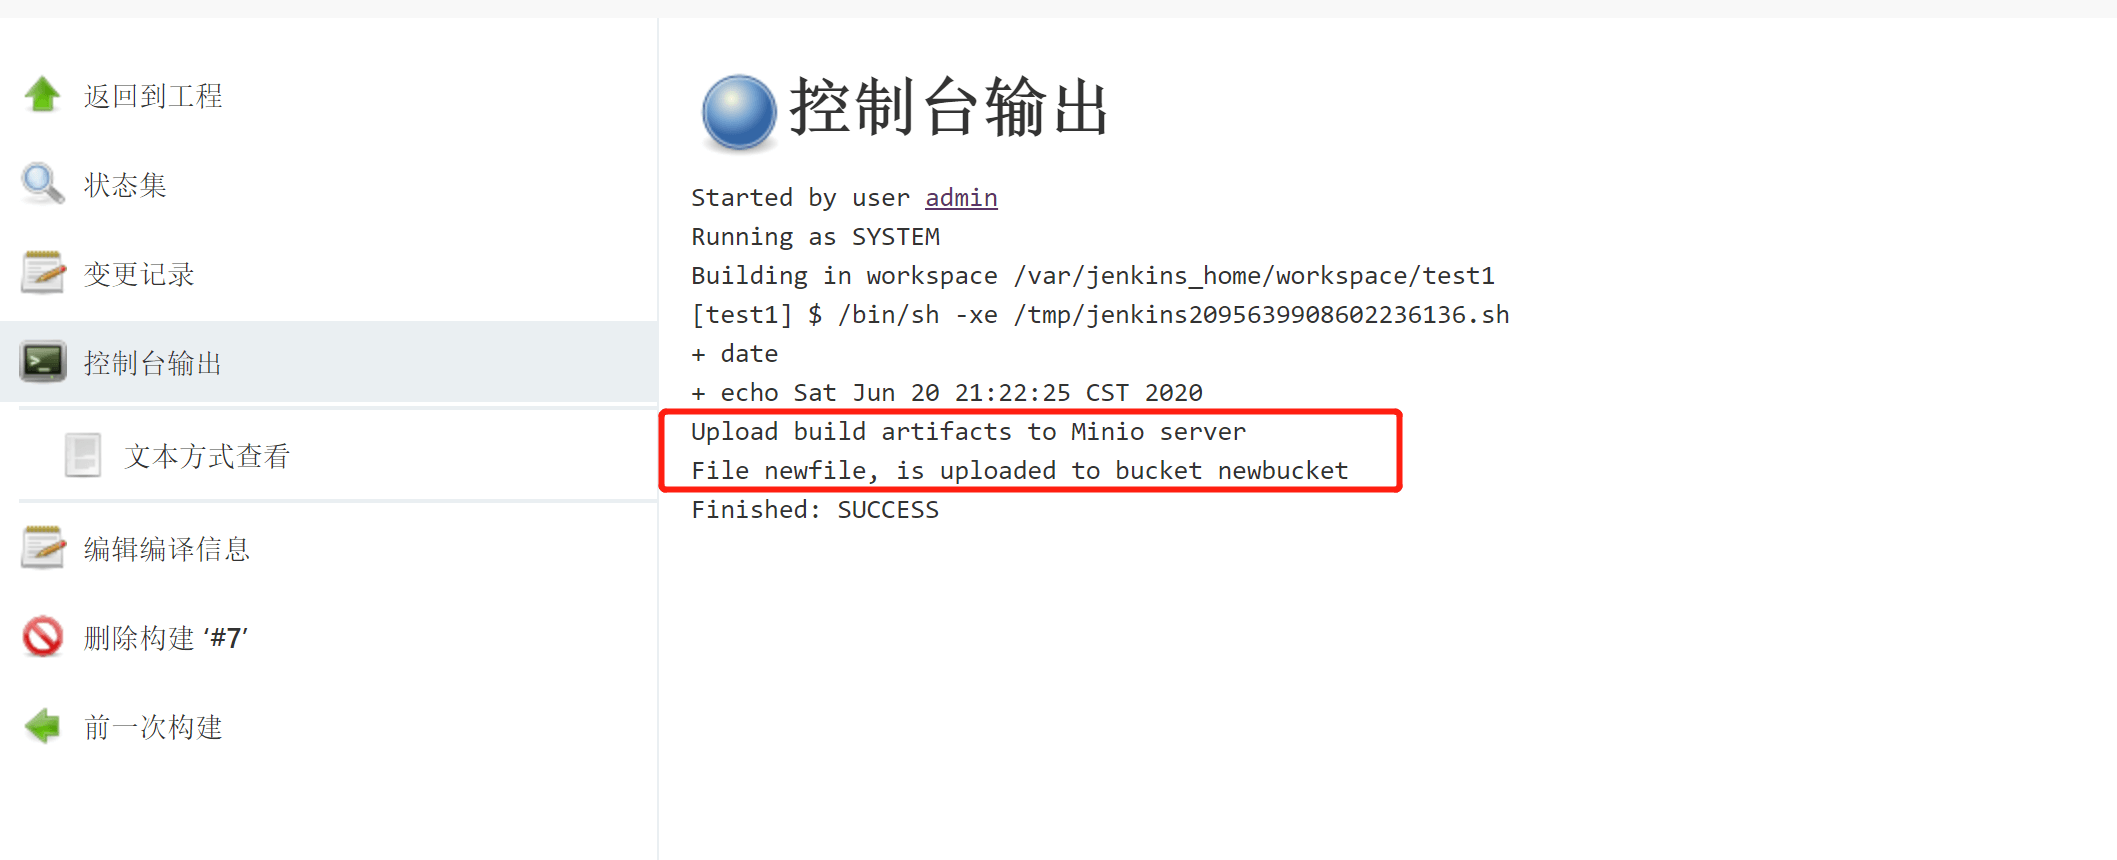
Unlike Jenkins local archiving, this archive is not shown on the build page for that run.
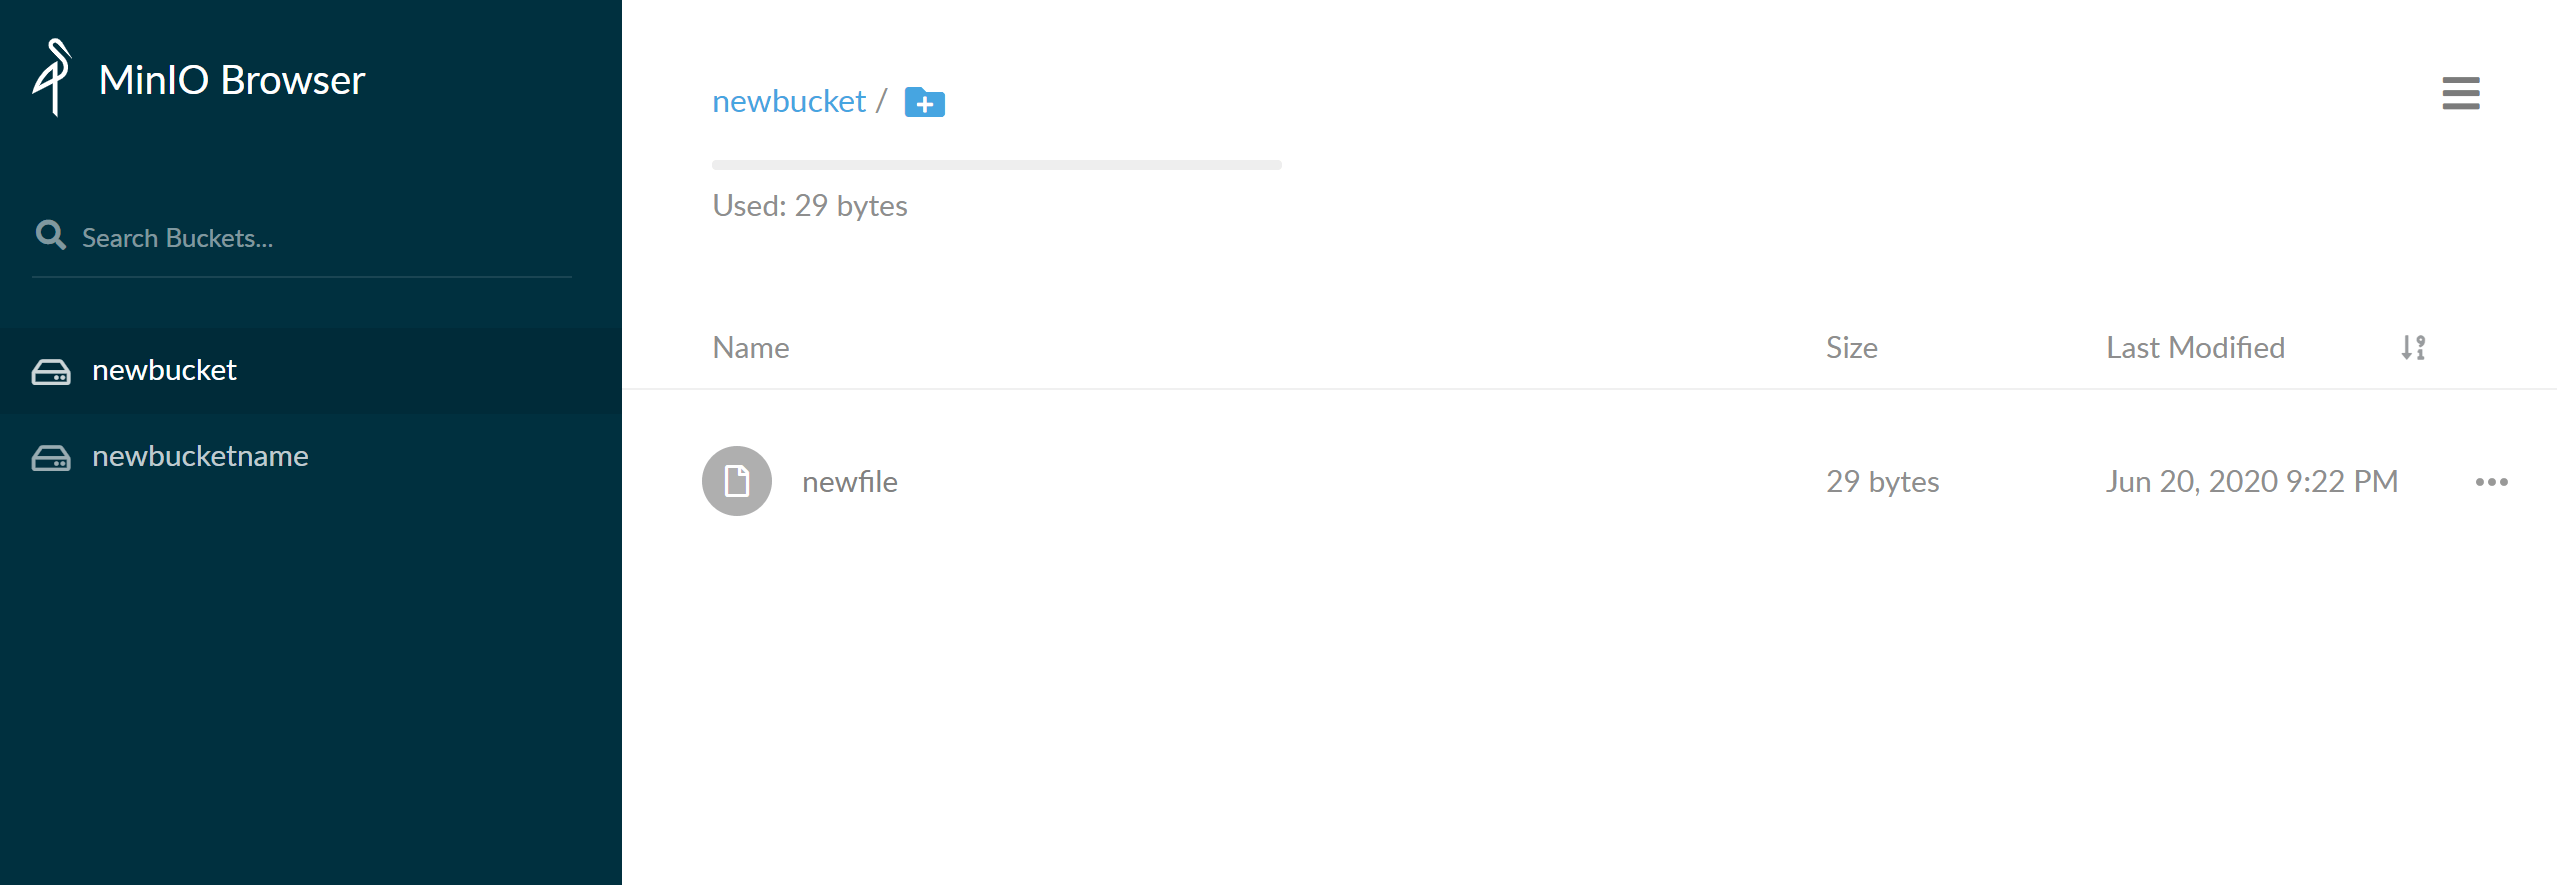
- View the build archiving result in Minio
3. Cache
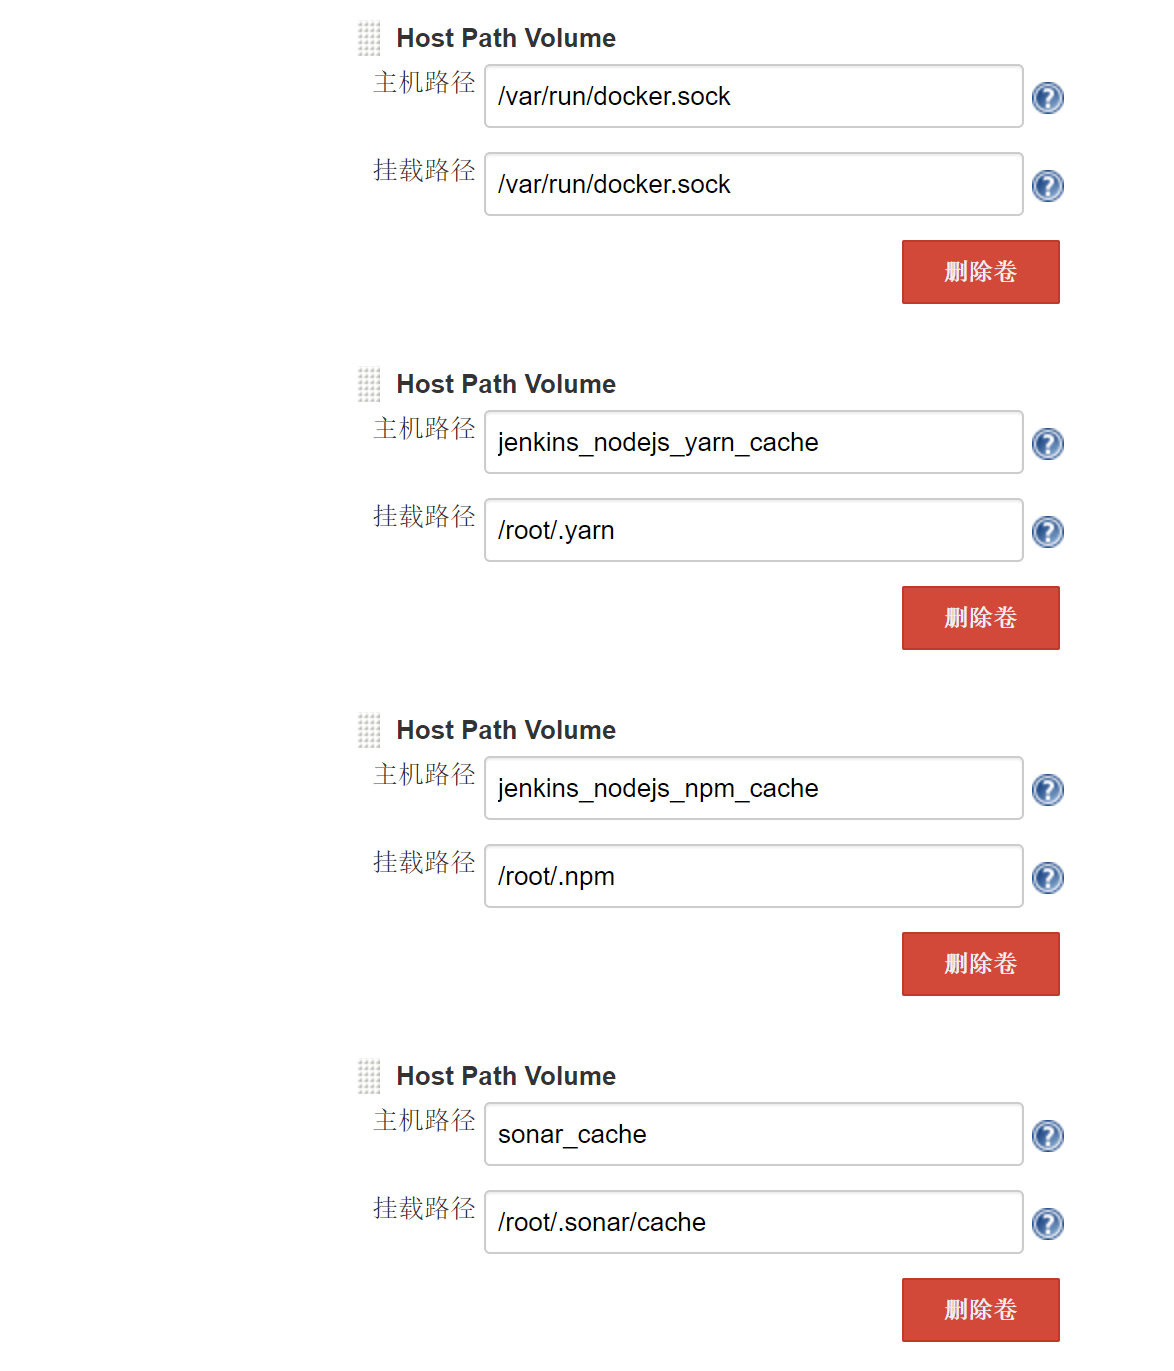
There are two main ways to practice caching in Jenkins: a cache shared by all pipelines, and a separate cache per pipeline.
Since we use Agents provided dynamically by Kubernetes, we can mount the host’s Docker Volume into the Pod to provide Node-level caching, so that all Pods share a single cache directory. This is relatively simple to handle, but sharing a single dependency library folder also brings potential concurrency issues. The figure below shows the relevant configuration:
The other way is one cache per pipeline, which is fine-grained but also increases storage and execution time overhead. Below we mainly describe how to use jobcacher for caching.
- Search for and install the jobcacher plugin
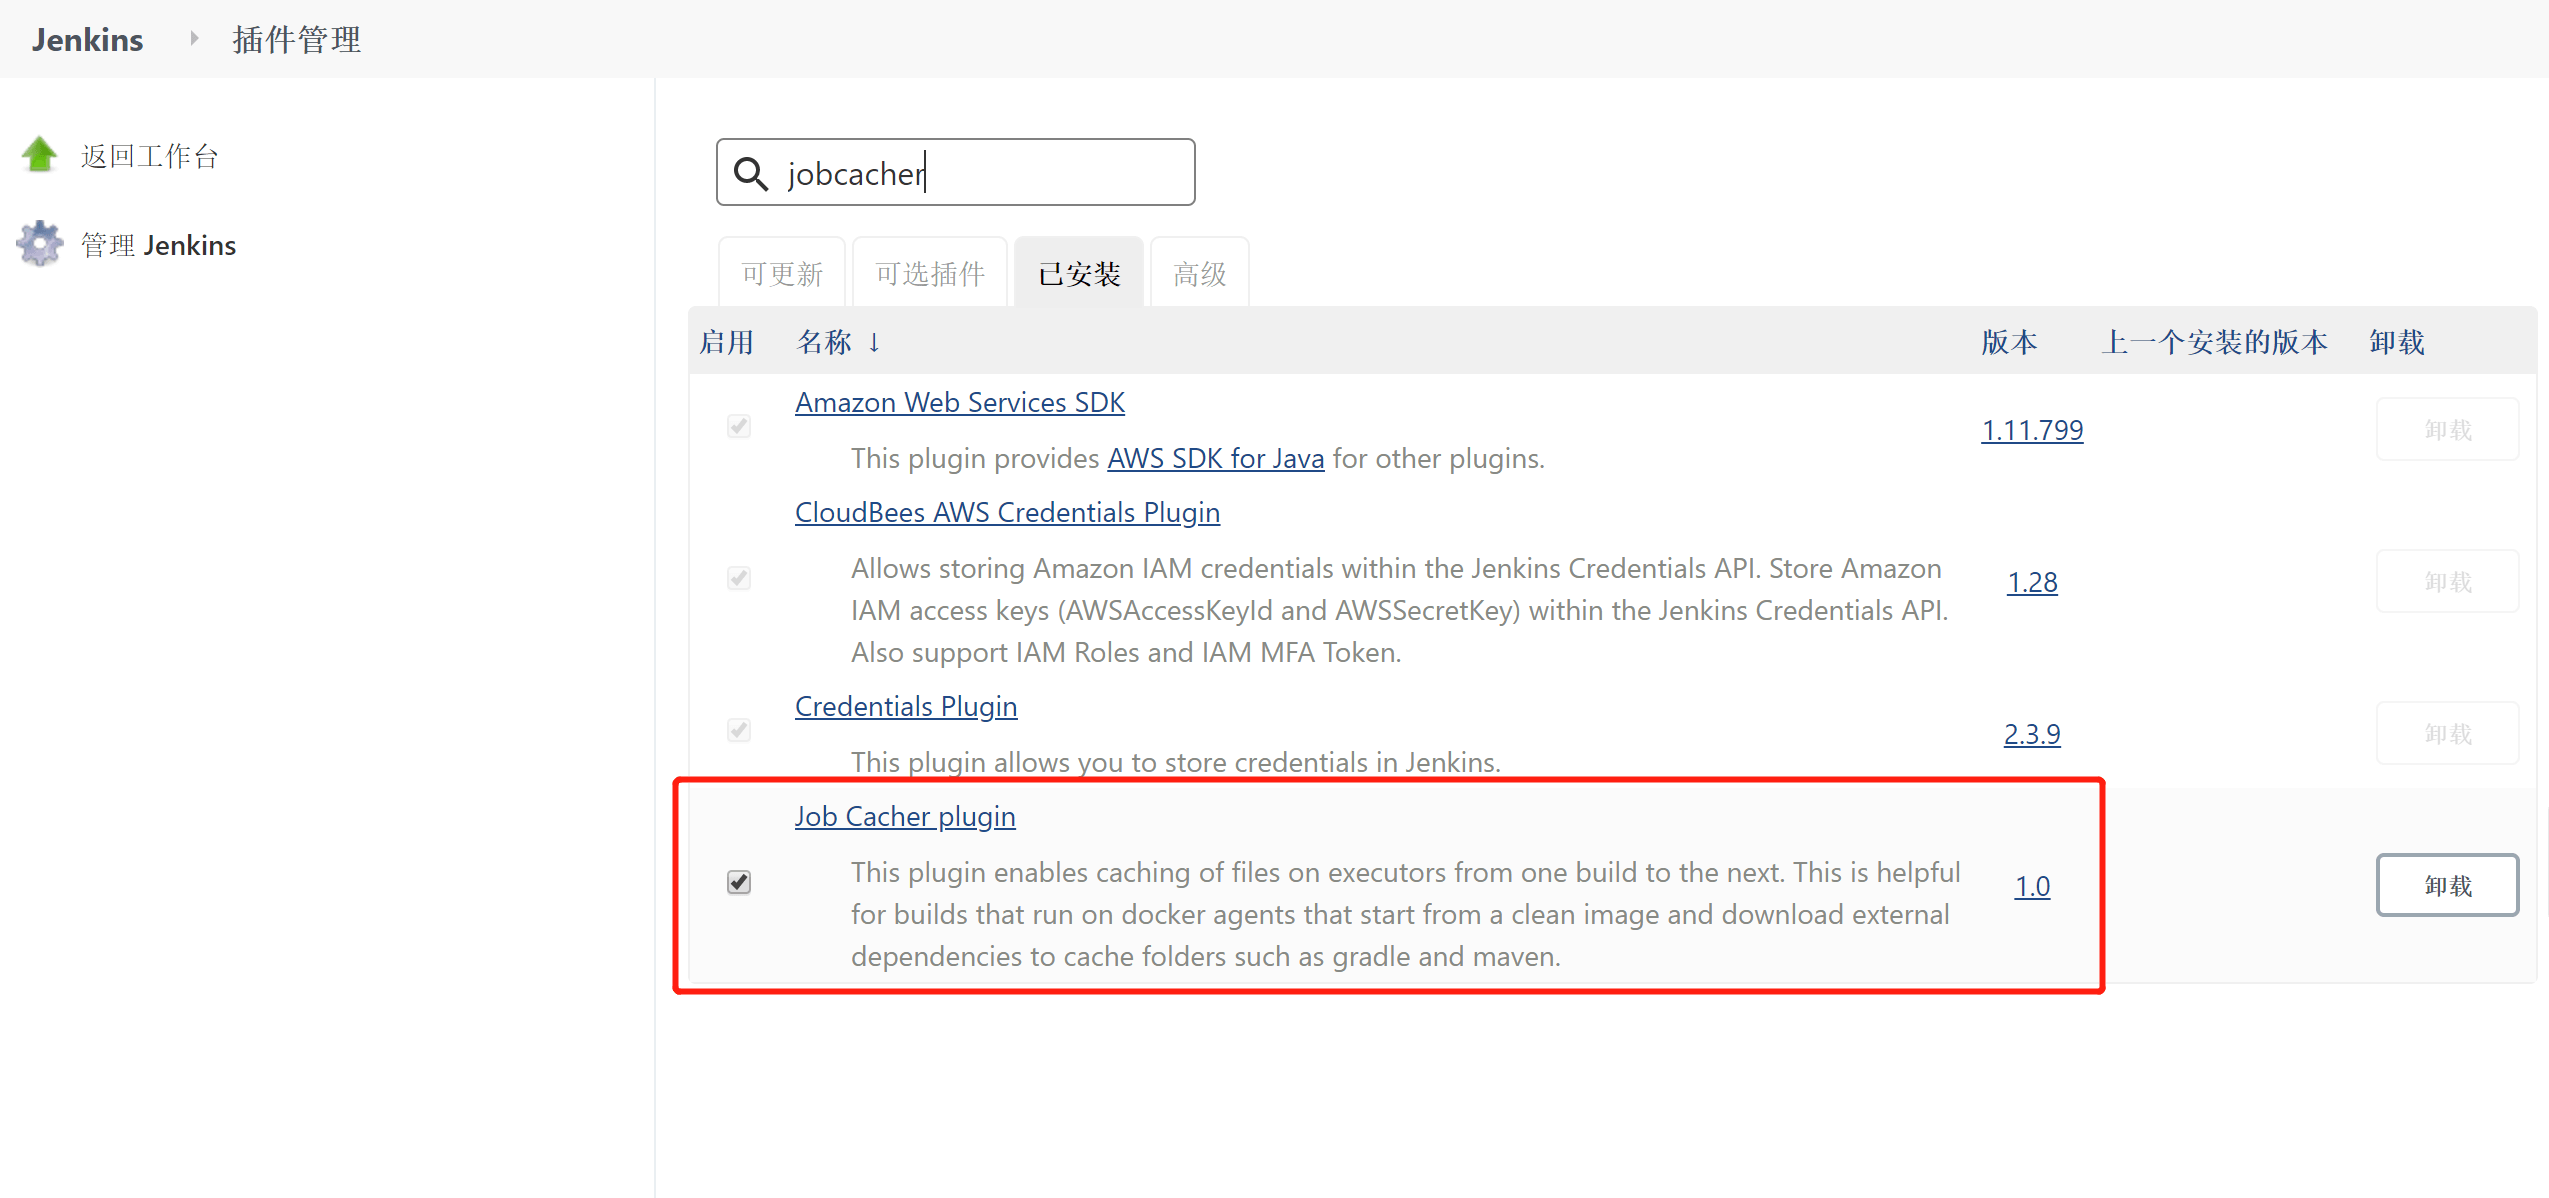
- View the jobcacher plugin configuration
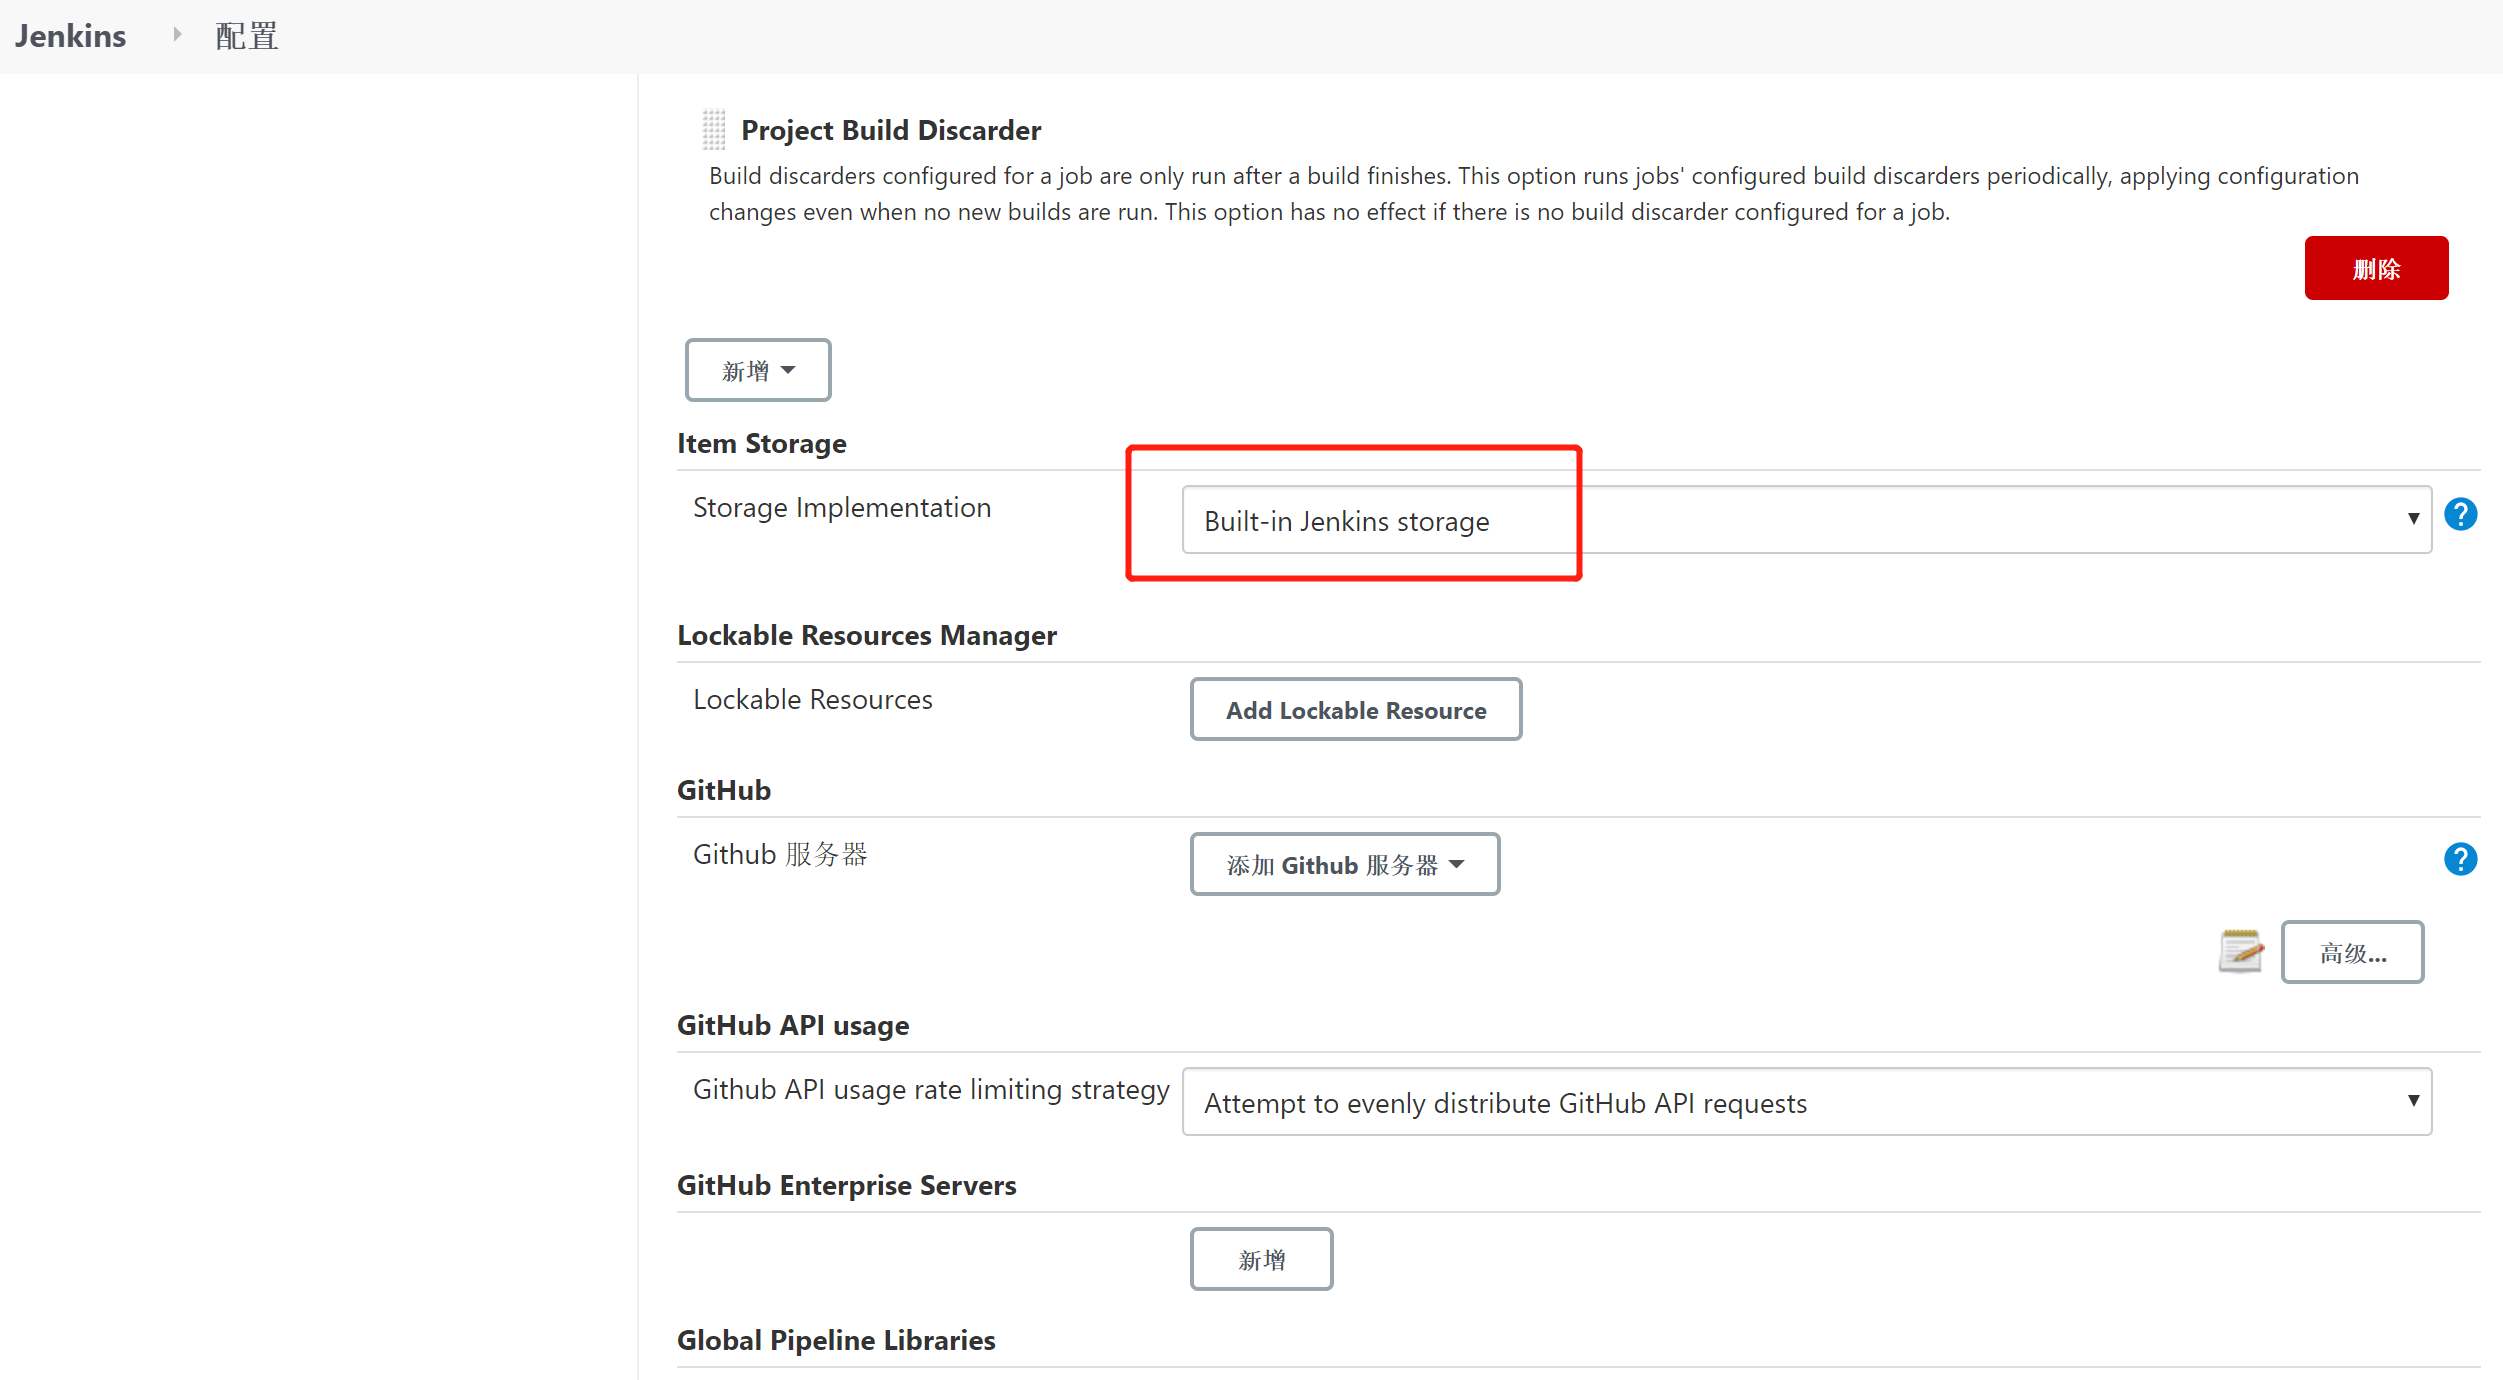
In the Jenkins configuration, you can see that jobcacher uses built-in storage by default, that is, file storage under /var/jenkins_home.
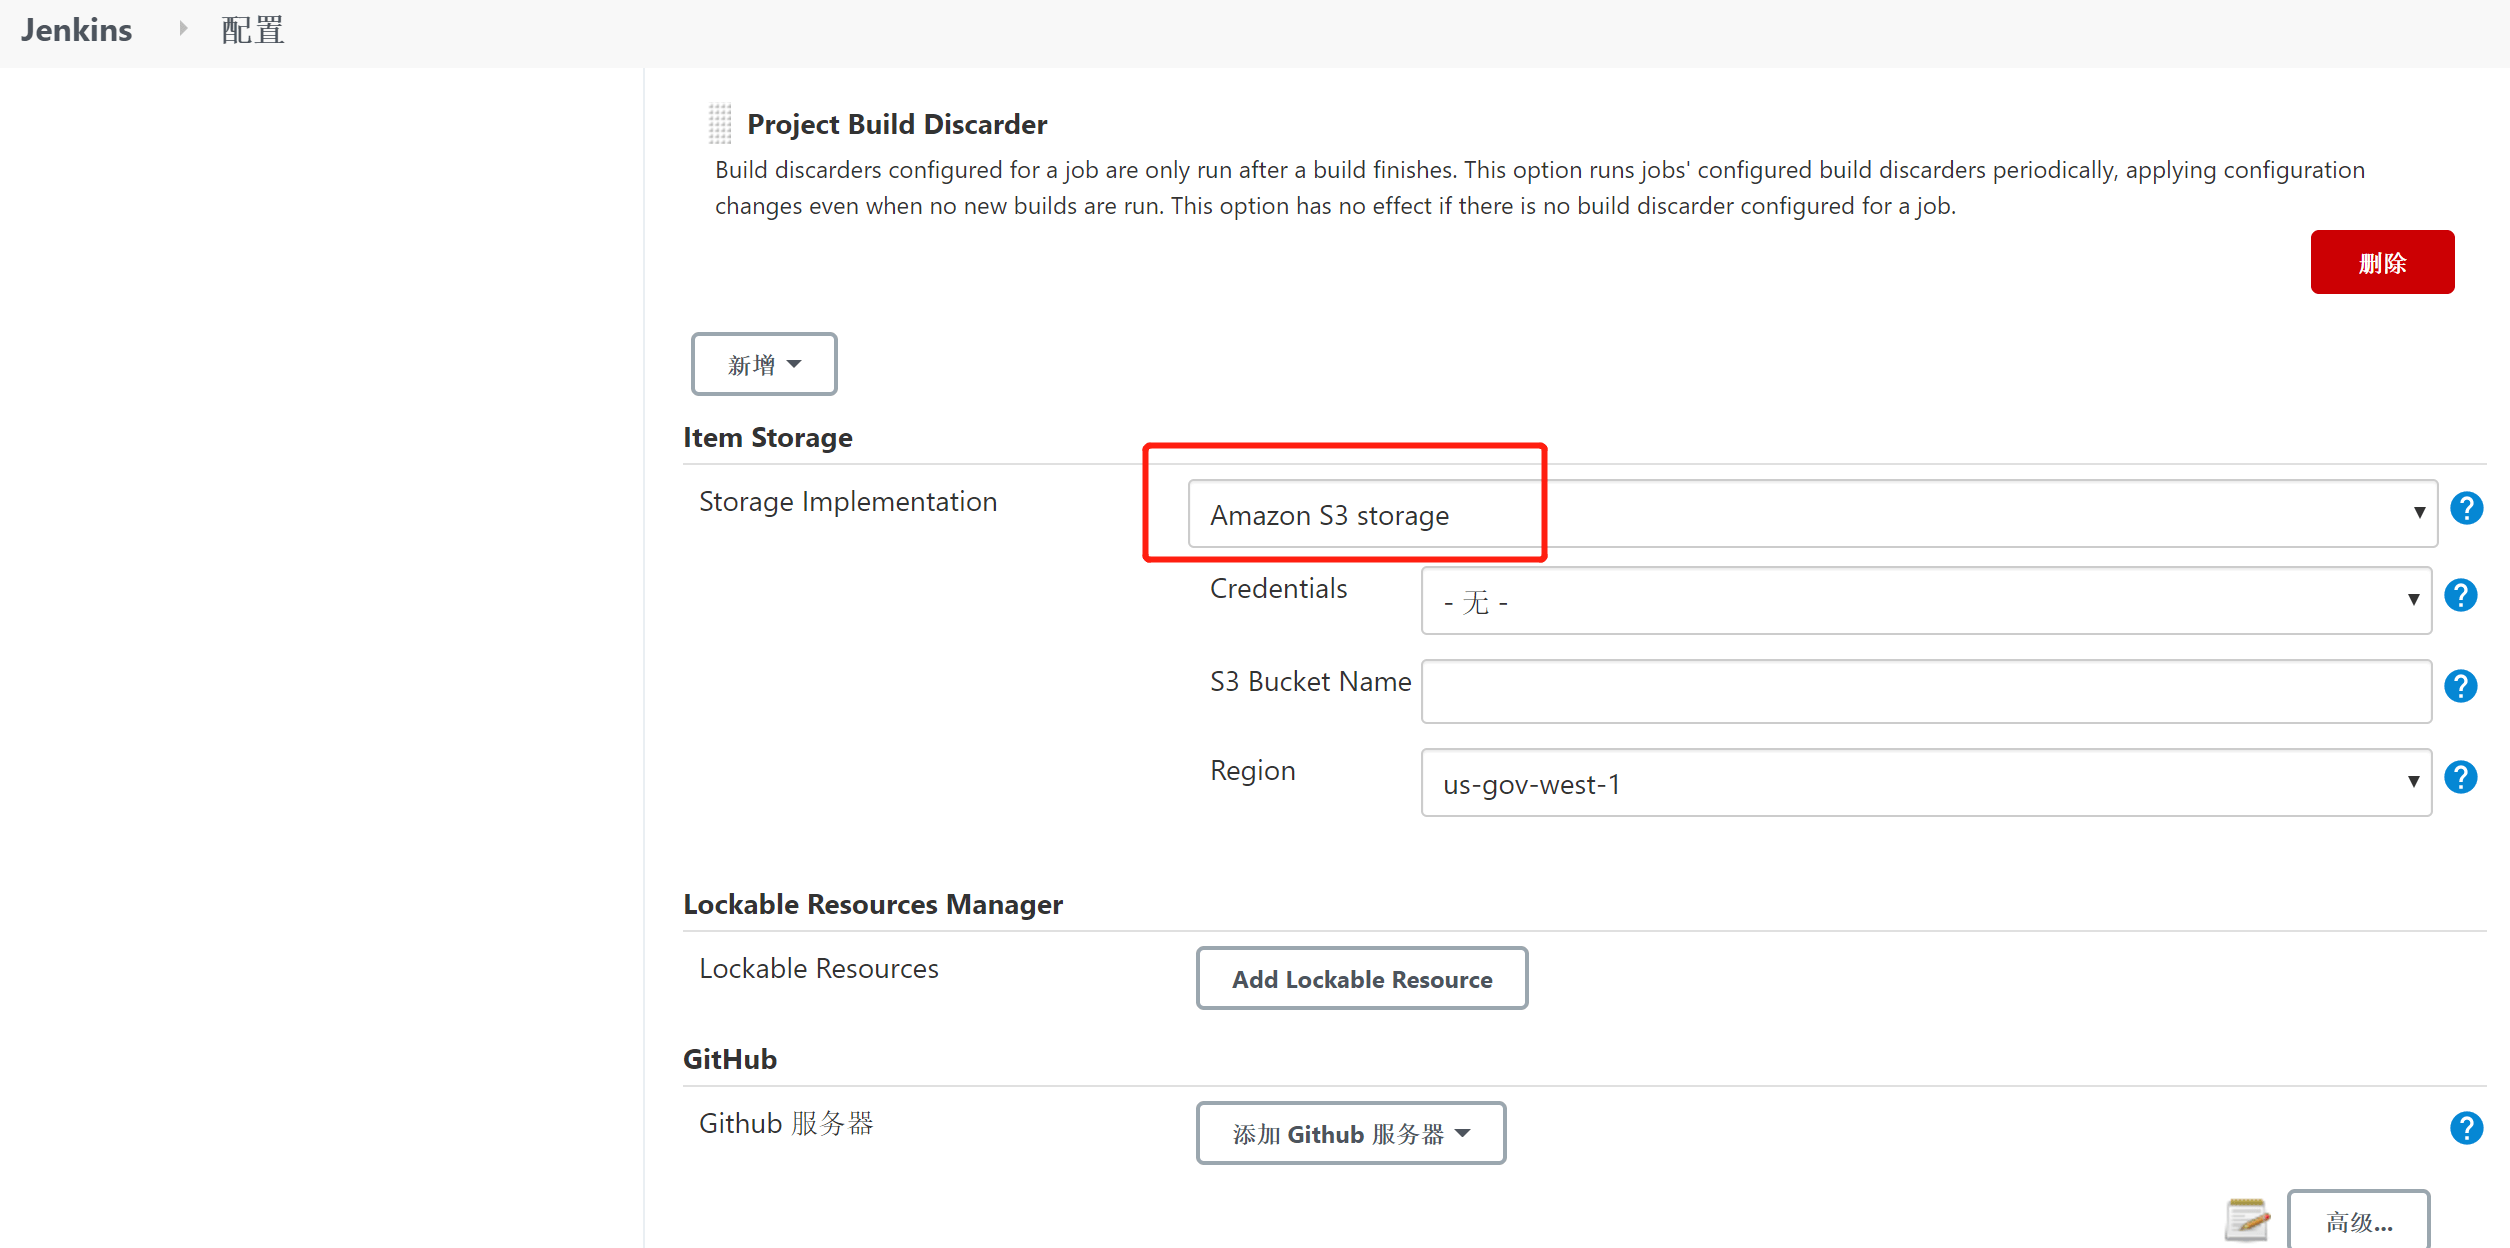
As shown below, the dropdown also offers another AWS S3 storage option. Here we only look at it, without configuring or testing it.
- Create a new pipeline
Create a new pipeline with the following content:
pipeline {
  agent {
    kubernetes {
      yaml """
apiVersion: v1
kind: Pod
spec:
  containers:
  - name: nodejs
    image: node:10-alpine
    command:
    - cat
    tty: true
"""
   }}
   stages {
      stage('checkout') {
         steps {
            git branch: 'master', url: "https://github.com/vuejs/vue"
         }
      }
      stage('install') {
         steps {
            container('nodejs') {
               cache(caches: [[$class: 'ArbitraryFileCache', excludes: '', includes: '**/*', path: 'node_modules']], maxCacheSize: 512) {
                     sh "npm install"
               }
            }
         }
      }
   }
}
- First build
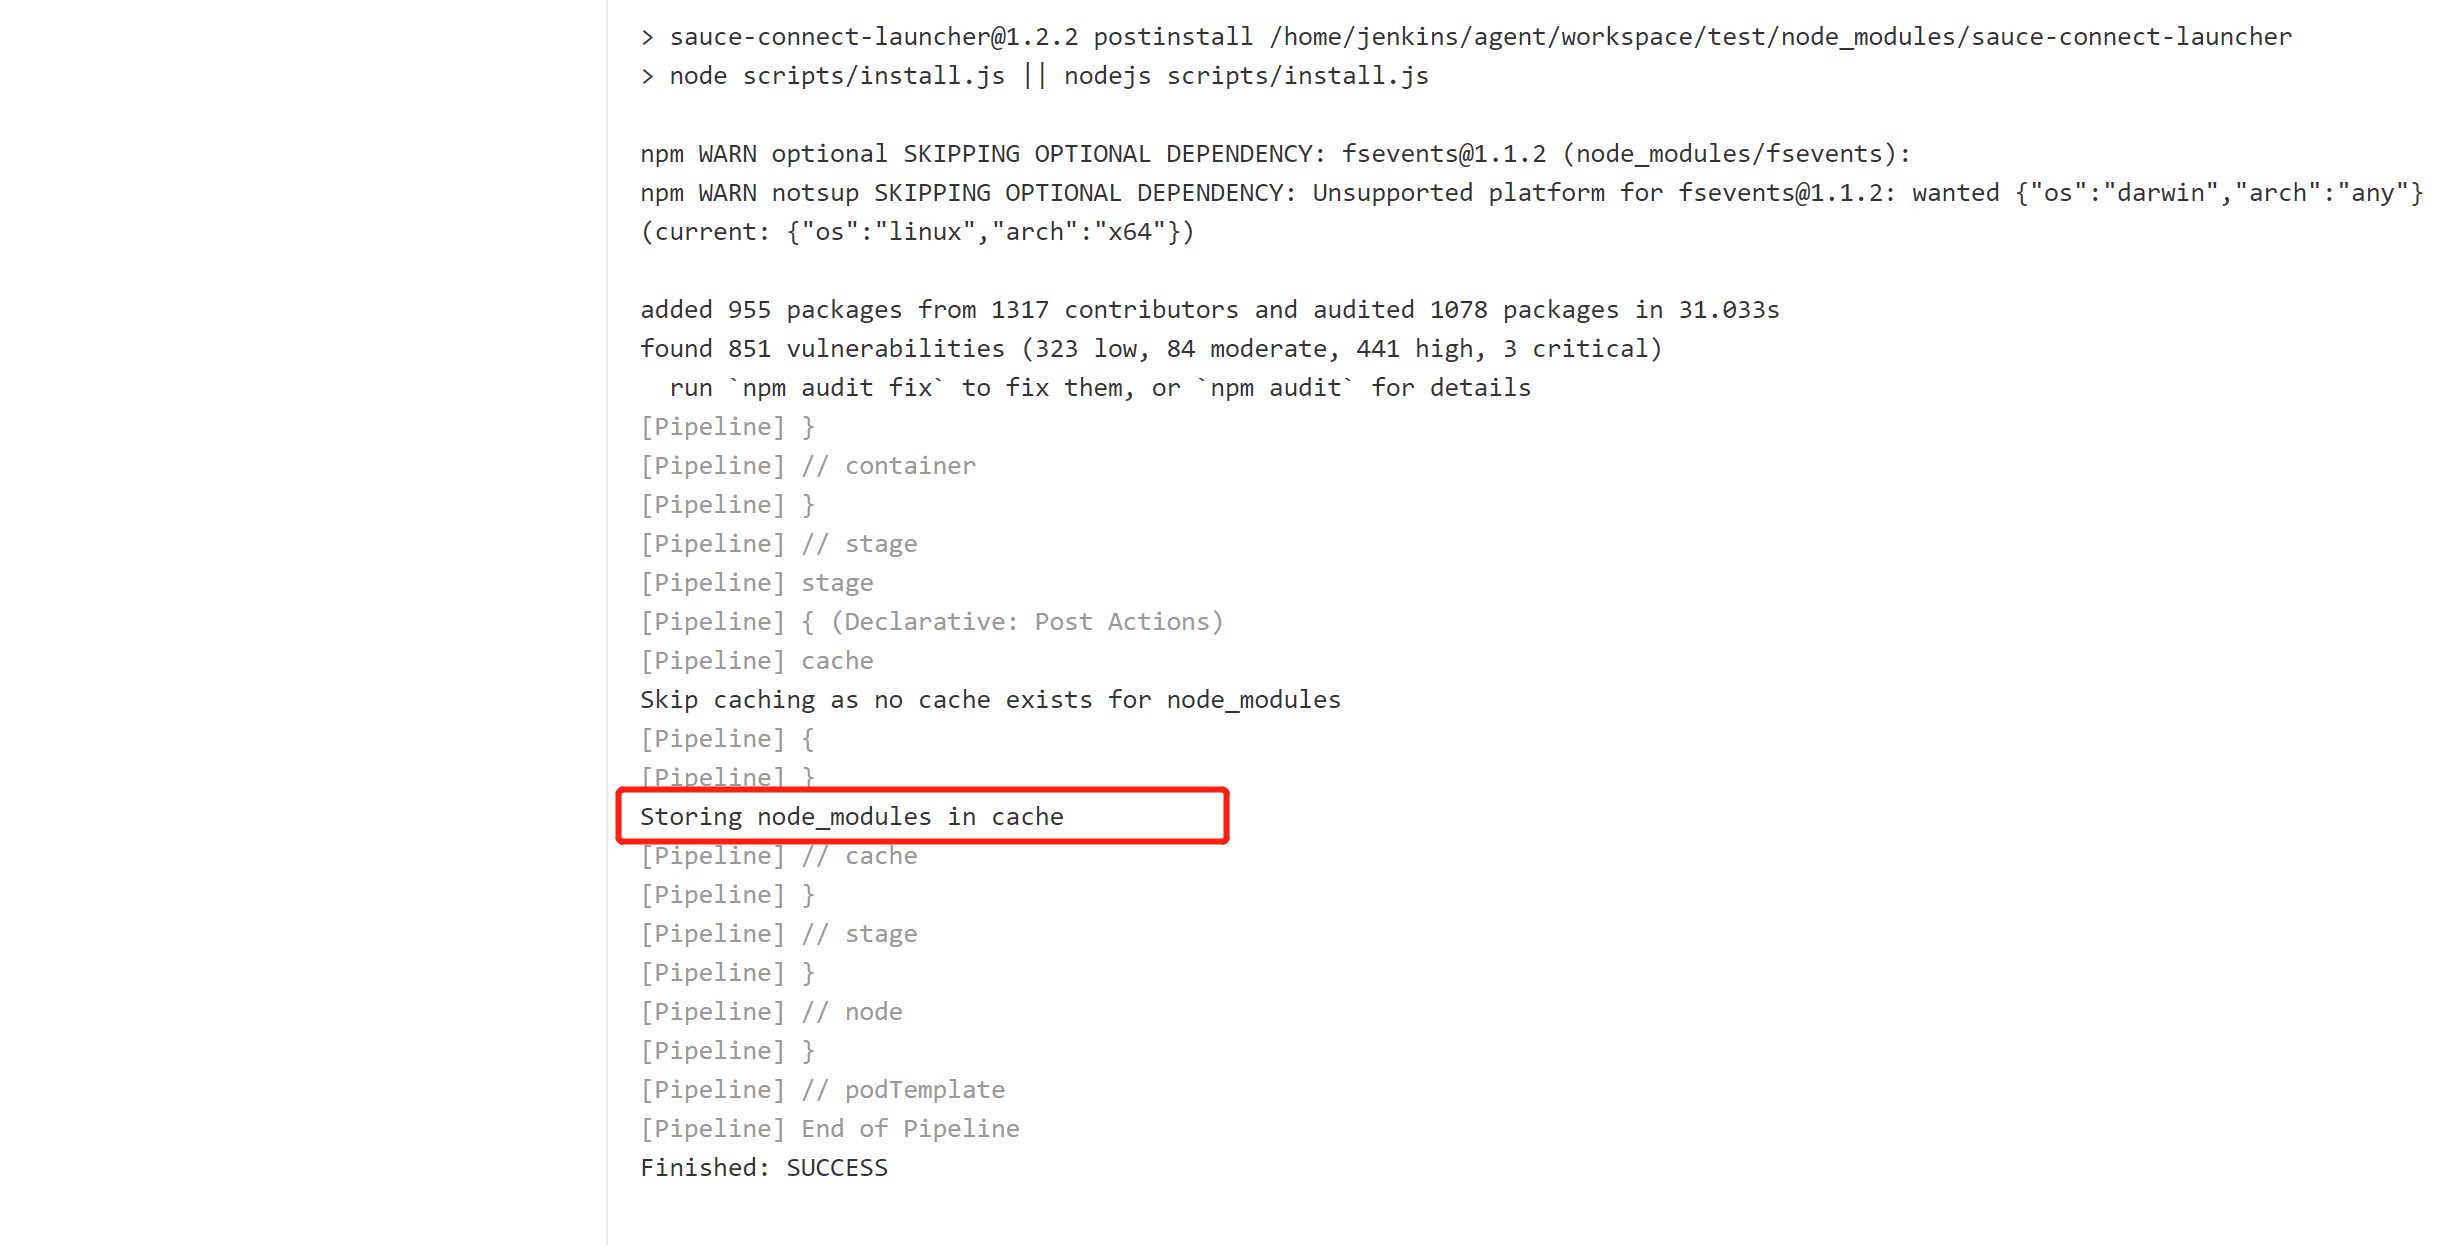
You can see that Jenkins cached the directory that was set. In the Jenkins directory /var/jenkins_home/jobs/test/cache/3ec03583f8eaec275cb2183db769ff47, you can see the relevant files.
| |
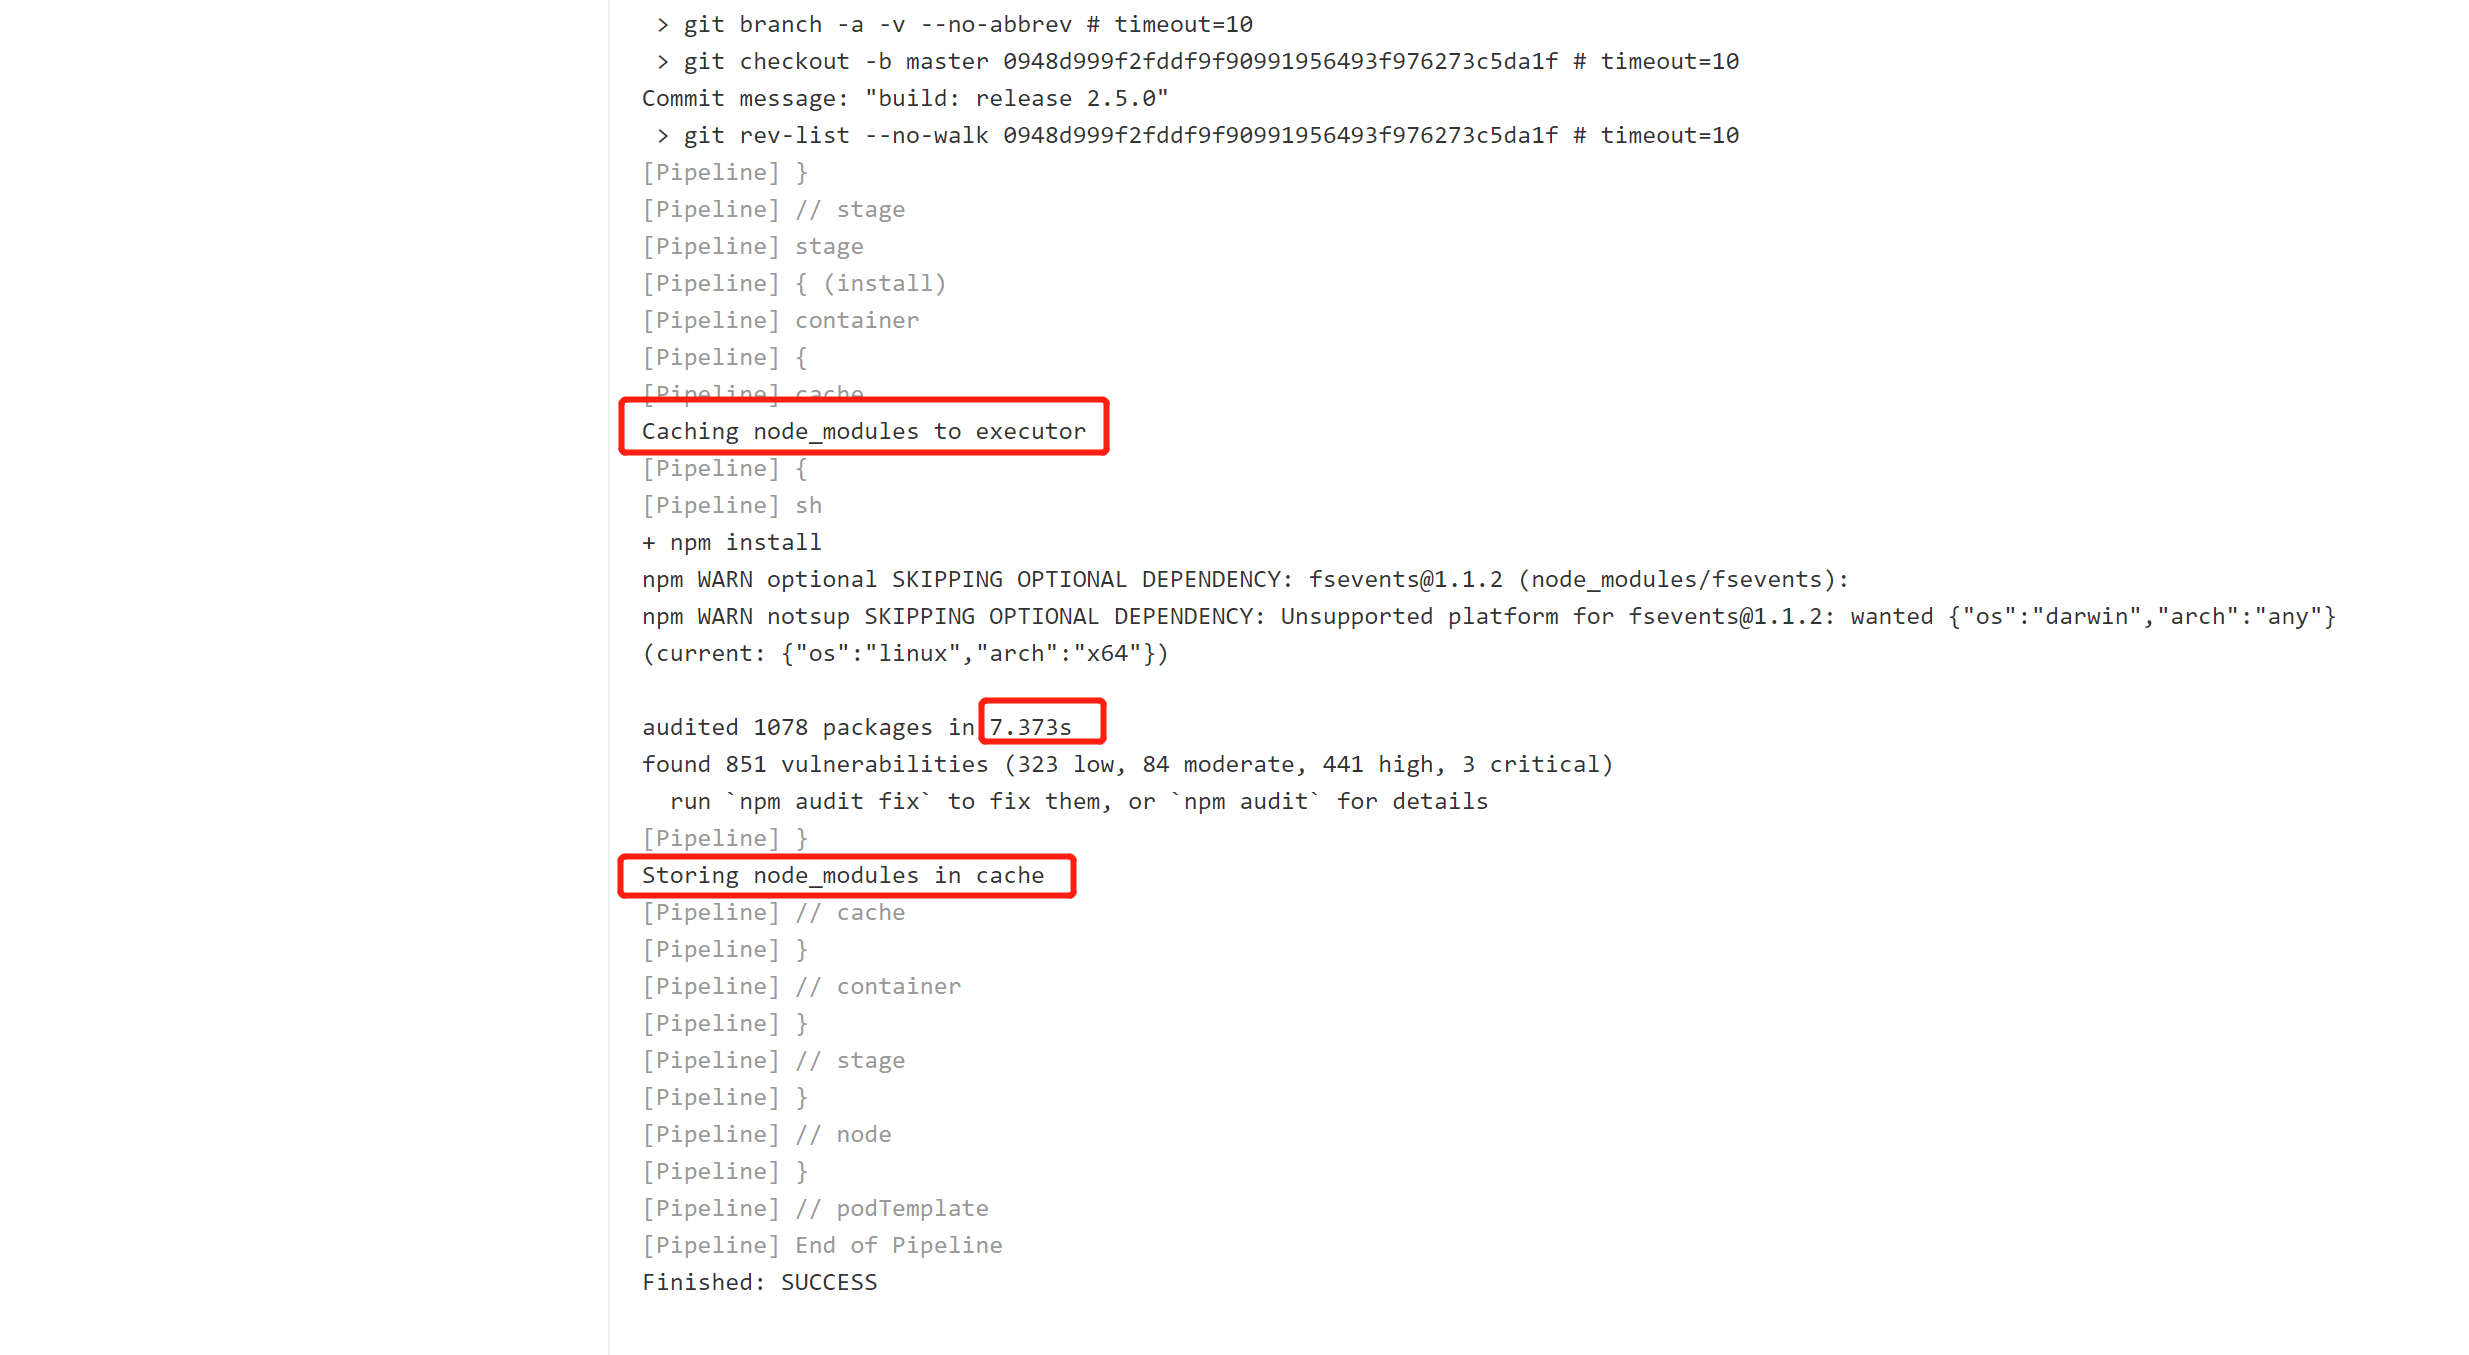
- Build with cache
After the cache is archived, the time spent downloading dependency packages on the next build drops noticeably. From 31 seconds down to 7 seconds, though this adds time for pulling the cache, decompressing, and other operations.
- Caching with object storage
Since most plugins support AWS, using AWS directly is also a good choice if you can. Using other storage requires vendor plugin support, or forking the AWS Jenkins plugin for secondary development.
Another direction is to provide the s3cmd command line, inject the key through credentials, and use the command line to manage uploads and downloads. Below is a simple flow:
| |
