1. 系统要求
- Kubernetes, >= 1.16.0-0
- Helm, >= 3.0
- Linux 内核 >= 4.9.17
CentOS 7 升级内核过程,可以参考 Calico 下如何切换数据面到 eBPF 。
2. 卸载 Calico
1
2
3
4
5
6
| kubectl -n kube-system delete ds calico-node
kubectl -n kube-system delete deploy calico-kube-controllers
kubectl -n kube-system delete sa calico-node
kubectl -n kube-system delete sa calico-kube-controllers
kubectl -n kube-system delete cm calico-config
kubectl -n kube-system delete secret calico-config
|
1
| kubectl get crd | grep calico | awk '{print $1}' | xargs kubectl delete crd
|
1
| rm -rf /etc/cni/net.d/*
|
3. 安装 Cilium
1
2
3
4
5
| helm repo add cilium https://helm.cilium.io/
helm install cilium cilium/cilium --version 1.10.4 \
--namespace kube-system\
--set hubble.relay.enabled=true \
--set hubble.ui.enabled=true
|
- 将 Hubble UI 改为 NodePort 访问
1
| kubectl -n kube-system patch svc hubble-ui -p '{"spec": {"type": "NodePort"}}'
|
1
2
3
4
| kubectl -n kube-system get svc hubble-ui
NAME TYPE CLUSTER-IP EXTERNAL-IP PORT(S) AGE
hubble-ui NodePort 10.106.132.71 <none> 80:32572/TCP 11m
|
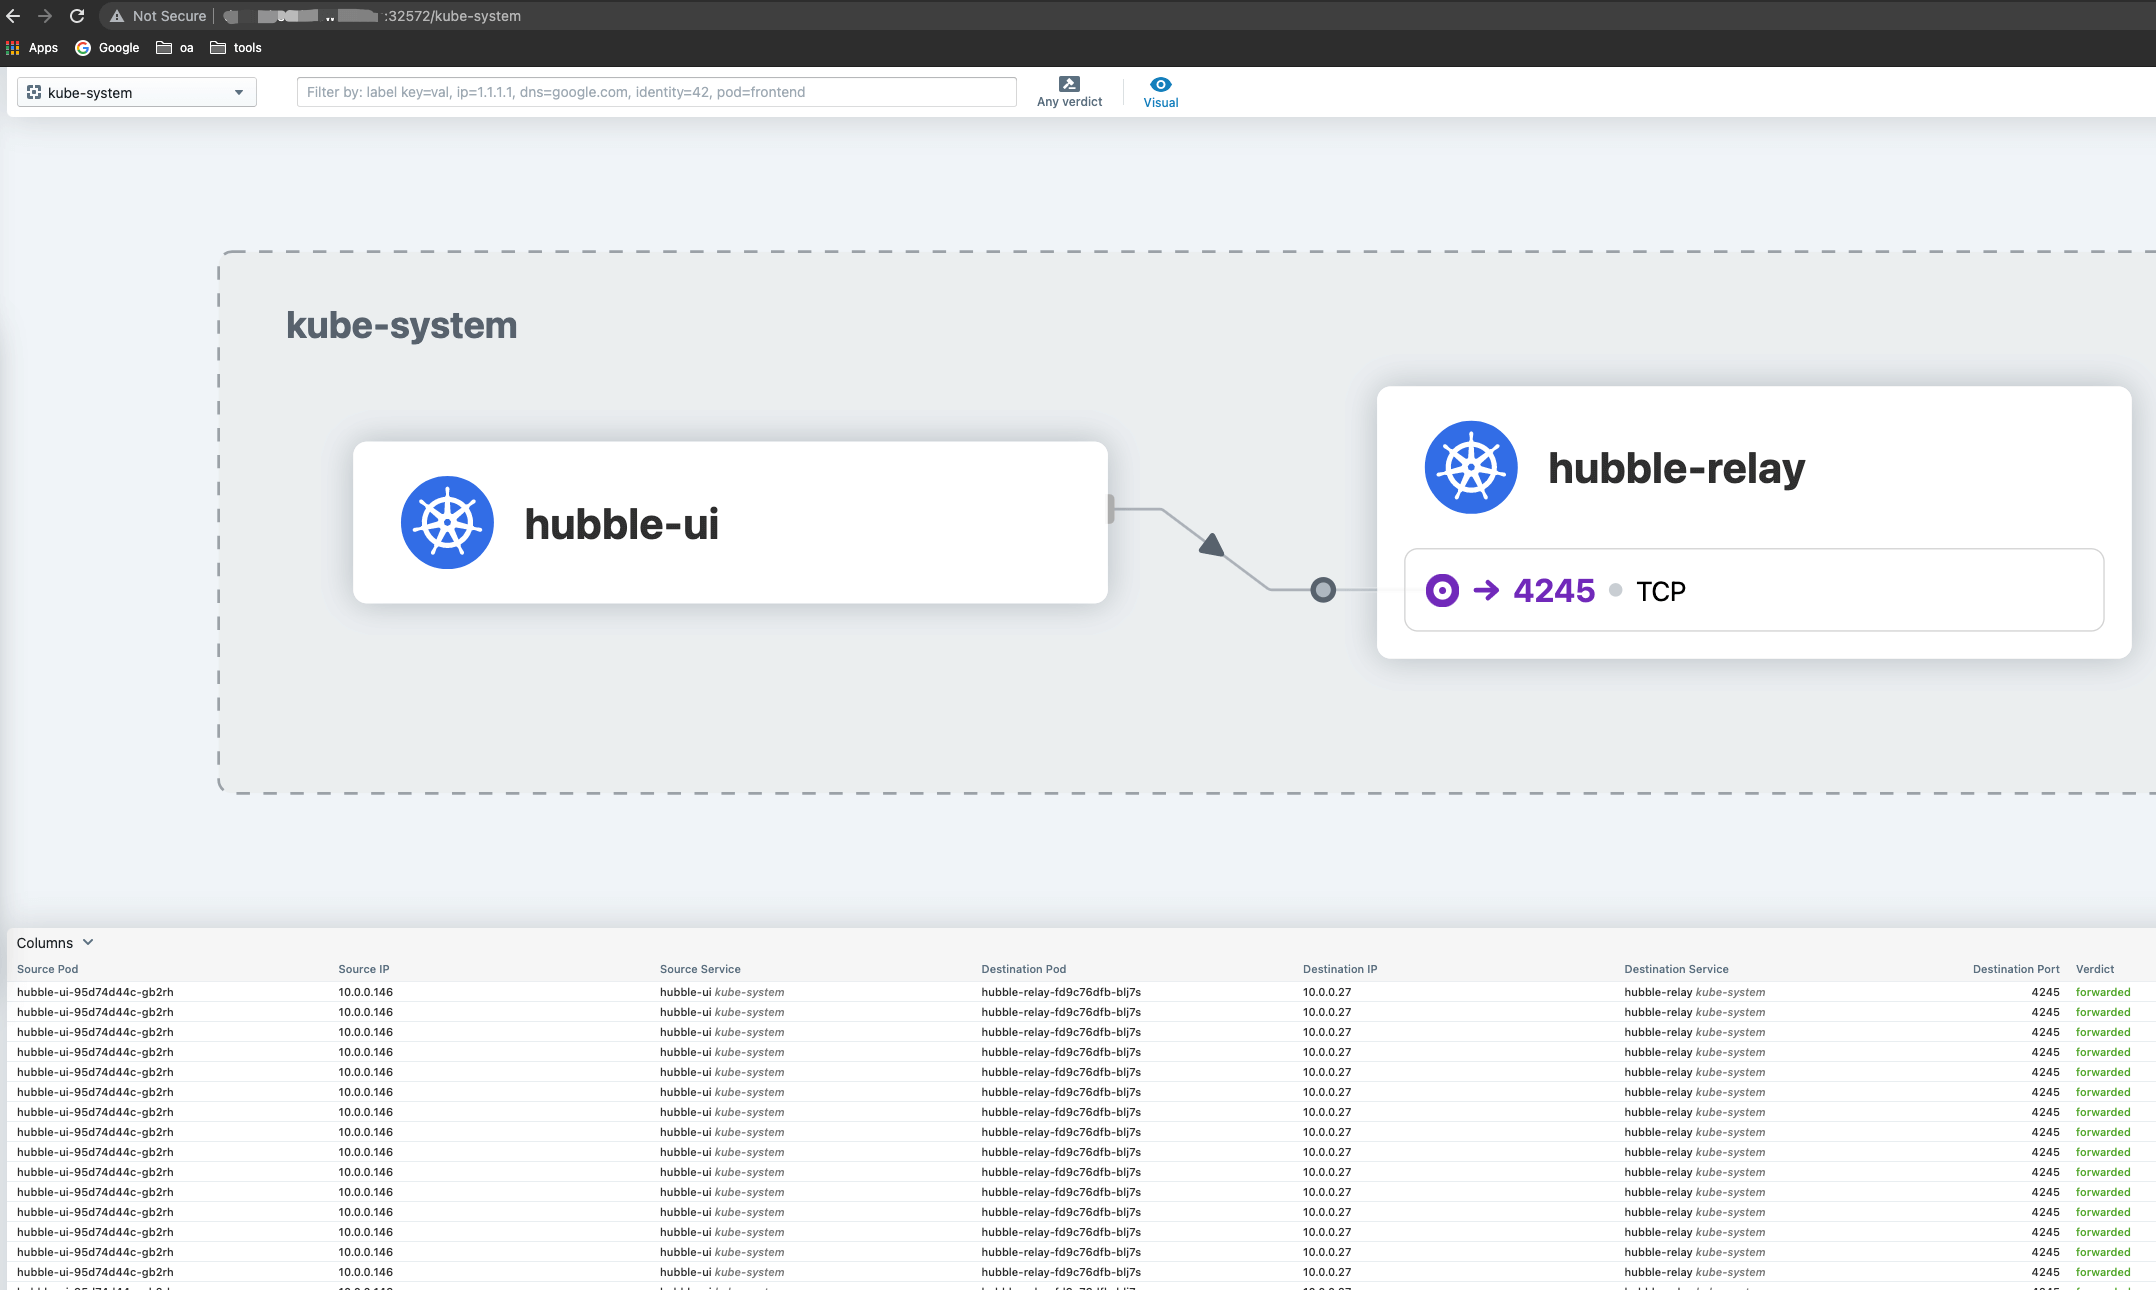
4. 访问 Hubble 查看网络连接
访问主机 IP:32572 ,即可查看到可视化的拓扑网络。
5. 参考
